
|
You can examine the Architectural load model that is compatible with the architecture and automatically defined by opening the "Architectural Load Model" file with the analysis model checked. |
-
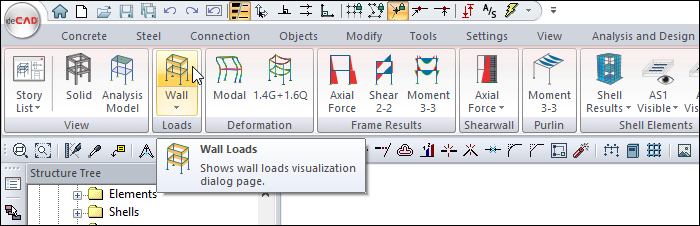
Click the Structural Inspection tab in the ribbon menu.
-
From the Loads heading, click the Wall command.
-
In the Visualization Window , structural wall loads are created that are compatible with the architectural.
-
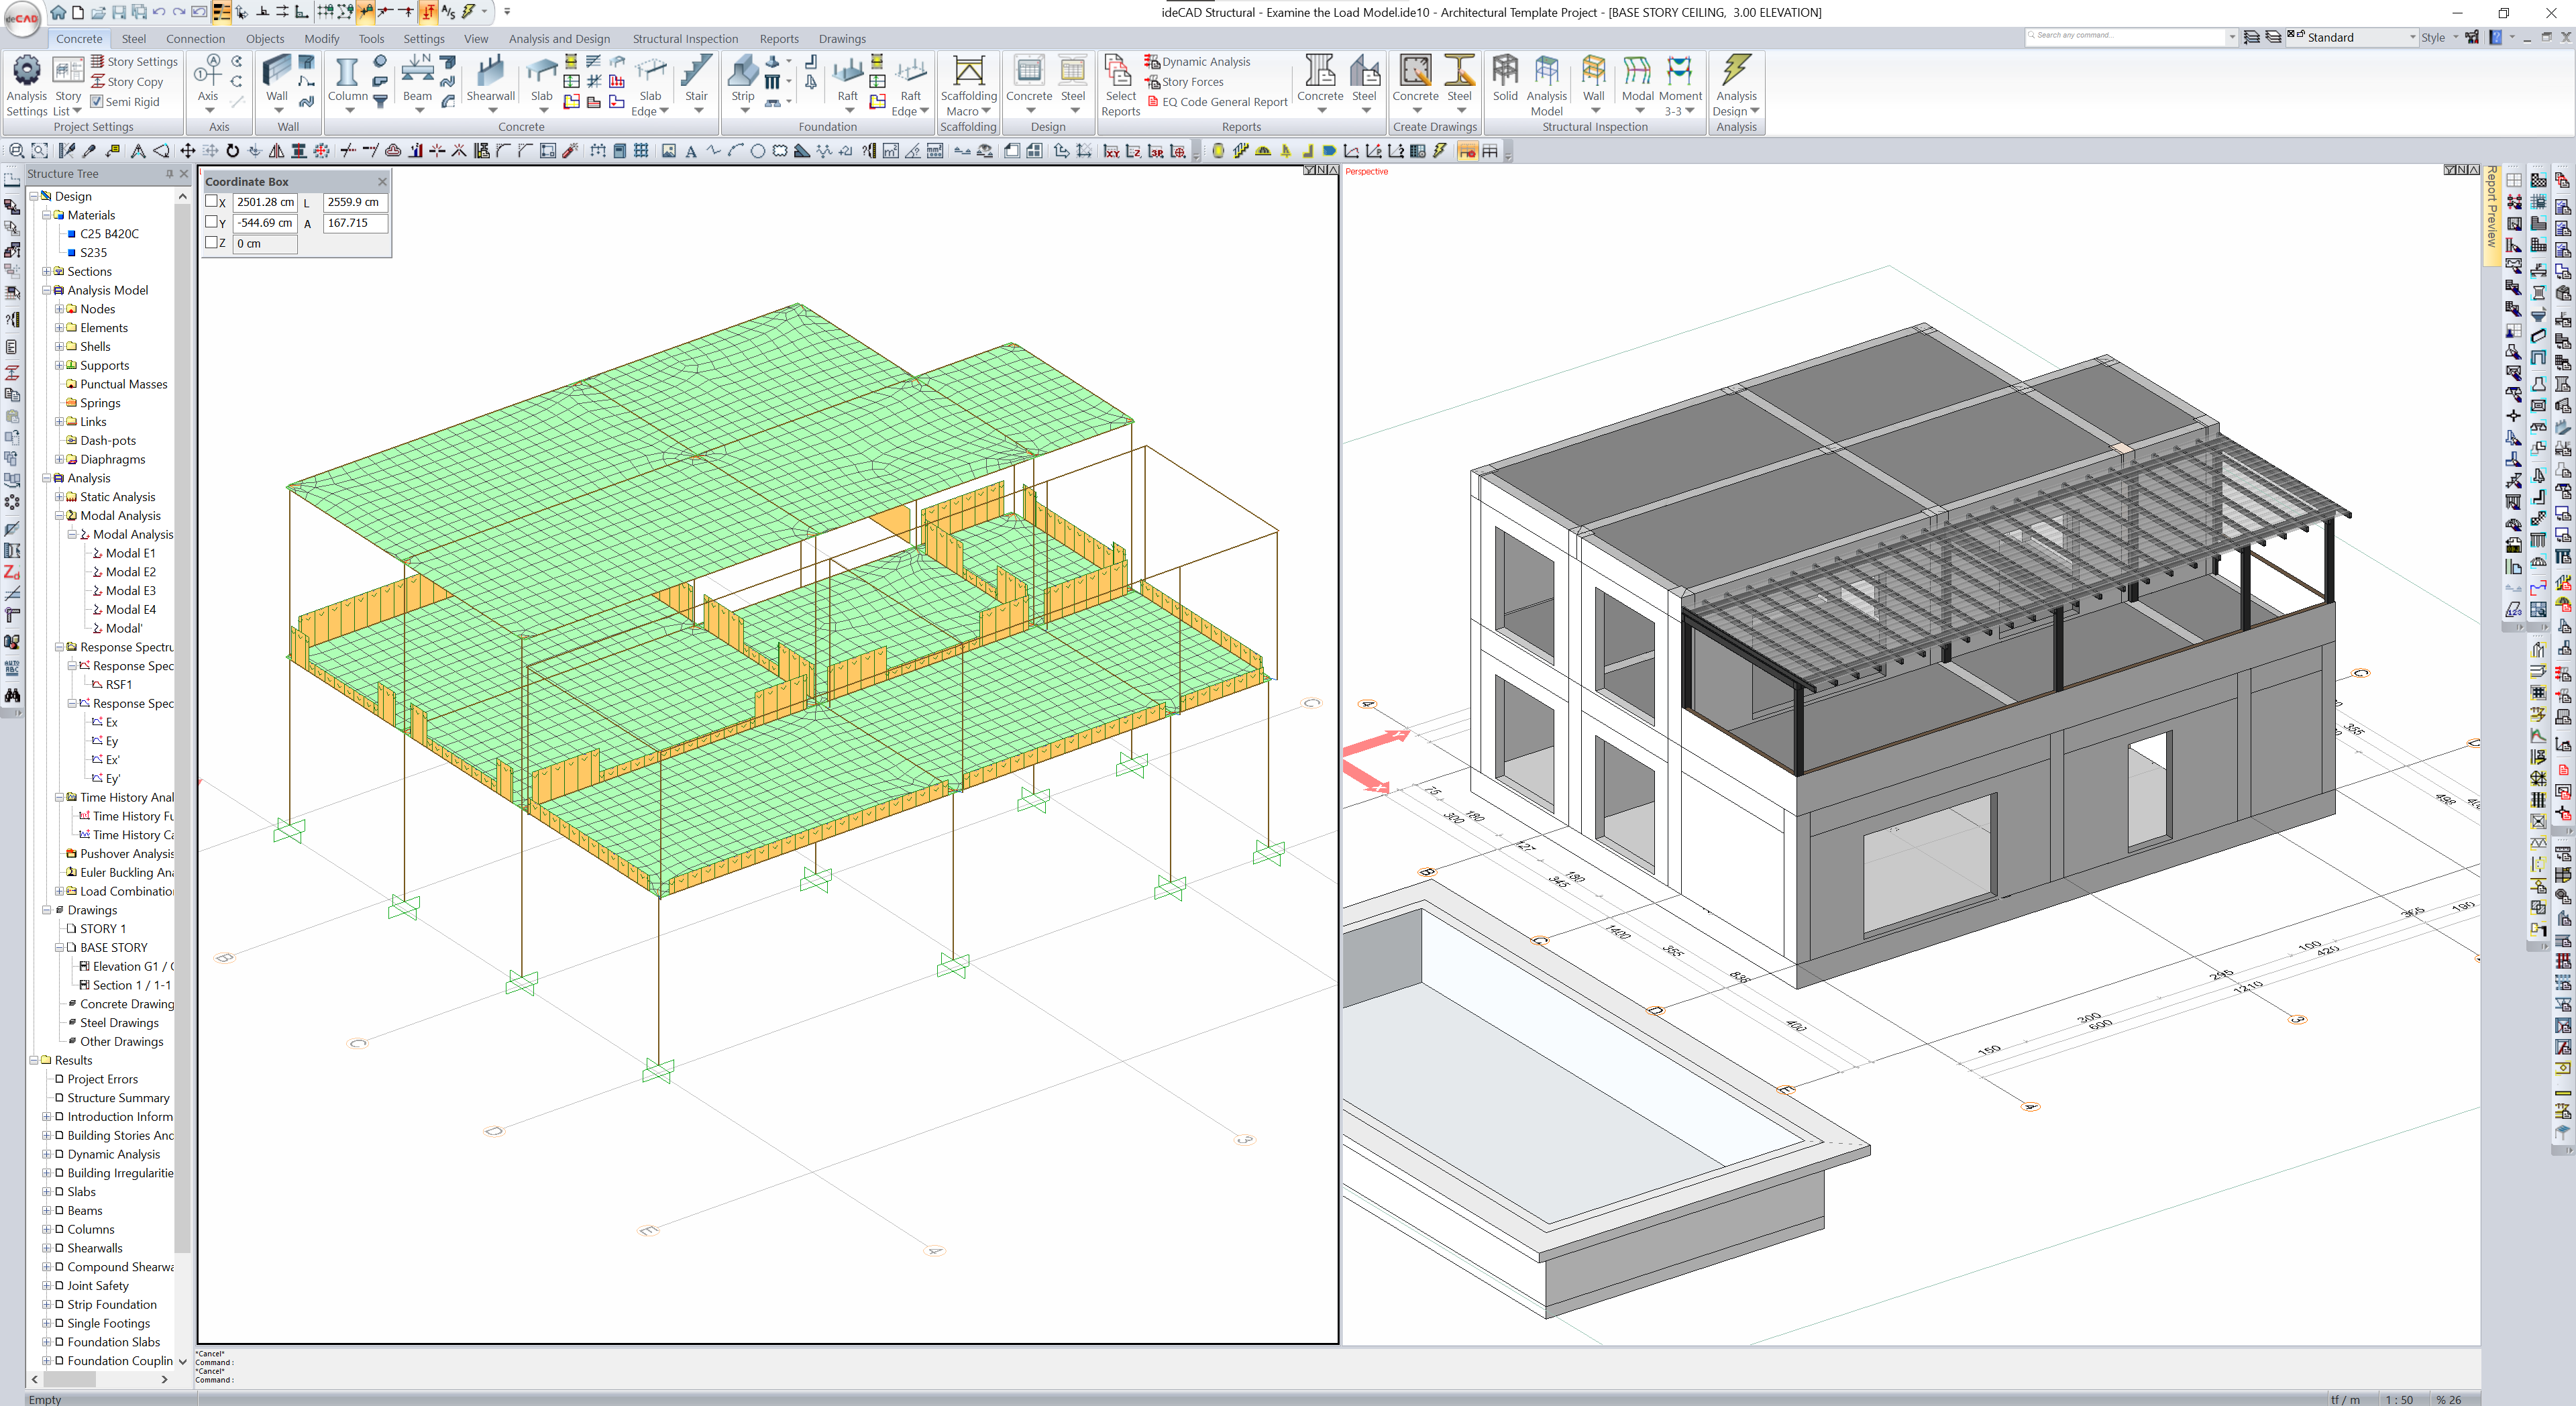
In the Visualization Window, open the Right-Click Menu.
-
Click the Solid with Edges line.
-
Walls and concrete elements will be visible.
-
Coating and live loads of the BASE STORY and STORY 1 slabs should be arranged.
-
From the plan view, select all slabs.
-
Double click on any selected slab.
-
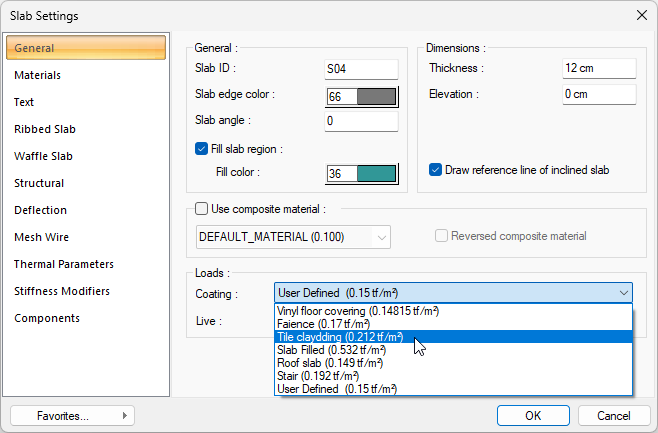
The Slab Settings dialog will open.
-
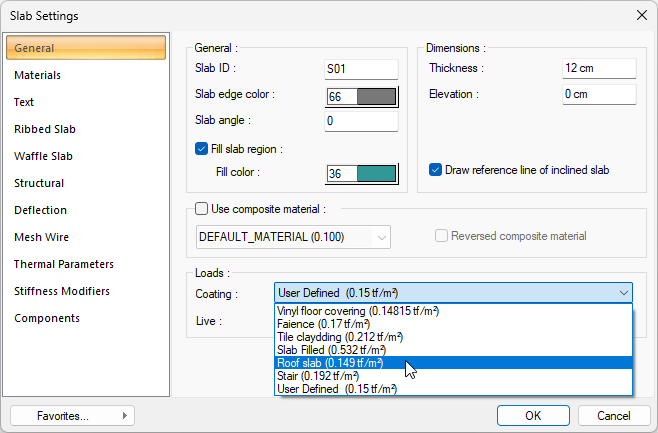
Open the Coating list in the General tab, Loads section.
-
Select the Tile Cladding.
-
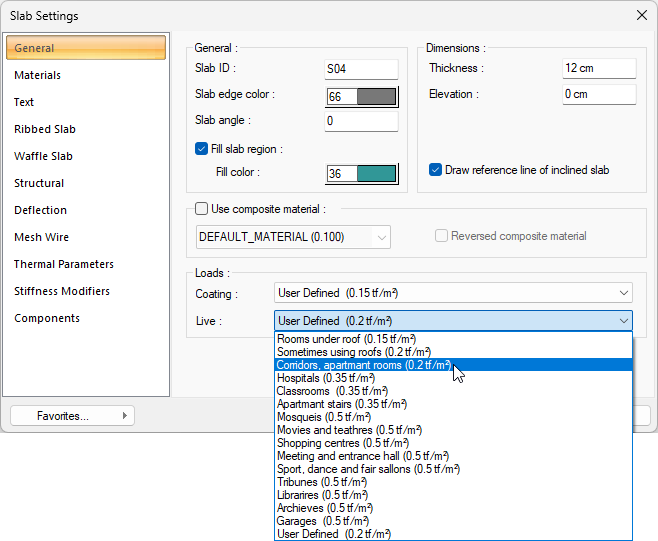
Select the Corridors, apartmant rooms from the Live list.
-
Click the OK button to close the dialog.
-
Coating and live loads of slabs will be defined.
-
Open the STORTY 1 CEILING page.
-
From the plan view, select all slabs.
-
Right click on any selected slab and open the right-click menu.
-
Double click on any selected slab.
-
The Slab Settings dialog will open.
-
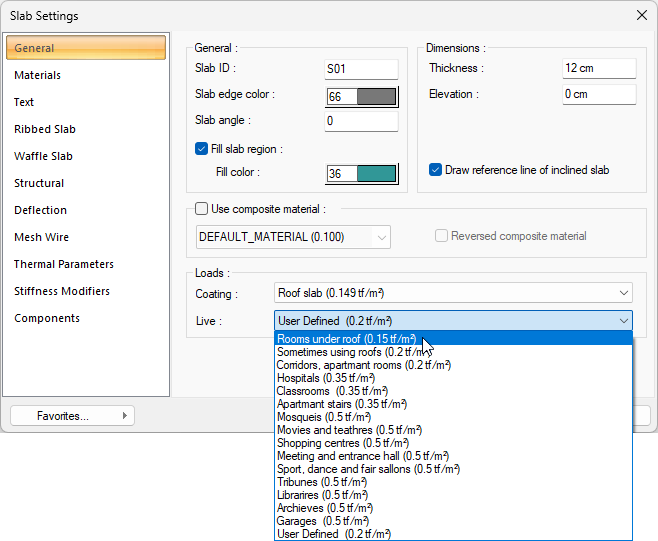
Open the Coating list in the General tab, Loads section.
-
Select the Roof Slab.
-
Select Rooms under roof from the Live list.
-
Click the OK button to close the dialog.
-
Coating and live loads of slabs will be defined.
-
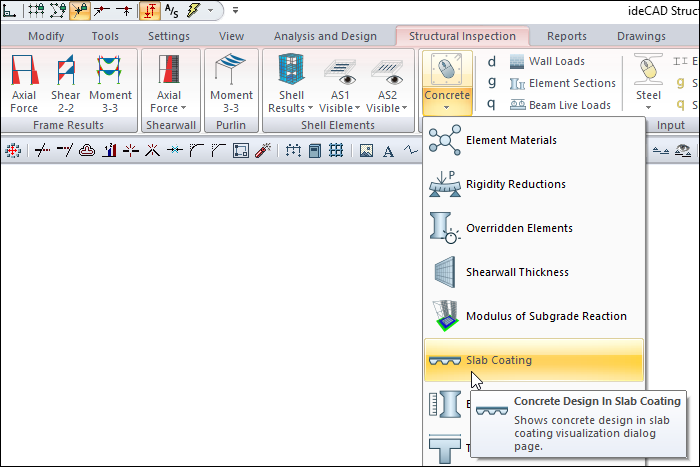
Open the Concrete list in the ribbon menu Input heading.
-
Click the Slab Coating command.
-
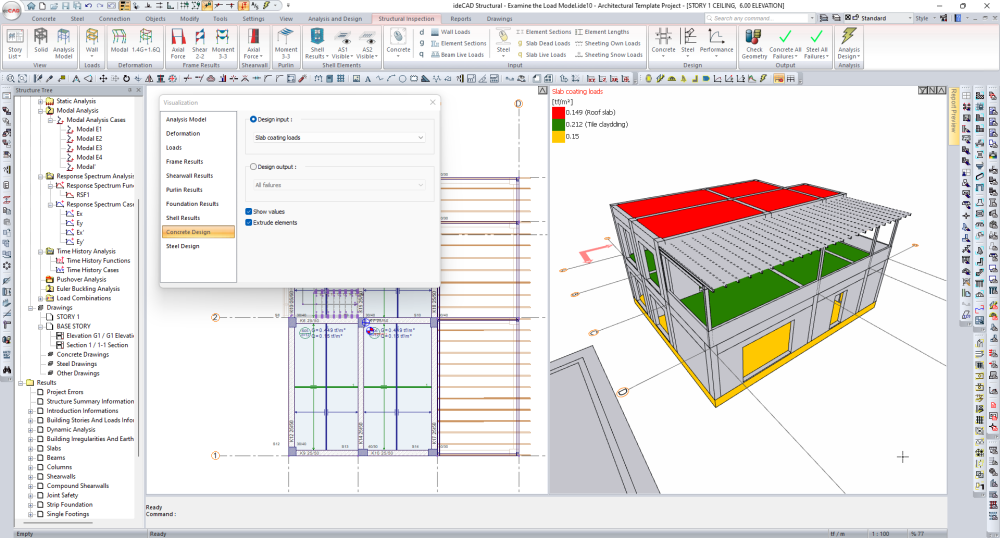
In the Visualization Window, the definitions of coating loads can be examined.
-
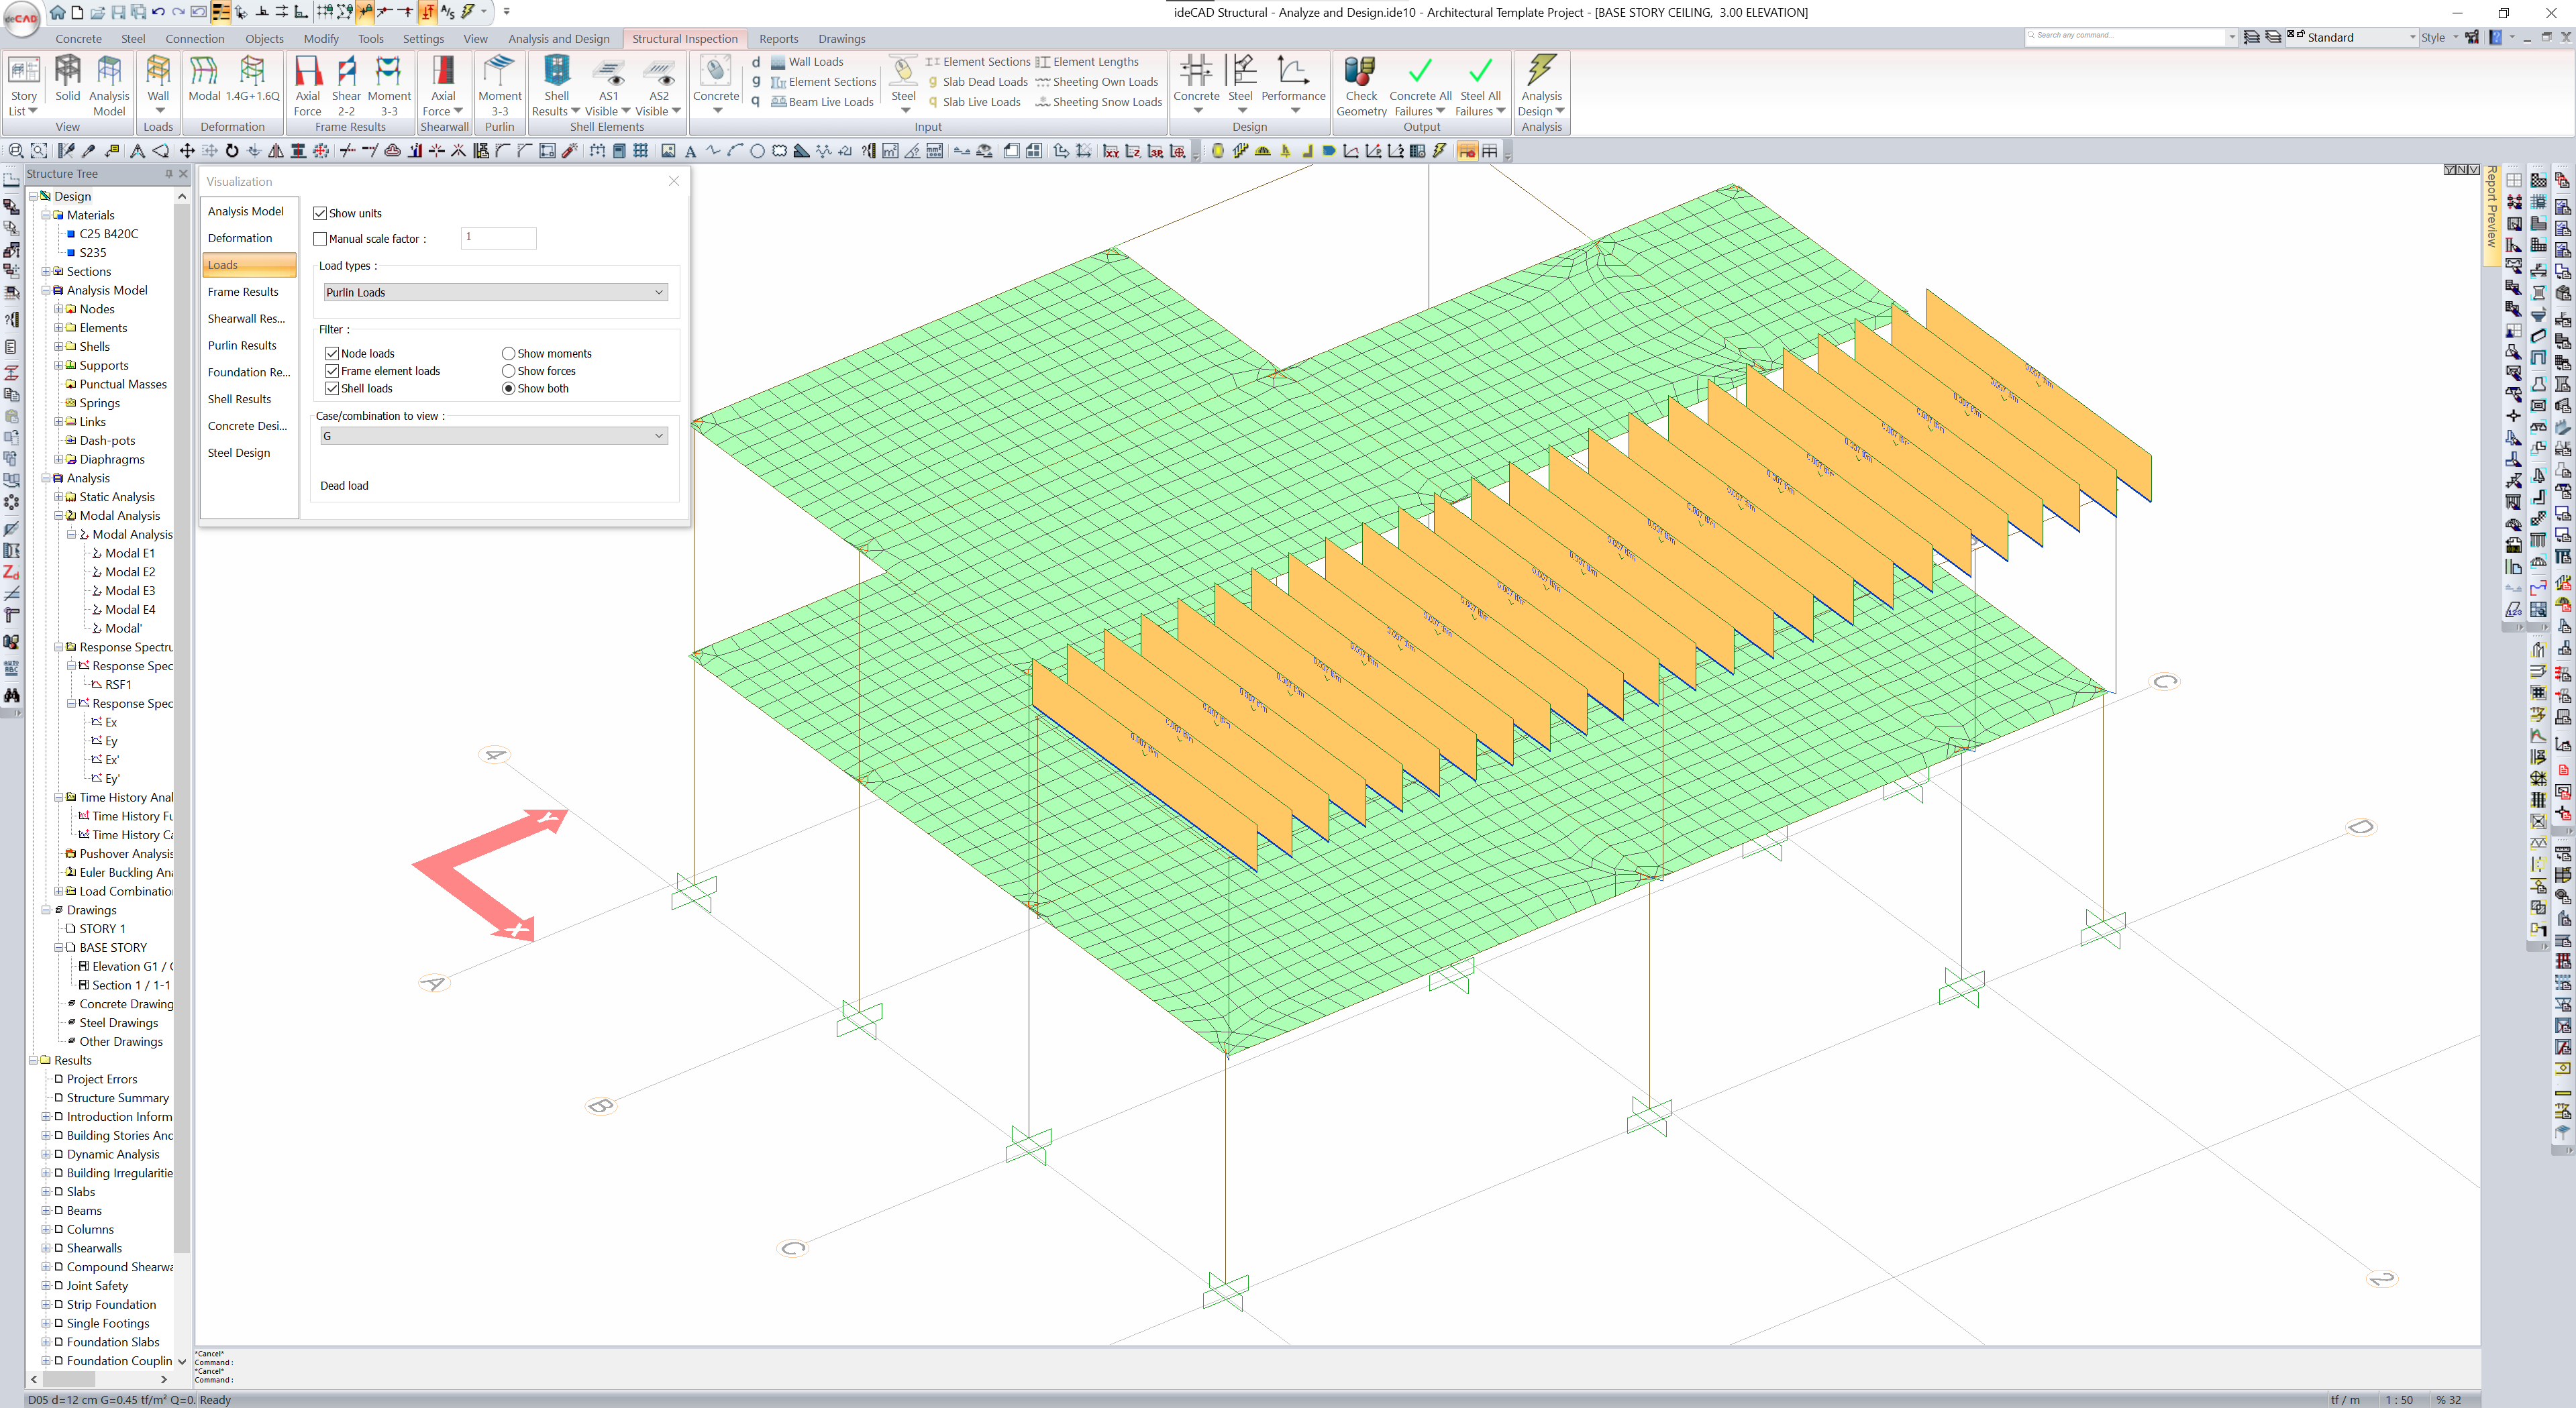
From the visualization dialog, click the Loads tab.
-
Select Purlin Loads from the Load types list.
-
The coating loads acting on the steel purlins are displayed in the visualization window.
-
Select Own load from the Load Types list.

-
The own loads of all elements will be seen in the visualization window.
Follow the steps of the video below.
Next Tutorial