
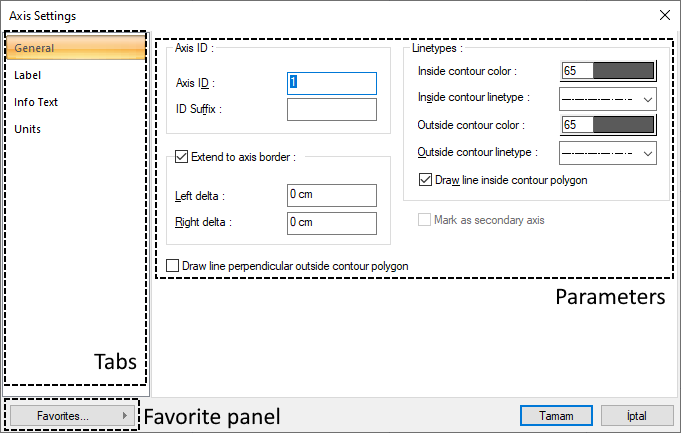
Dialogs are tools that display parameters, information, and options. You can review and/or change parameters and options from the dialogs. There are tabs in the dialogs where parameters are classified. To access a parameter, a dialog is opened first, then the relevant tab is clicked.
The Axis Settings dialog is shown below as an example.
Input Types of Parameter
Parameters have different input types. The table below contains the parameter input types and examples.
|
Entry Types and Fuctions |
|
Single choice 
Marking allows you to activate the feature, and to deactivate it by removing the mark. |
|
Multiple choice 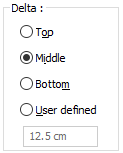
It allows you to choose from 3 - 4 different options. |
|
Value 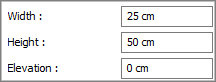
Allows you to enter values for a numeric property such as size. |
|
Text It allows you to enter text content such as names. |
|
Listing 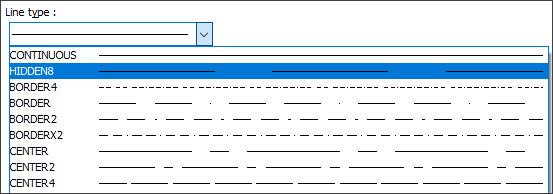
It allows you to choose from the drop-down list. |
|
Value and List 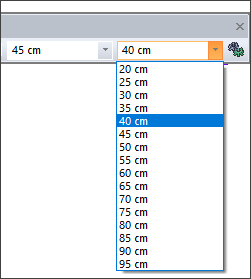
You can choose from the drop-down list or enter a value if you want. |
|
Increment/ Decrement Allows you to increase/decrease by clicking the arrow keys. |
|
Visual List 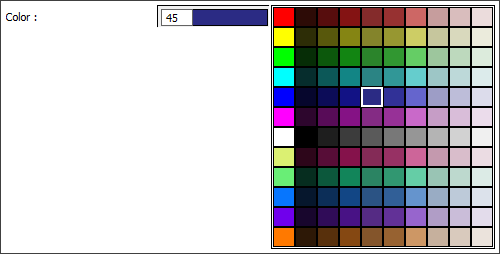
It allows you to select your selection from the visual drop-down list with a preview. |
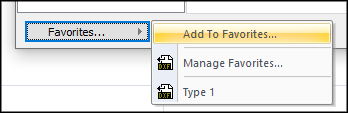
Favorites Panel
With the favorites feature, you can save the objects you use regularly from the favorites panel and use them whenever you want by selecting them from the panel.
Changing the Properties of Existing Objects
To change the properties of existing objects, double click on the relevant object. Desired changes can be made from the opened object dialog.
As an alternaive
-
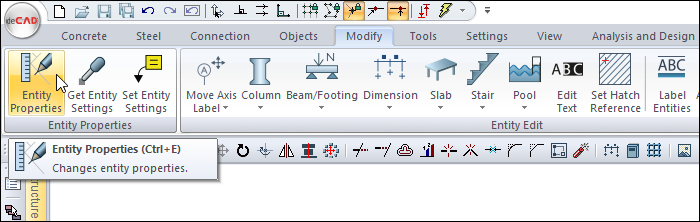
Click the Object Properties icon from the object properties title of the ribbon menu change tab .
-
The changed mouse cursor is placed on the object to be changed. When the left mouse button is clicked, the relevant object settings dialog appears.
-
After making the desired changes here, the dialog is closed by clicking the OK button with the left mouse button. It is seen that the properties of the relevant object have changed.
When more than one same object is selected at the same time, the change applies to all objects.
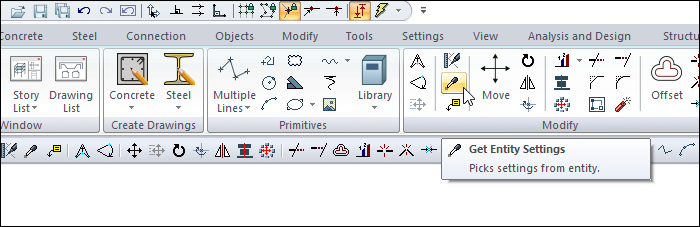
Get Entity Settings From Object
The Get Entity Settings command copies the settings of a previously drawn object. After using the Get Entity Settings command, the properties setting of the new element to be drawn will be the same as the underlying element.
-
Click the Get Entity Settings icon on the Change tab .
-
Move the left mouse button over the object you want to be active.
-
Click the left mouse button. Object settings will be copied.
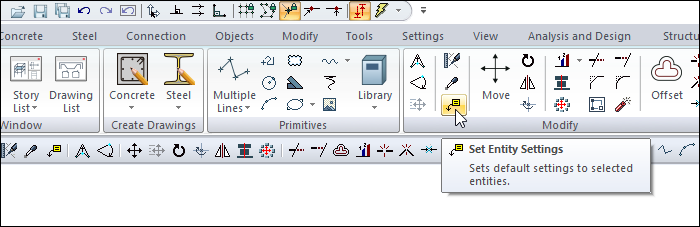
Set Entity Settings to Object
The Set Entitiy Settings command copies the settings of a drawn object to another drawn object.
-
Click the Get Entity Settings icon.
-
Move the left mouse button to the object whose settings you want to copy.
-
Click the left mouse button. Object settings will be copied.
-
Click the Set Entity Setting icon from the Modify tab .
-
Click sequentially on the object/objects to which the settings will be applied.
-
Settings will be applied to the objects you click.
Next Topic