
To add a landing to the first ramp area;
-
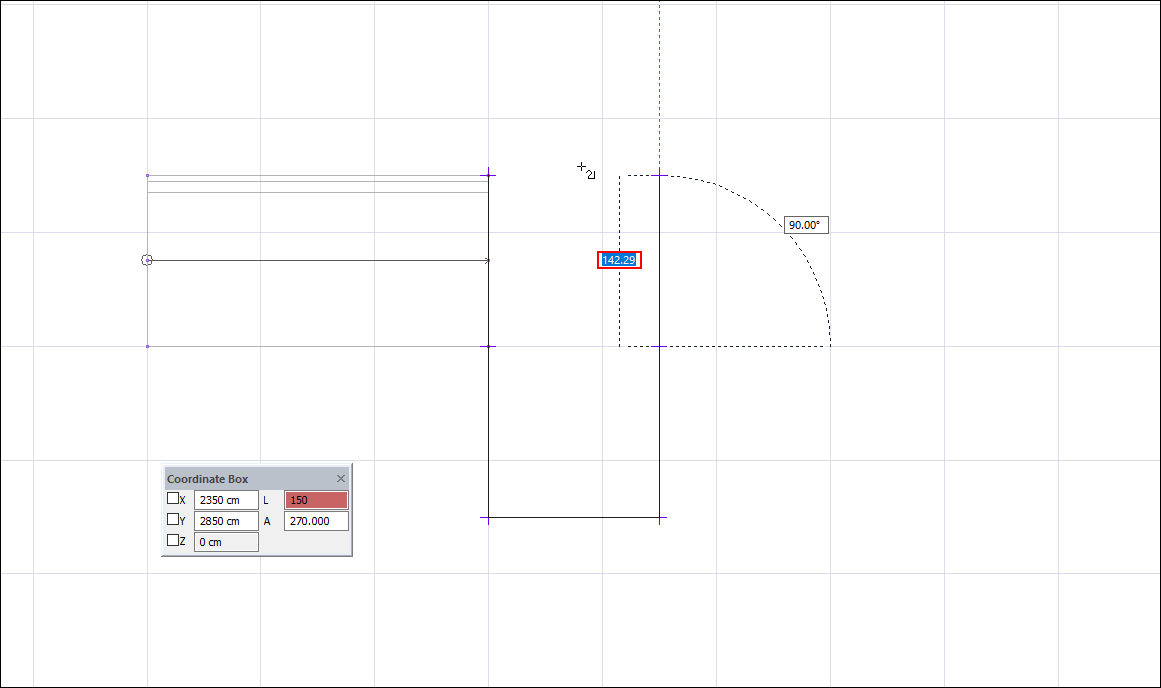
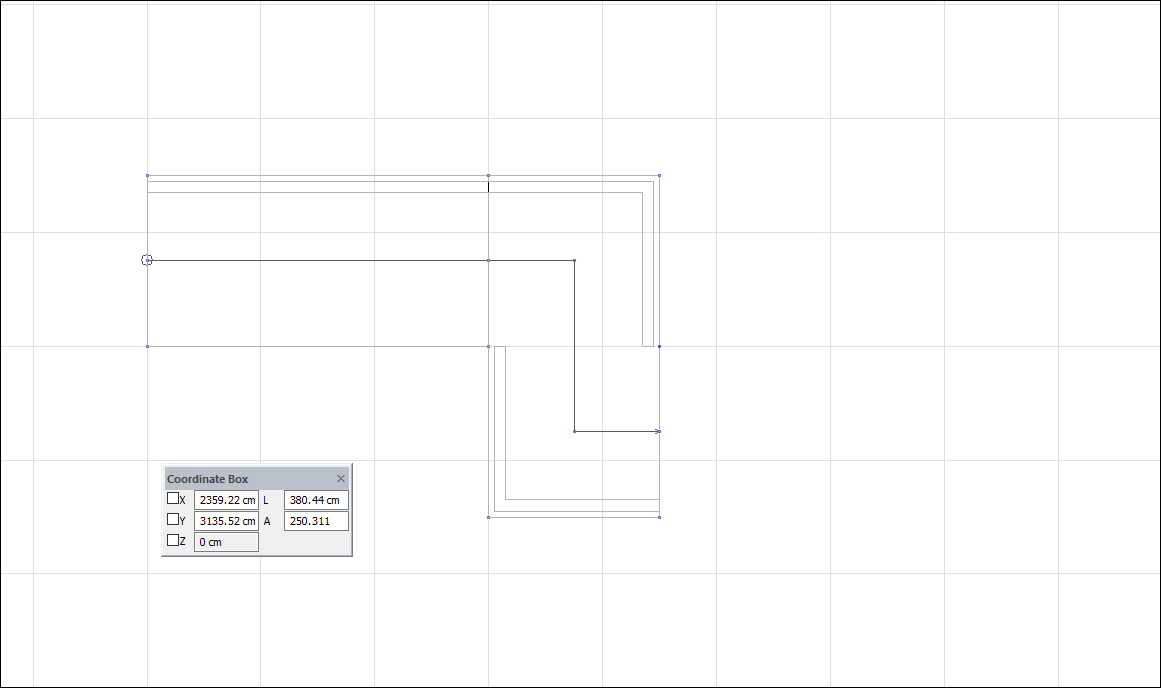
With the path command, create the outer boundary of the landing taking into account the first ramp area and the second ramp area to be added afterwards. Care should be taken to overlap the joints of the ramp area and the landing.
-
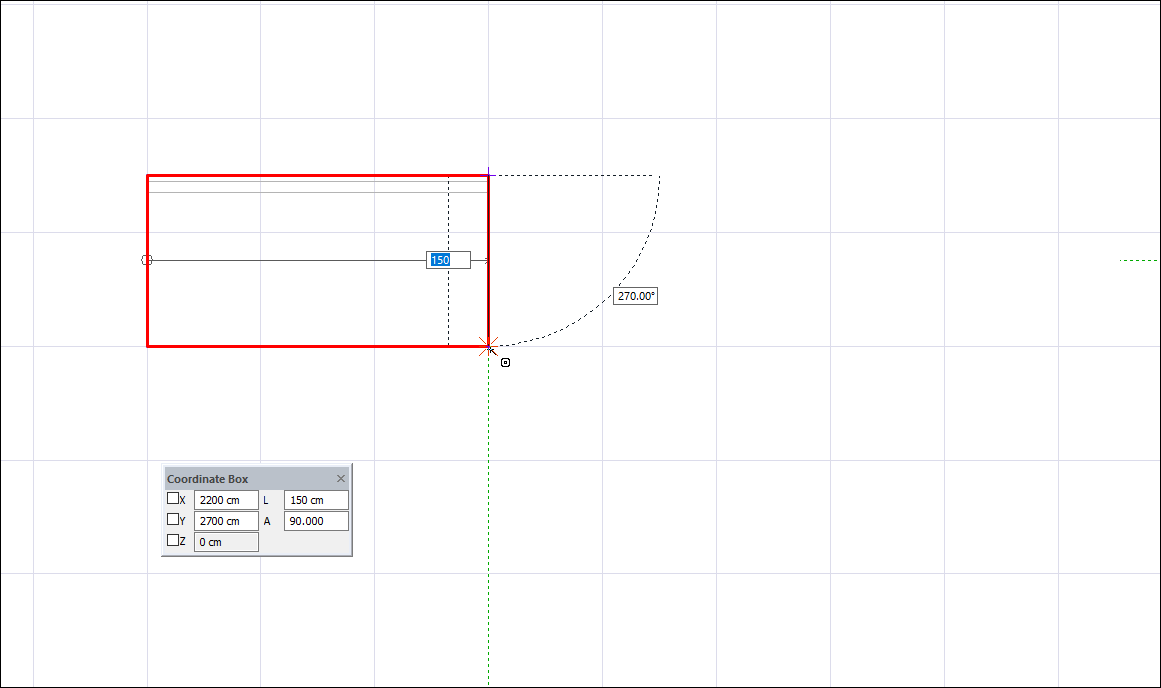
Start to create the outer border of the landing by clicking on the upper right and lower upper joints of the first ramp area.
-
Press the L key on the keyboard to complete the landing height . Enter 150 (cm) as the length value and press Enter.
-
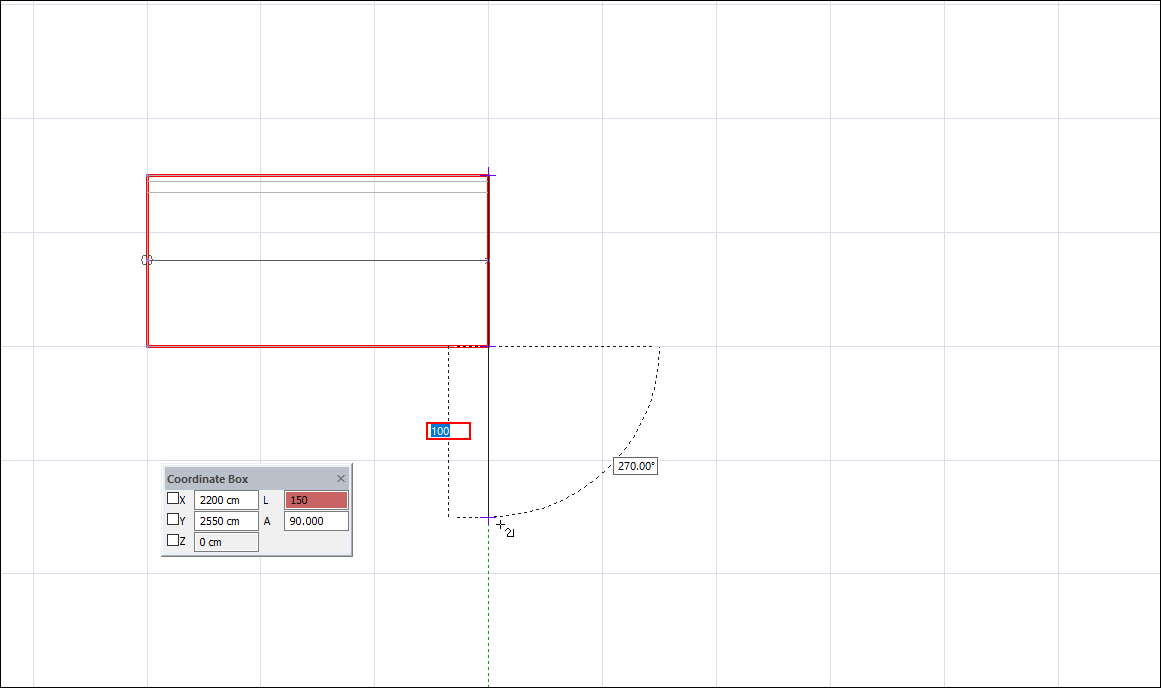
Click the left mouse button to create the landing size.
-
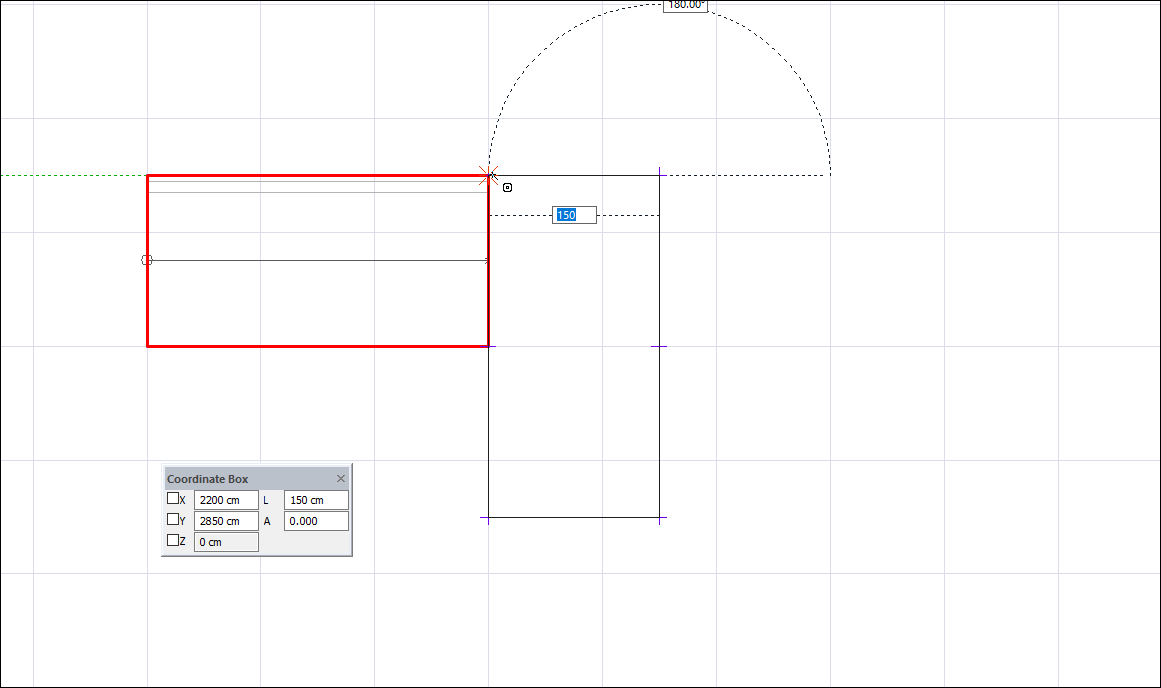
Press the L key on the keyboard to enter the landing width . Enter 150 (cm) as the length value and press Enter.
-
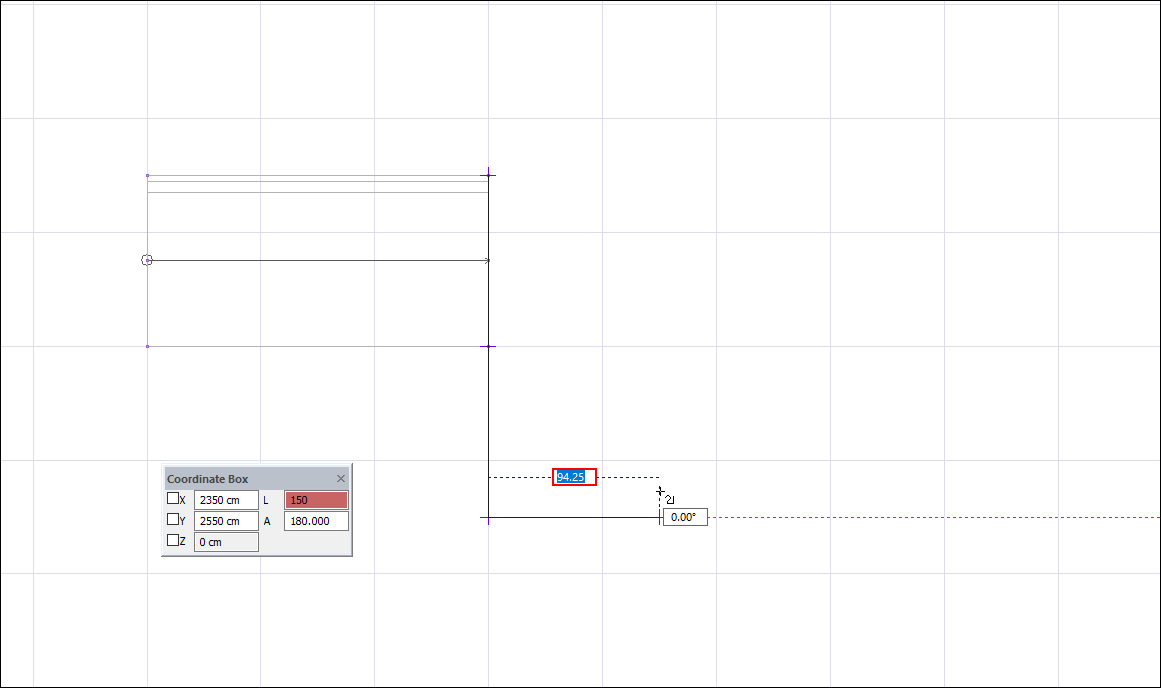
Click the left mouse button to create the landing width.
-
Press L on the keyboard to locate the second ramp area . Enter 150 (cm) as the length value and press Enter.
-
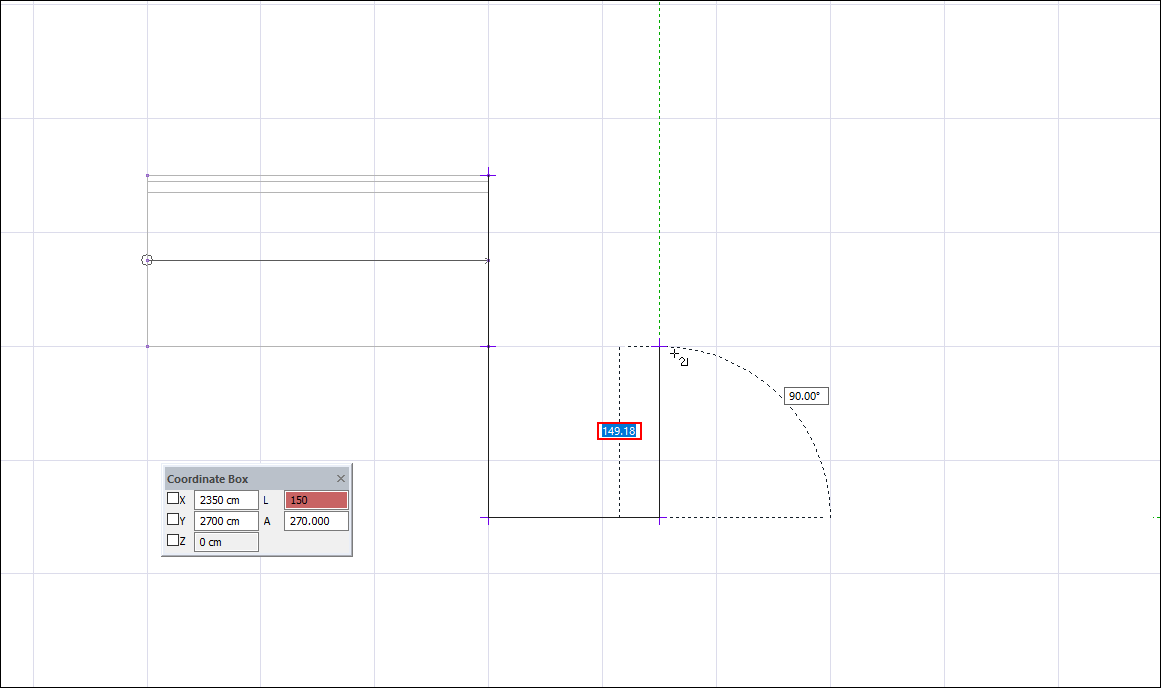
Locate the second ramp area by clicking the left mouse button.
-
Press the L key on the keyboard to complete the landing height . Enter 150 (cm) as the length value and press Enter.
-
Click the left mouse button to create the landing size.
-
Click on the starting point to complete the landing border.
-
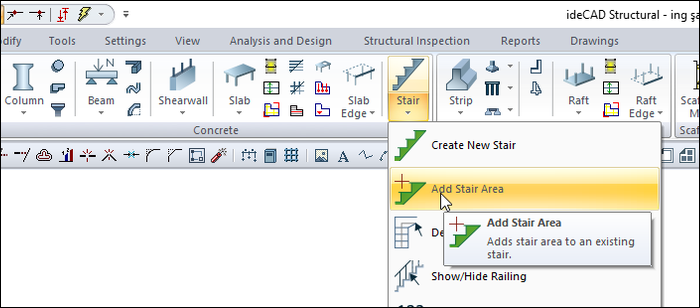
Click the Add Stair Area icon from the ribbon menu .
-
The stair toolbar will open.

-
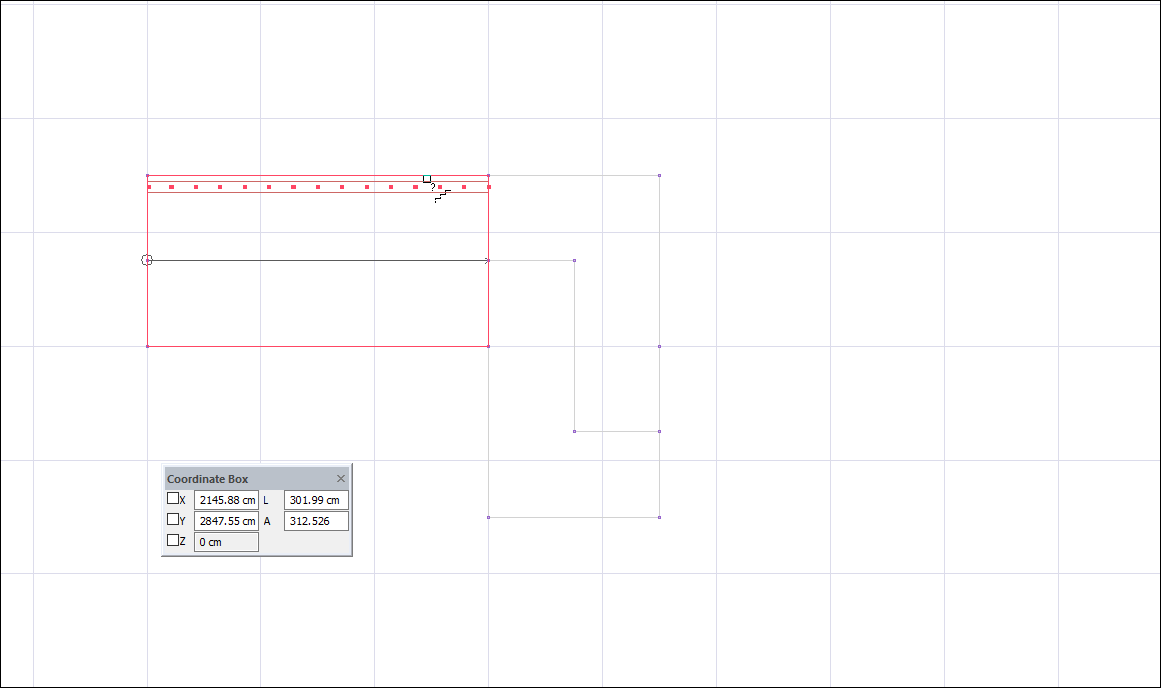
Click on the first ramp area created earlier.
-
Click the outer contour you have drawn as a landing and then the line you have drawn.
-
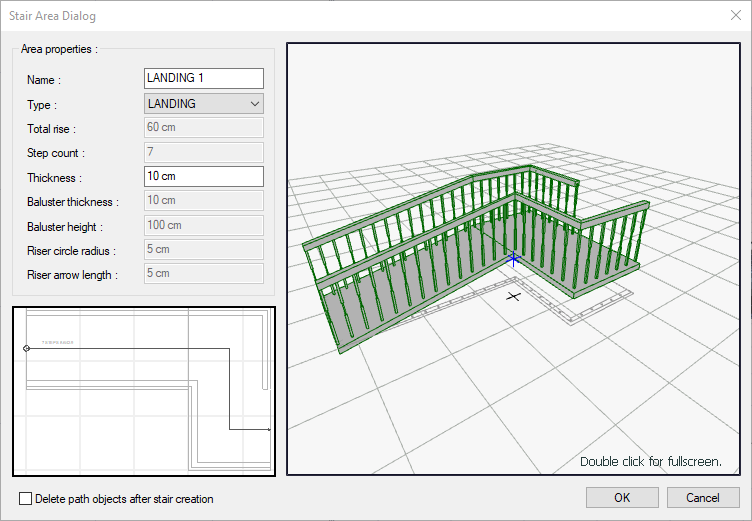
The stair areas dialog will open. Since this part will be the landing, select the landing from the "Type" section.
-
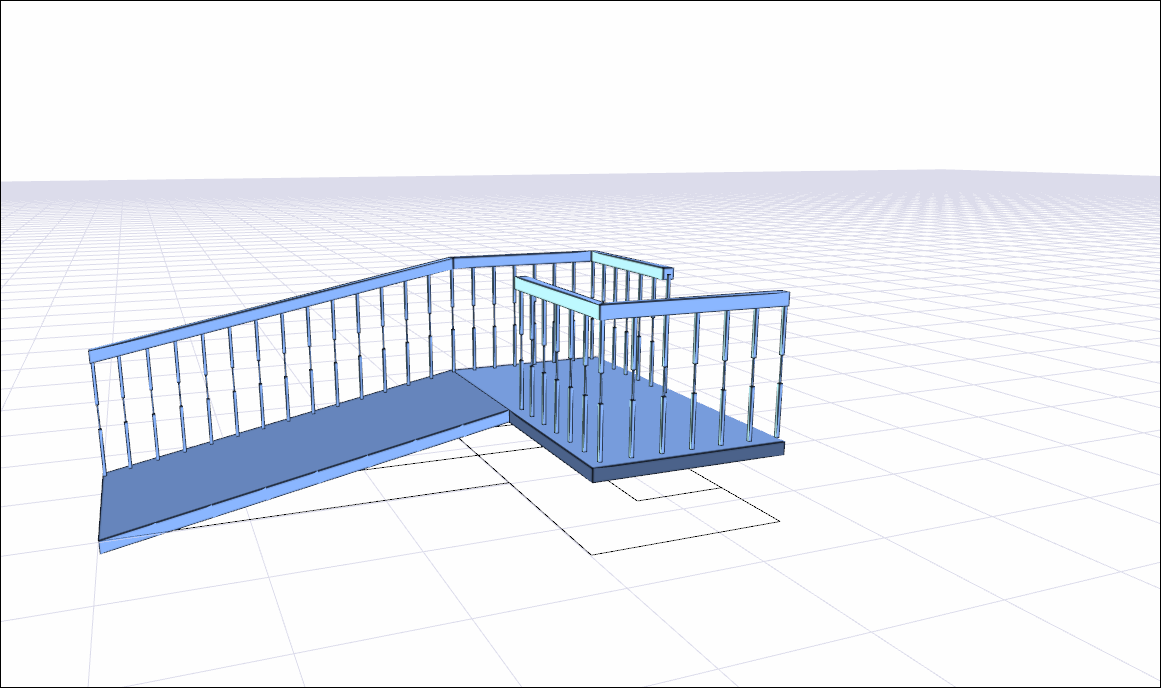
Click the OK button. There will be a landing after the first ramp area.
Next Topic