
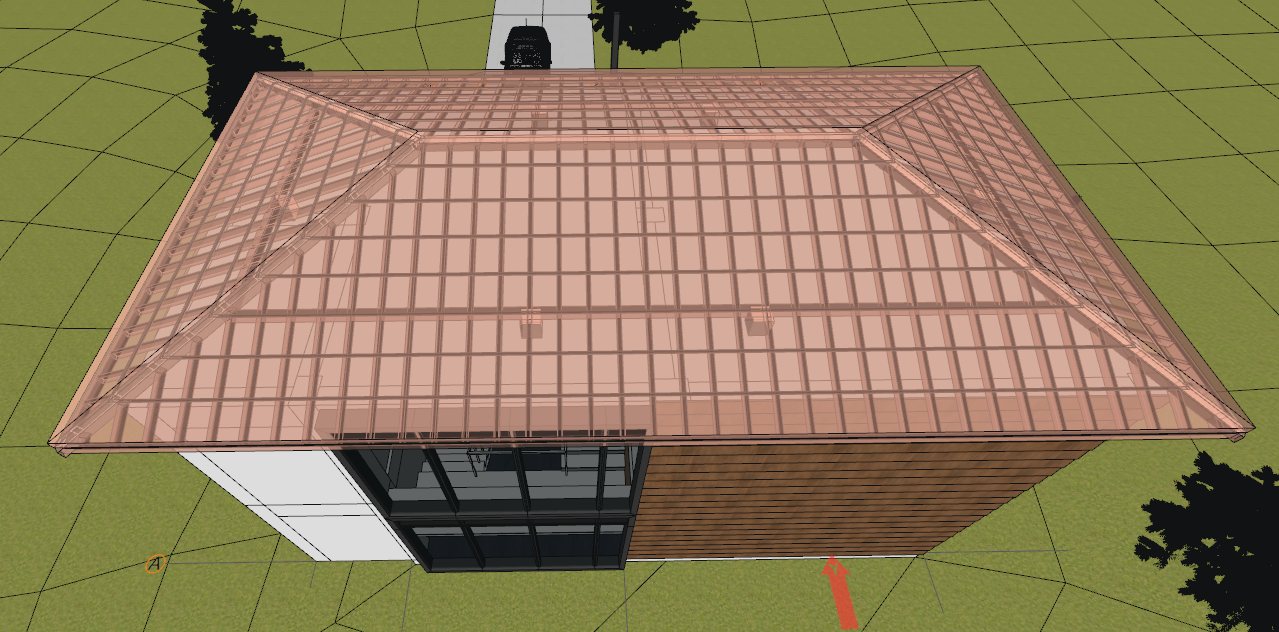
Posts are vertical carrier elements that transfer the load from the purlins and rafters to the slab. With the post command, post roof detail is created.
In order to draw a post, a purlin, hip/valley rafter and rafter should be defined first. Without these elements, the post cannot be defined.
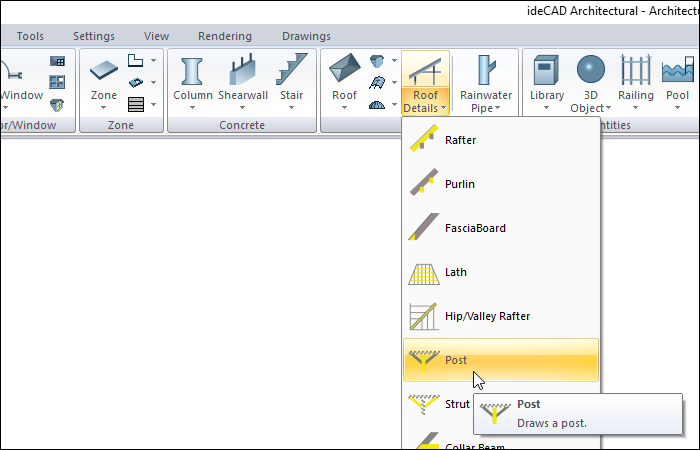
Location of the Post Command
In the Architectural Program
You can access it under the ribbon menu Home tab Roof title.
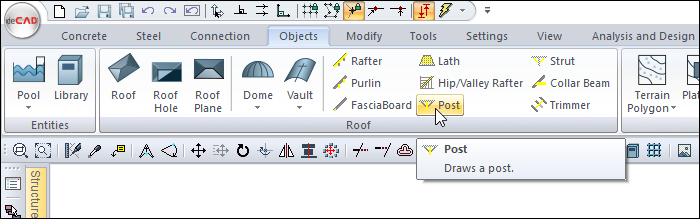
In Structural Program
You can access it under the ribbon menu Objects tab Roof title.
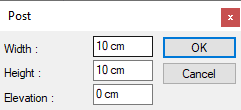
Post Settings Dialog
|
Specifications |
|---|
|
Width The width of the post section is entered. |
|
Height The height of the post section is entered. |
|
Elevation Elevatin is used to lengthen and shorten the post here. Positive elevation shorten the post from lower end, negative value lengthens it. |
Usage Steps
To draw a post:
-
Click the Post icon in the ribbon menu .
-
Click with the left mouse button on the purlin or hip/valley rafter where you want to create a post.
-
Click on the rafter or or hip/valley rafter you want to create a post with the left mouse button.
-
The post dialog will be displayed. Make the necessary settings here and press the OK button.
-
Post drawing will be completed.
-
Create other posts with the above process order.
|
Usage step |
|---|
|
Selection of purlin or hip/valley rafter when in post command 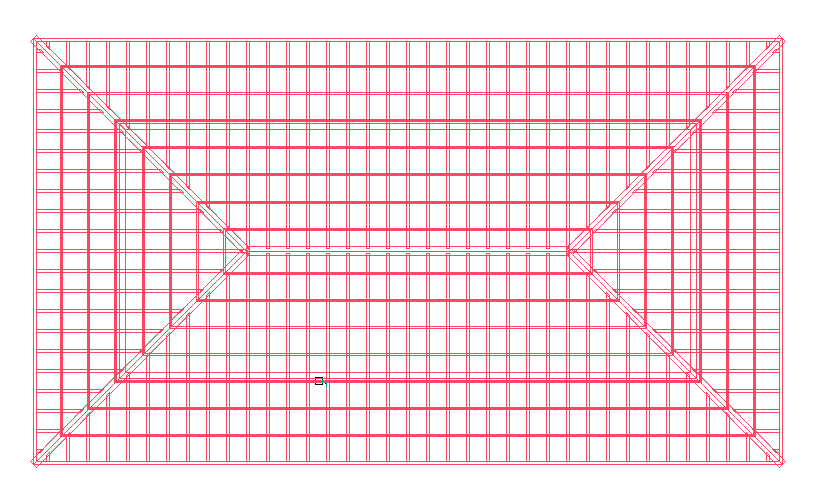
|
|
Selection of rafter or hip/valley rafter to create a post 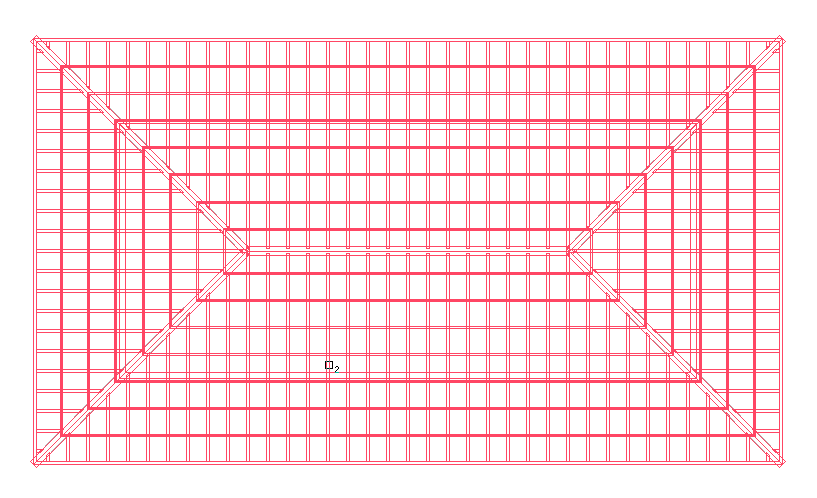
|
|
Post preview creation 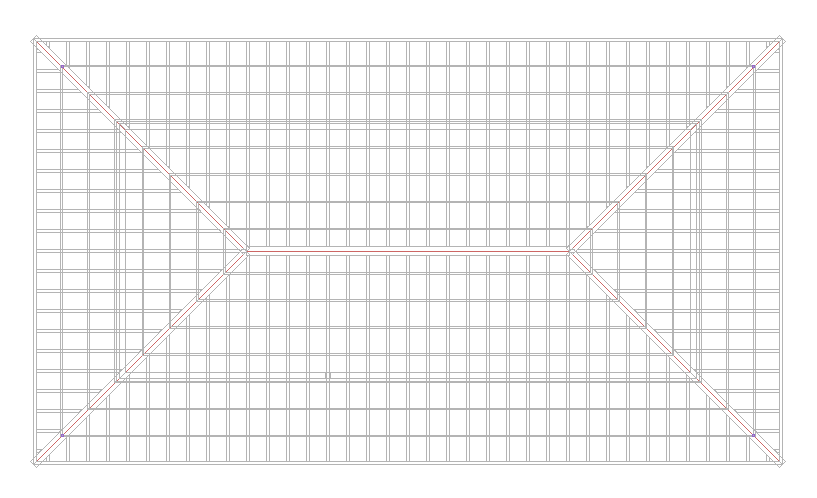
|
|
Making settings in the post settings dialog - entering the post width and height 25 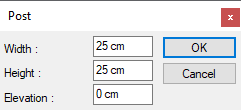
|
|
Preview change according to the entered value 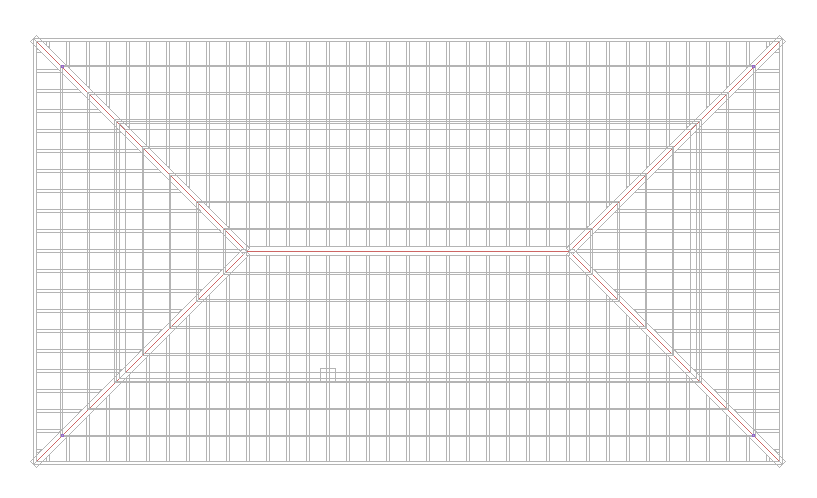
|
|
Formation of posts 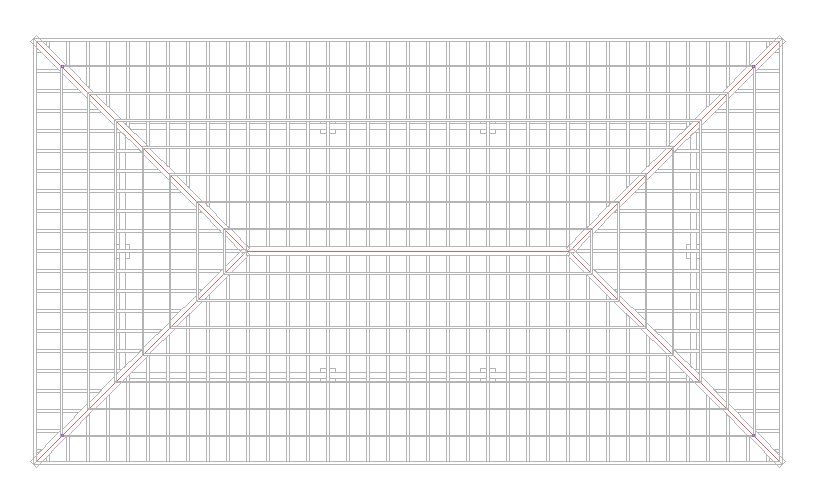
|
Next Topic
Related Topics