
With the Border Vault command, a vault is created by determining the vault borders. The border vault is realized by clicking four points in the drawing area. As in the vault drawing, first the form of the vault section is drawn on the drawing area with arc, curve or lines. Then the border vault drawing is started.
Location of Border Vault Command
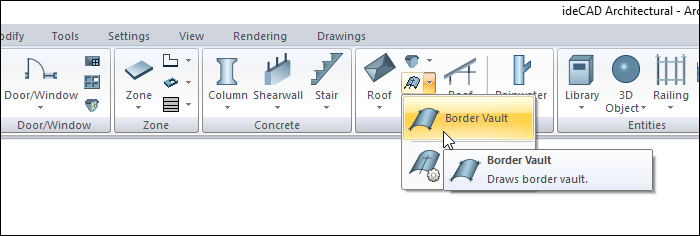
In the Architectural Program
You can access under the ribbon menu Home tab, Roof title.
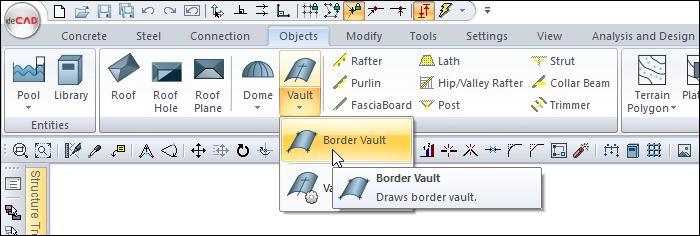
In Structural Program
You can access ribbon menu, Objects tab, Roof title.
Usage Steps
-
Draw the shape of the vault section in the drawing area using the line, arc or curve commands. If you want, you can create 4 points that you can click in the drawing area in advance.
-
Click the Border Vault icon from the ribbon menu.
-
The vault toolbar will open.
-
Select lines, arc or curve for the section by clicking with the left mouse button in the drawing area.
-
Click the right mouse button. The cursor will change.
-
Click on the drawing area with the left mouse button. This bounder will define the first point of the vault.
-
Click on your second point with the left mouse button.
-
Click on your third point with the left mouse button. As you click on the dots, a preview of your vault will be created based on your mouse movement.
-
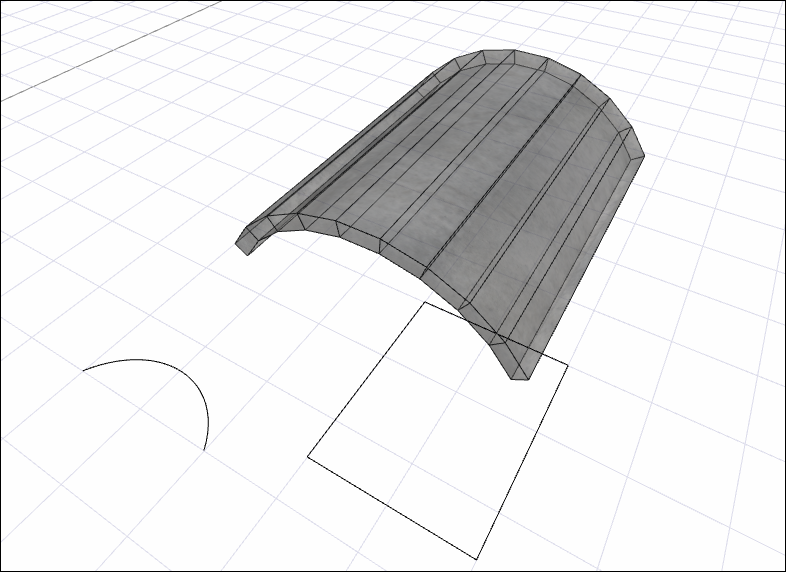
Click on your fourth point with the left mouse button. The border vault drawing will be completed and your vault will be formed.
-
If you want, you can choose a new section and create an border vault.
-
Exit the command by pressing the esc key on the keyboard.
|
Usage step |
|---|
|
Defining the cross section and boundary for the vault 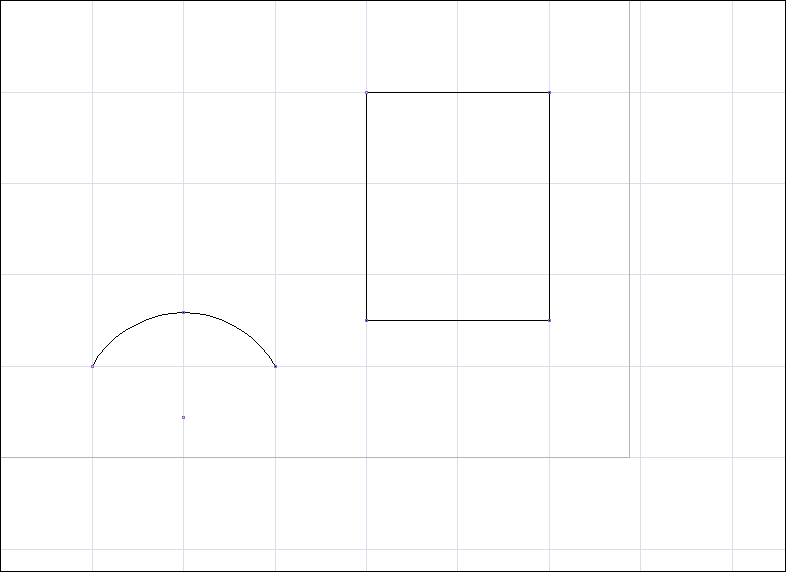
|
|
Choosing a section for the vault 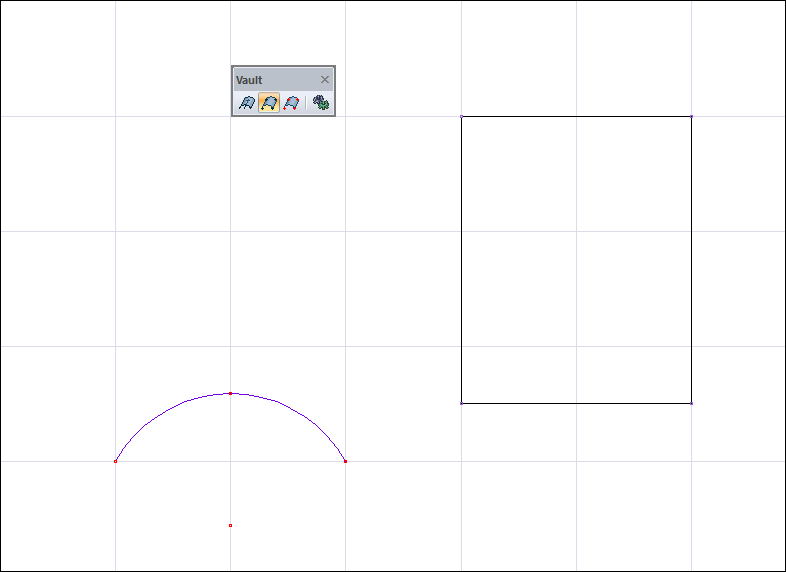
|
|
Creating the first point of the vault 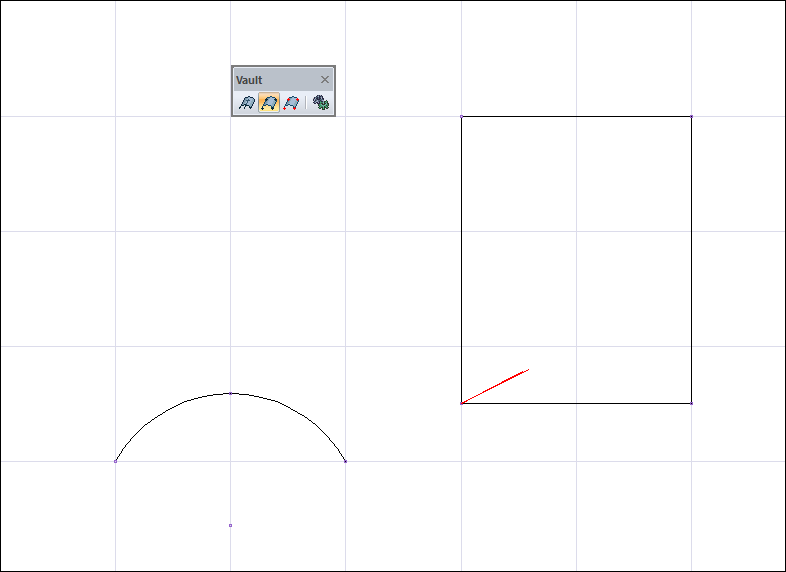
|
|
Creating the second point of the vault 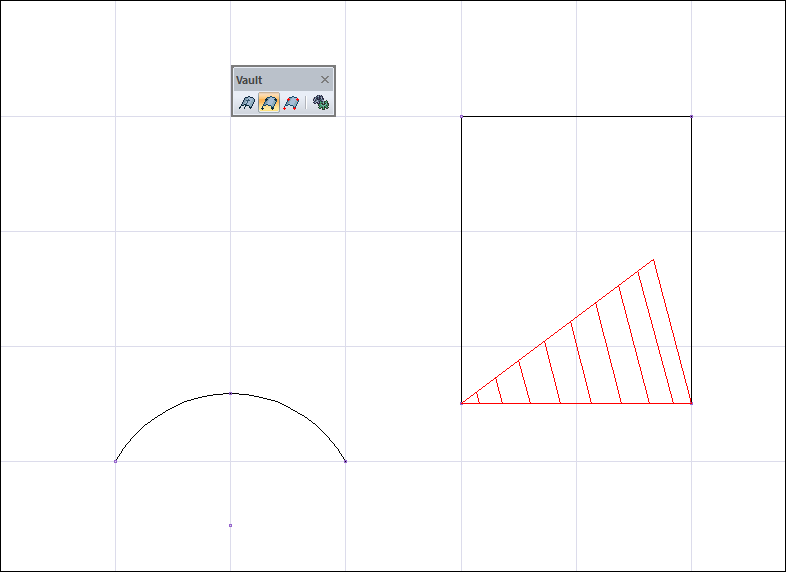
|
|
Creating the third point of the vault 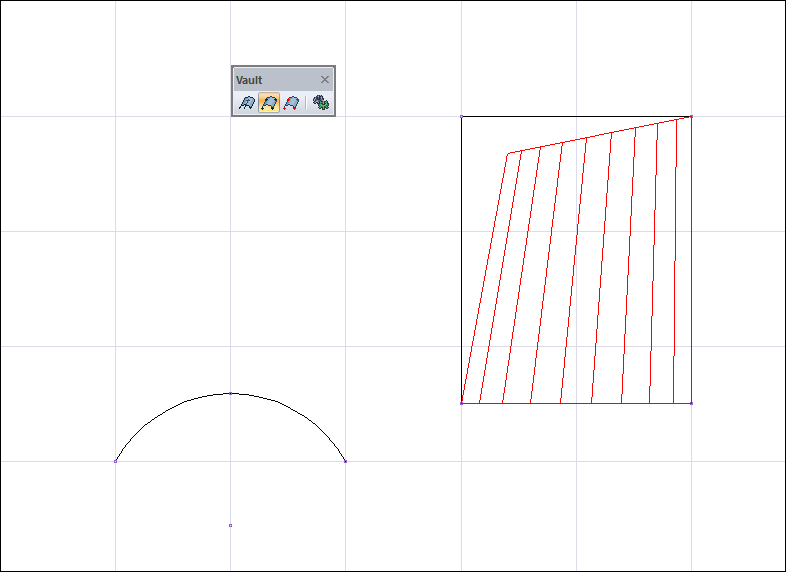
|
|
Formation of the fourth point of the vault 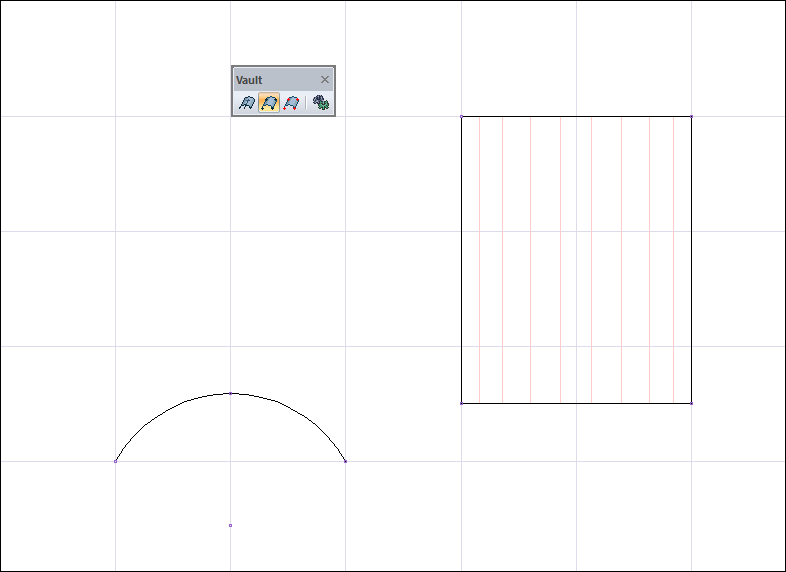
|
|
Completing the creation of the vault 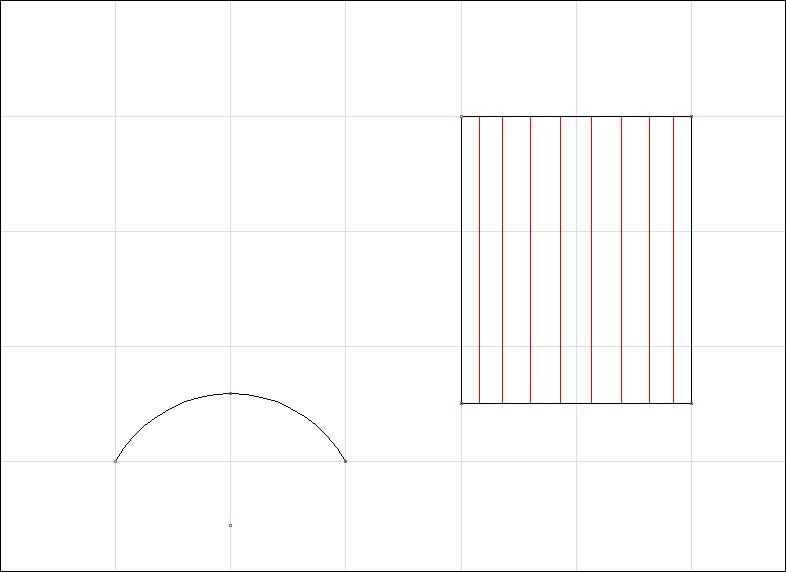
|
Next Topic
Related Topics