
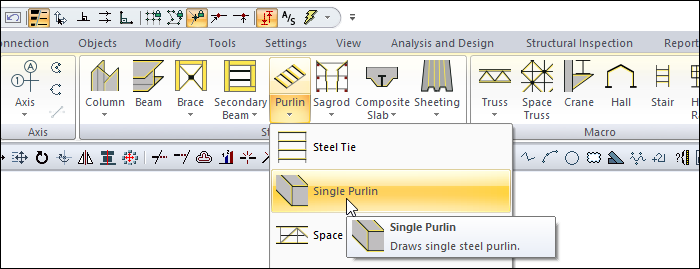
With the single purlin command, a single purlin is drawn between two beams.
Location of Single Purlin Command
You can access it under the ribbon menu, Steel tab, Steel heading.
Usage Steps
-
Click the Single Purlin icon from the ribbon menu .
-
The steel purlin toolbar will open.
-
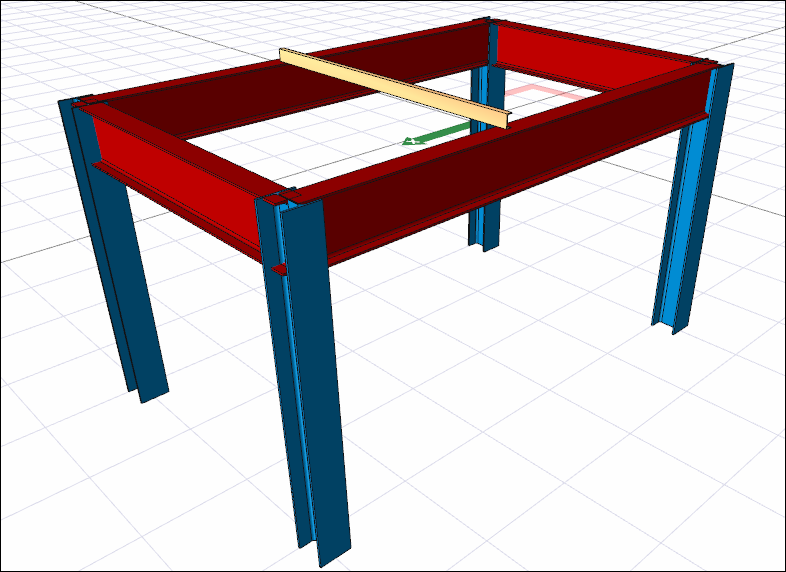
Locate the first point on the beam where you want the purlin to begin.
-
Your purlin will move with the movement of your mouse.
-
Click the profile list in the steel purlin toolbar and select a profile from the list.
-
You can draw a straight or perpendicular edge by pressing the shift key on the keyboard.
-
By pressing the spacebar, you can define your purlin by holding different points (bottom corner, middle or top corner). Every time you press the spacebar, your alignment will change.
-
Make your second point by placing the cursor over the other beam. The program will create a preview of your next purlin.
-
Press esc to exit the command. Your purlin will be formed.
|
Usage step |
|---|
|
The area to be created in a single purlin 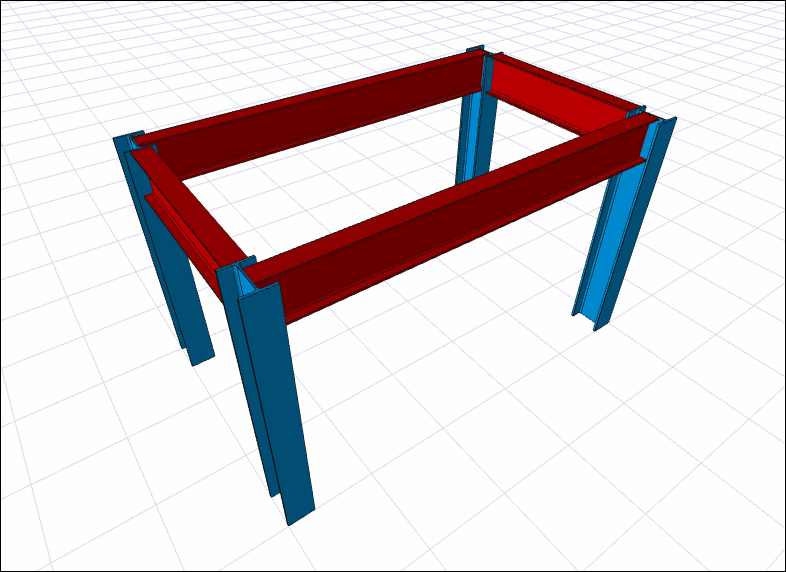
|
|
Determining the first point of purlin 
|
|
Selecting a new profile from the profile list 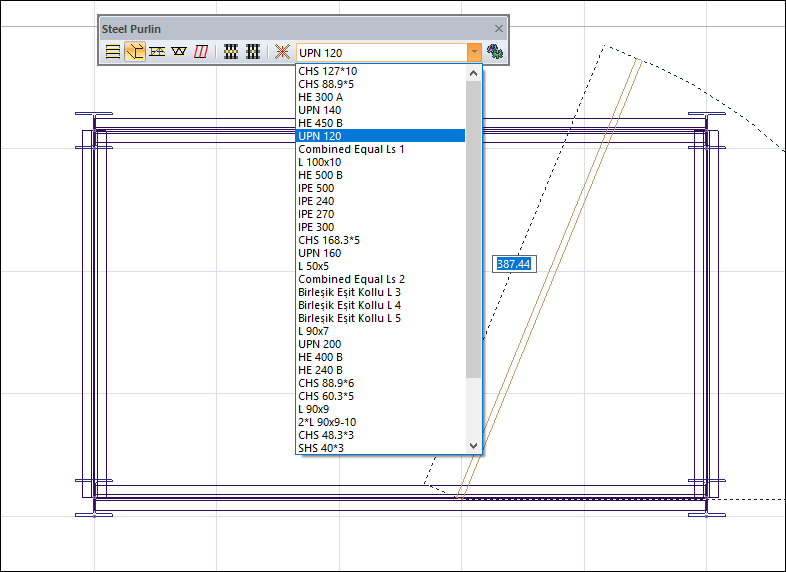
|
|
Obtaining a single purlin by pressing the Shift key on the keyboard 
|
|
Changing the delta by pressing the spacebar on the keyboard 
|
|
Determination of the second point of the purlin 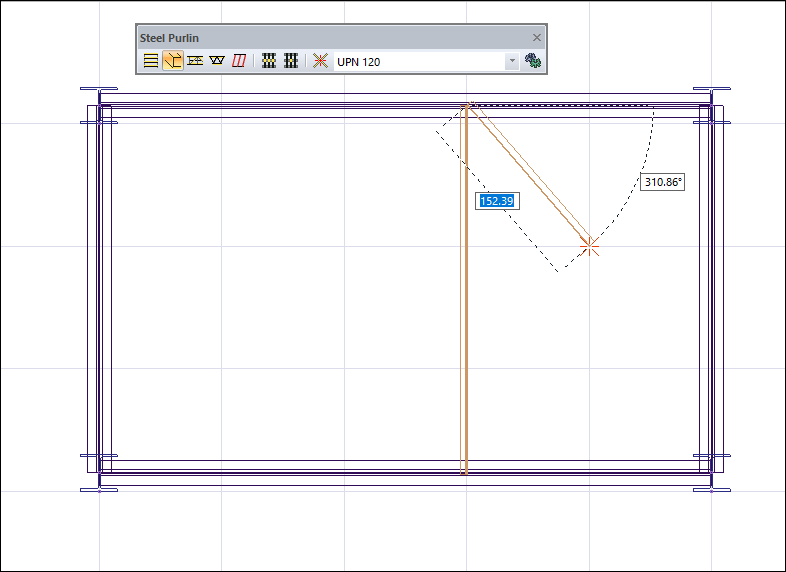
|
|
The formation of the purlin 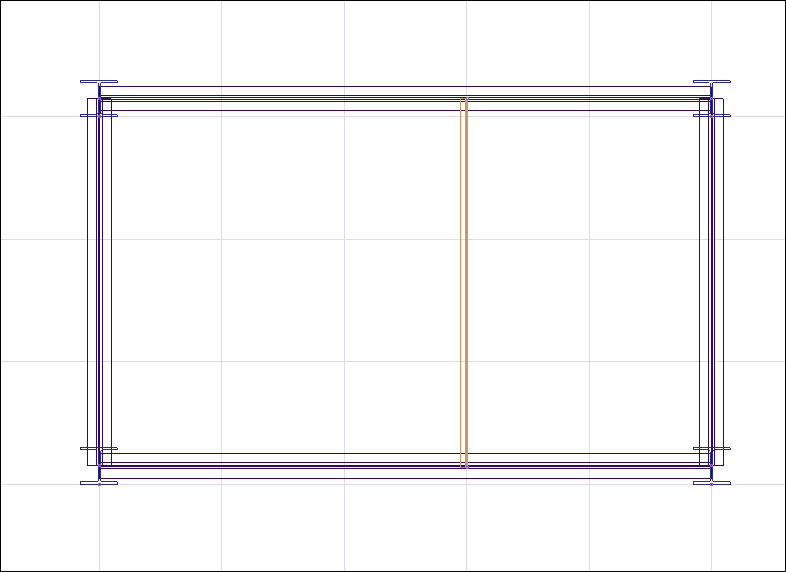
|
Next Topic