
Edits on the camera path created for animation are made by interfering with the camera path. The location of the points (cameras) that make up the camera path, the direction of view, the interval times can be changed from the timing settings.
Editing Camera Path
Editing can be made on the defined camera path.
-
Choose the camera path for this.
-
The camera has two points, one on the road and the other to show the direction of view. The more points added during the route definition, the more cameras are placed and when selected, the points of each are marked as red colored points.
-
The path line is selected, mouse is placed on one of the points on it and click the node point with the left mouse button.
-
The location of the node will change depending on the movement of your mouse.
-
Take it to its new location and place it by clicking the left mouse button.
-
Click the other point that represents the viewing direction with the left mouse button.
-
Your direction of view will change depending on the movement of your mouse.
-
Decide the direction and place it by clicking the left mouse button.
-
You can also make changes to other nodes in the camera path.
|
Usage step |
|---|
|
The initial version of the camera path 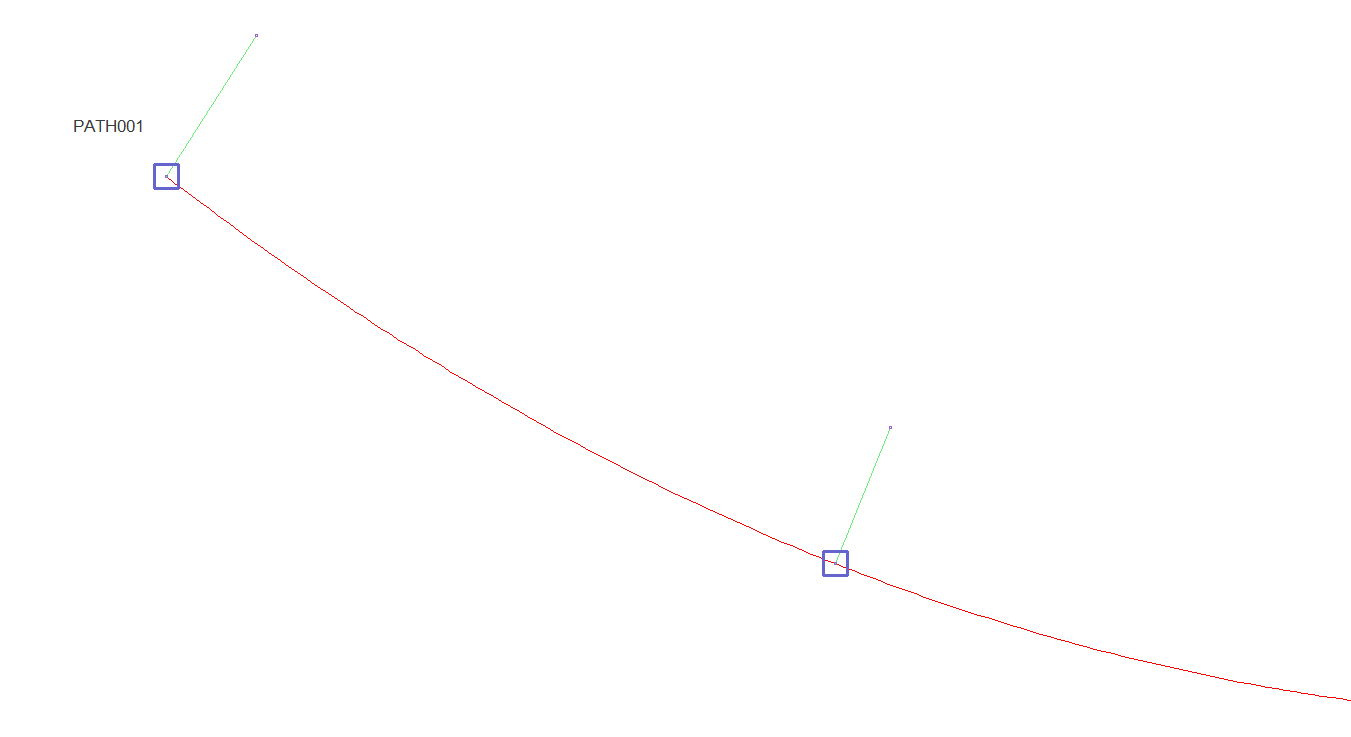
|
|
Choosing the camera path 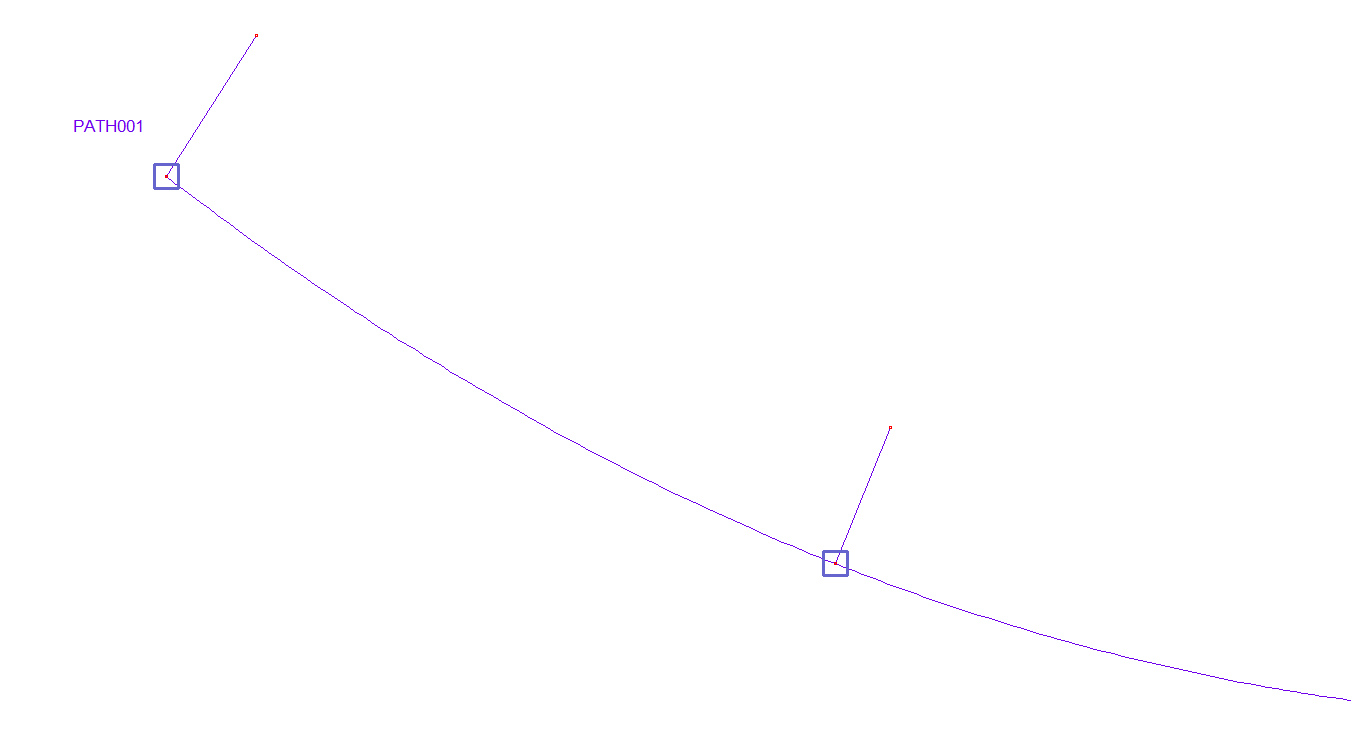
|
|
Changing the location by clicking on the node on the path 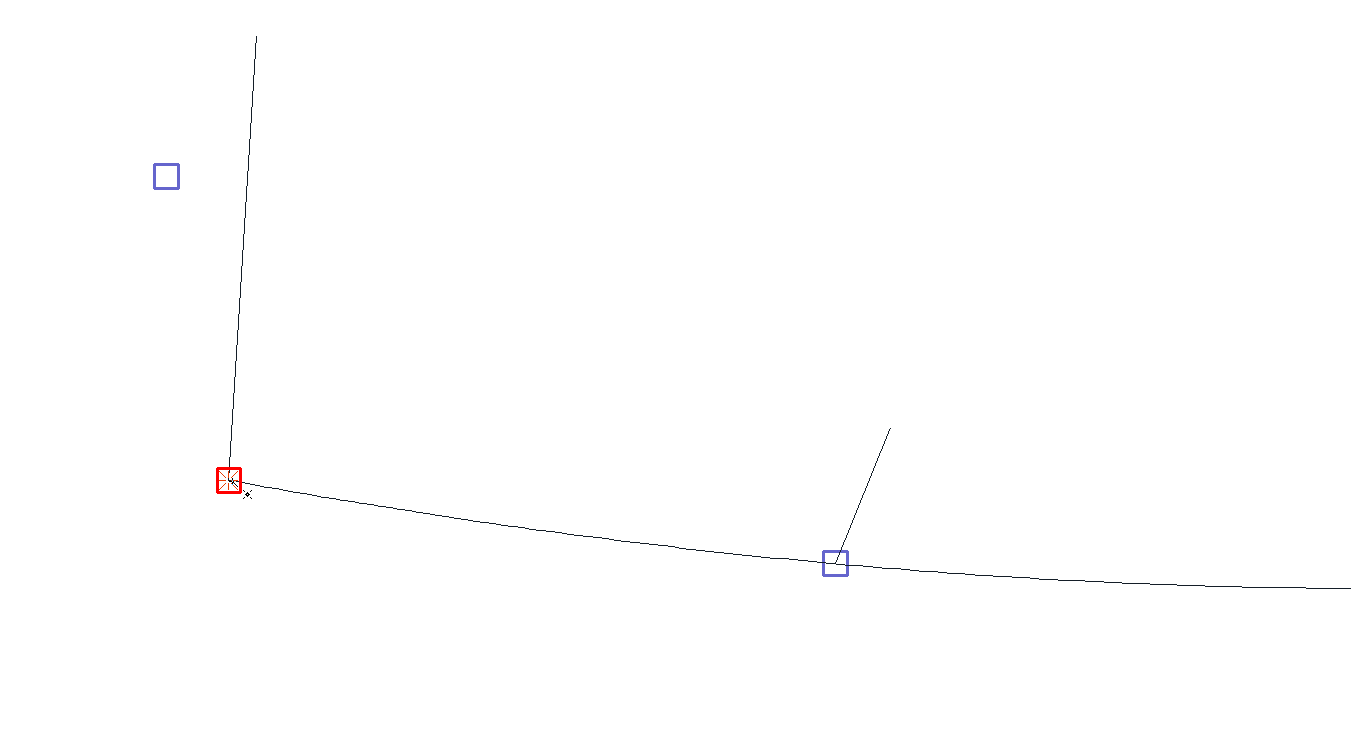
|
|
Changing the direction of view 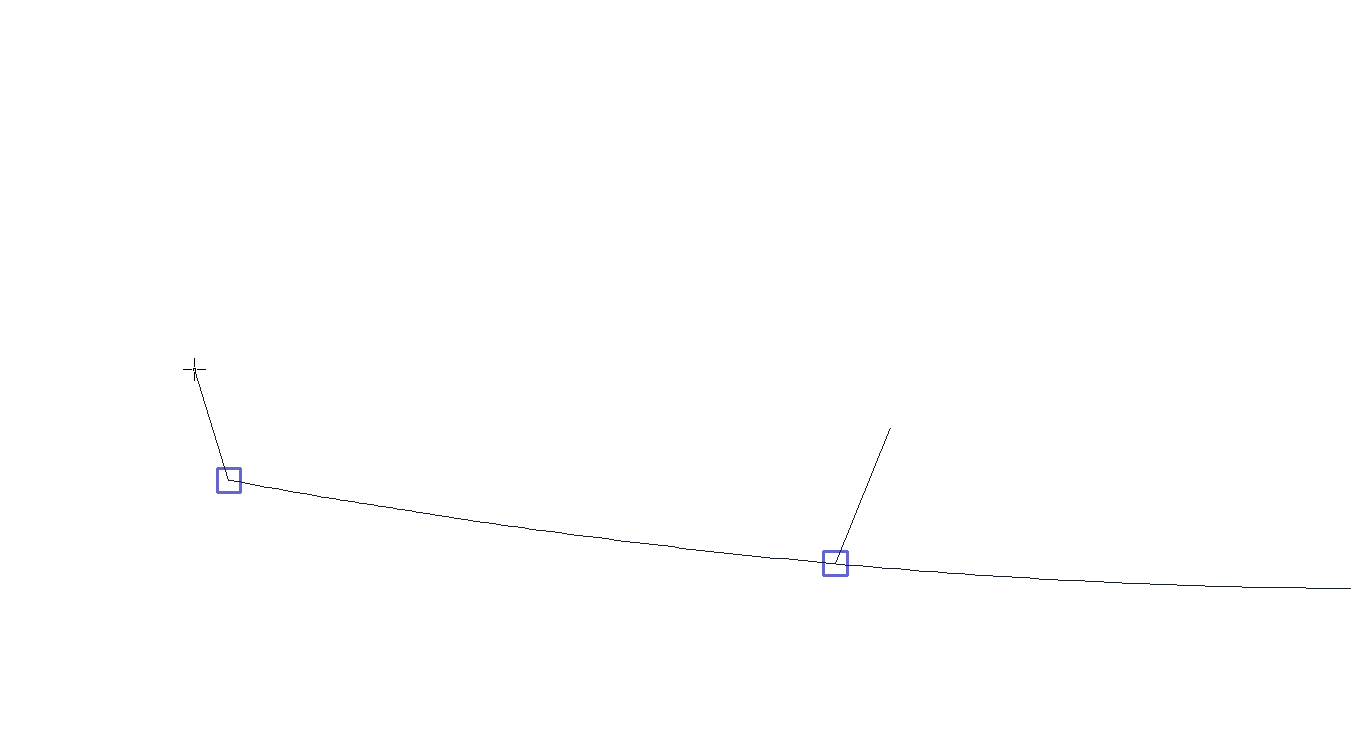
|
|
Final camera path 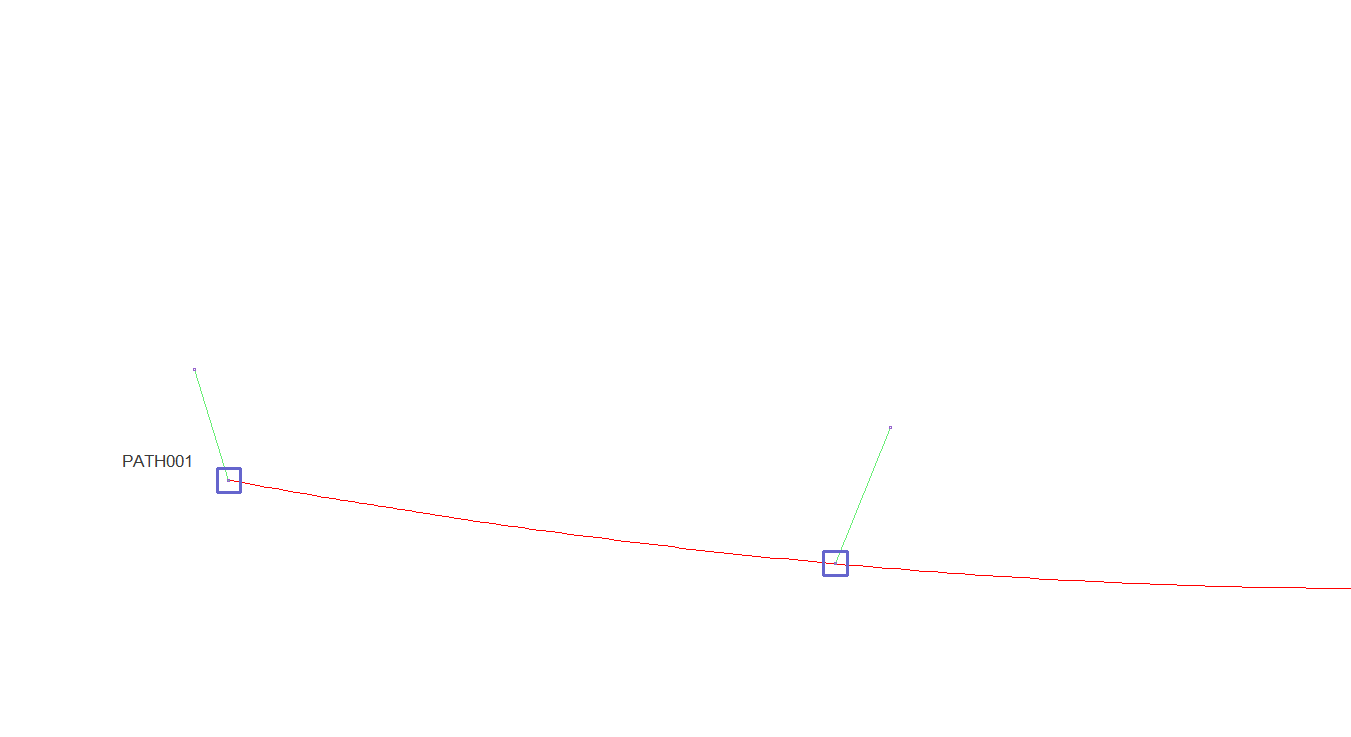
|
Changing the Camera Path Settings
To change the settings of the defined camera path;
-
Double click the defined camera path with the left mouse button or select the camera path and click the right button of the mouse and click the properties row from the drop-down list.
-
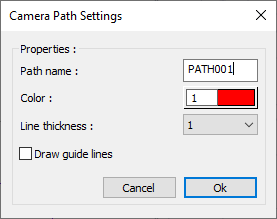
The Camera Path Settings dialog will open.
-
Make the wanted settings and click OK to close the dialog.
|
Before changing the camera path settings 
|
|
After changing the camera path settings 
|
Camera Path Settings
|
Specifications |
|---|
|
Path name The name of the defined path is changed. |
|
Color The color of the defined path on the plan page is changed. |
|
Line thickness The thickness of the defined path visible on the plan page is changed. |
|
Draw guide lines With the option, guiding lines become visible. |
Changing Frame Timer Settings
While defining the path, the timing settings of the created nodes can be changed.
-
Select the defined path.
-
Point to the node on the path, right click the mouse and click the properties line or double click.
-
The Frame Timer dialog opens.
-
Make the desired settings and click OK to close the dialog.
|
Frame timer settings of the second point and the initial state of the camera path 
|
|
Frame timer settings of the second point and final camera path 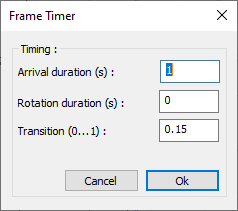

|
Frame Timer
|
Specifications |
|---|
|
Arrival duration (s) It shows how long it takes to take the path between the selected node and the previous node. |
|
Rotation duration (s) It shows how long the return process will take place at the defined node. |
|
Transition Determines the transition of the camera speed on the path before the selected node to the camera speed on the next path. According to the written value, a part of the next path is divided into speed transition. |
Next Topic