
Struts are cross roof elements drawn between post and purlin or hip/valley rafter. In order to draw a strut, purlin / hip/valley rafter and post must be drawn first. With the strut command, the strut roof detail is created.
Location of Strut Command
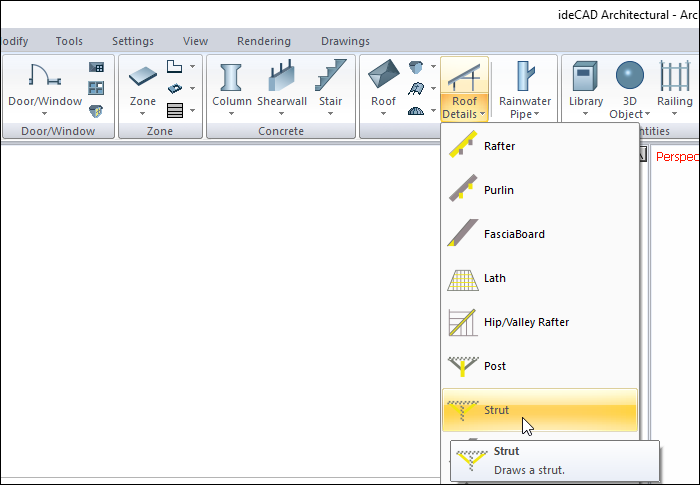
In the Architectural Program
You can access it under the ribbon menu Home tab Roof title.
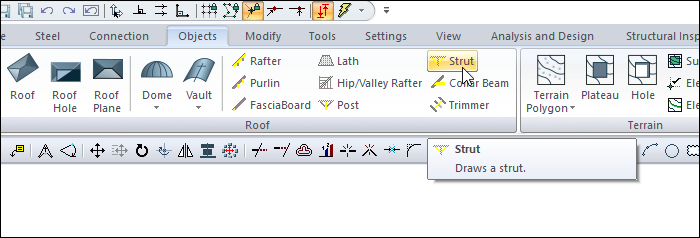
In Structural Program
You can access it under the ribbon menu Objects tab Roof title.
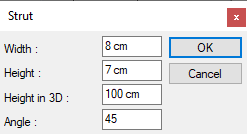
Strut Settings Dialog
|
Specifications |
|---|
|
Width The width of the strut section is entered. |
|
Height The height of the strut section is entered. |
|
Height in 3D Enter the length of the strut. |
|
Angle The angle between the post and the strut is entered. |
Usage Steps
To draw a strut:
-
Click the Strut icon in the ribbon menu .
-
Click with the left mouse button on the purlin or hip/valley rafter to be attached to the strut.
-
Click with the left mouse button on the post to which the other end of the strut will be connected.
-
The strut dialog will be displayed. Make the necessary settings here and press the OK button.
-
Strut drawing will be completed.
-
Create other struts with the above process order.
|
Usage step |
|---|
|
Selecting the purlin or ridge to which the strut will be tied 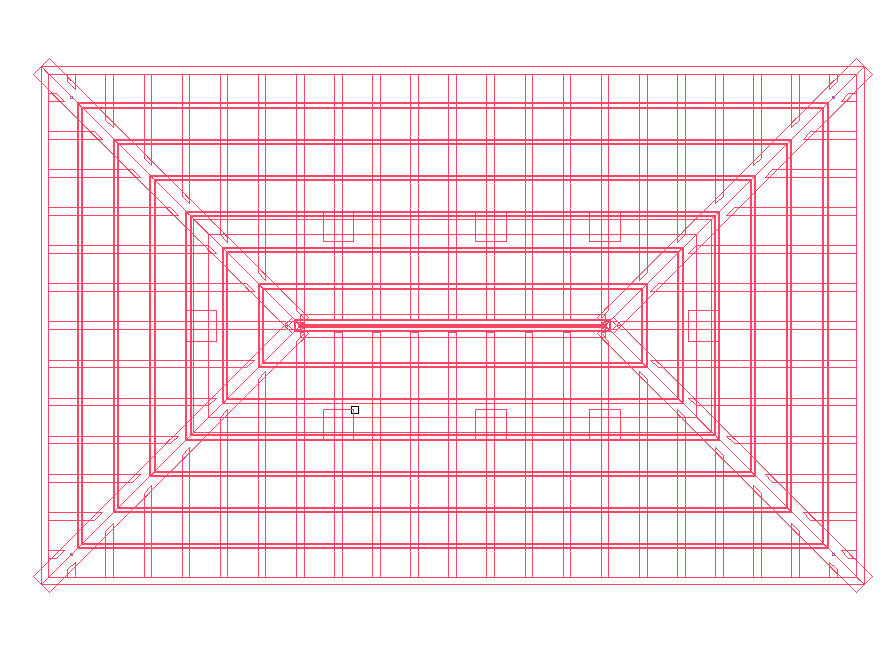
|
|
Selection of the strut to which the other end of the strut will be connected 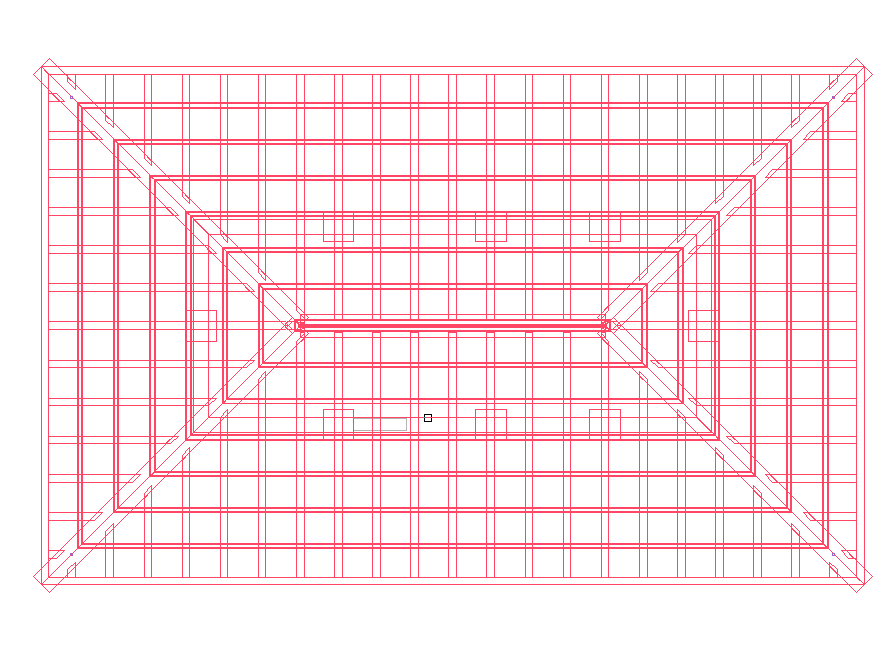
|
|
Making settings in the strut settings dialog - Entering the height of 25 cm in 3D 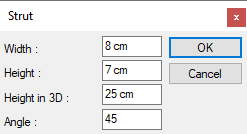
|
|
Formation of strut 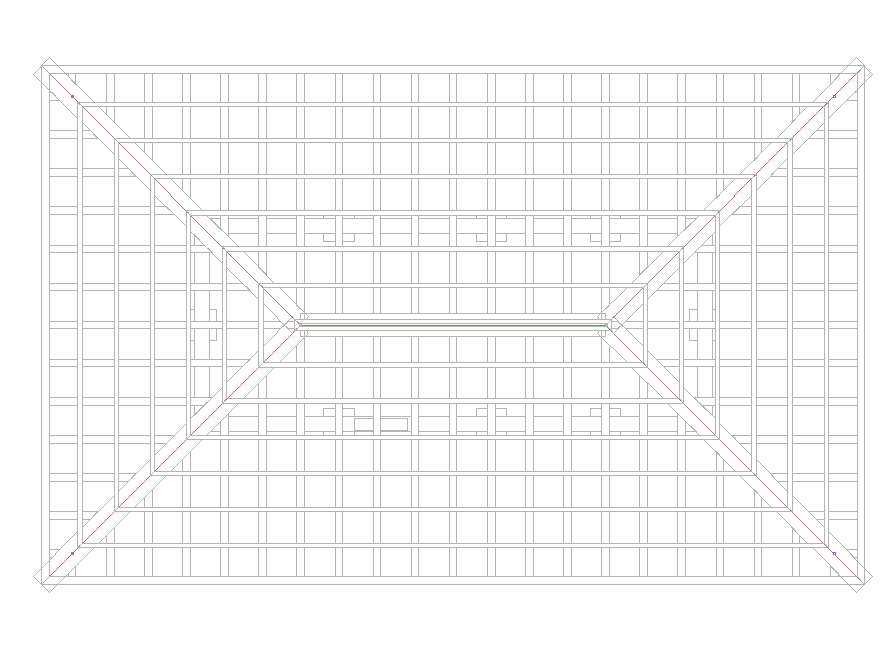
|
|
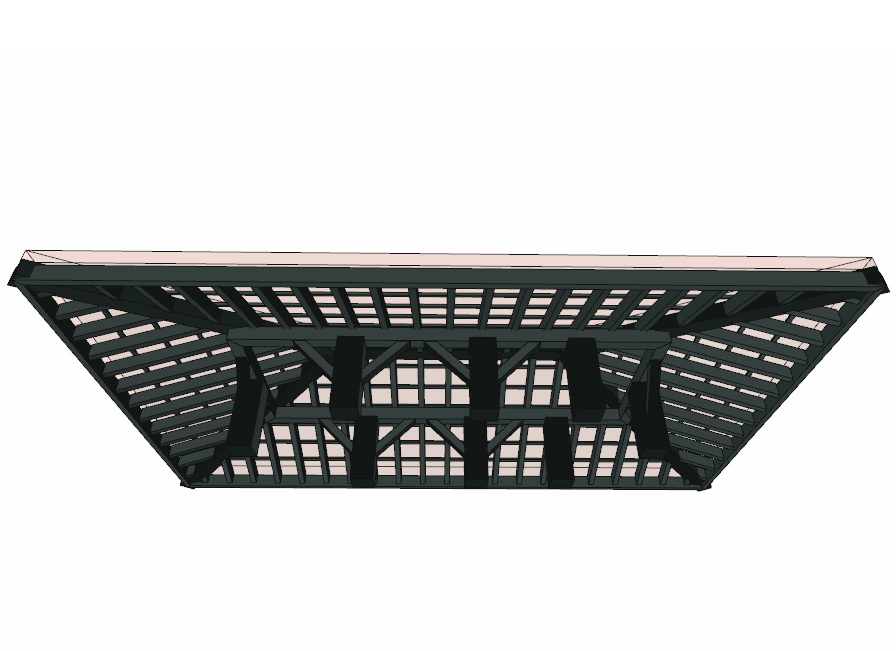
Formation of all struts 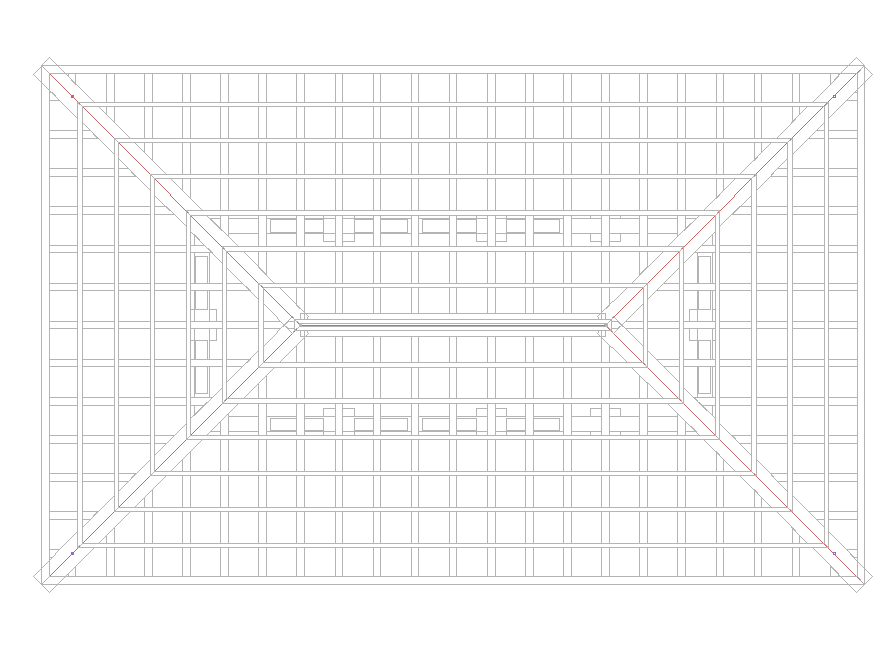
|
Next Topic
Related Topics