
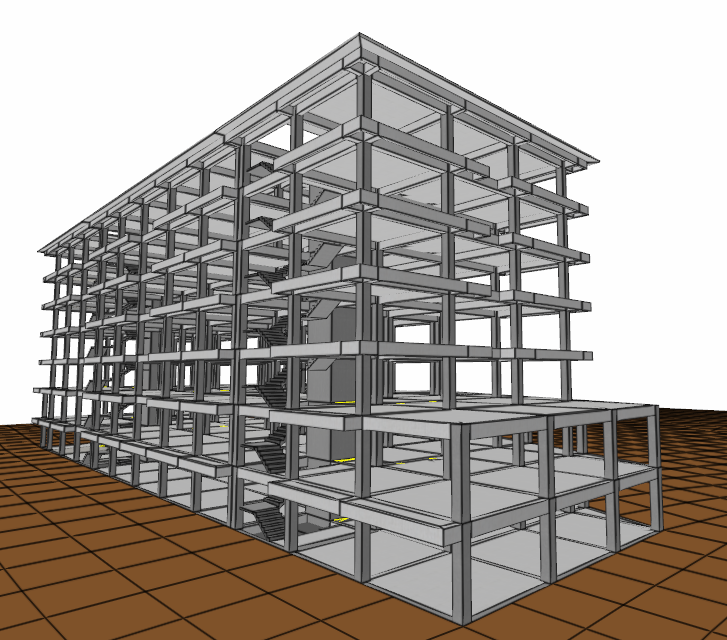
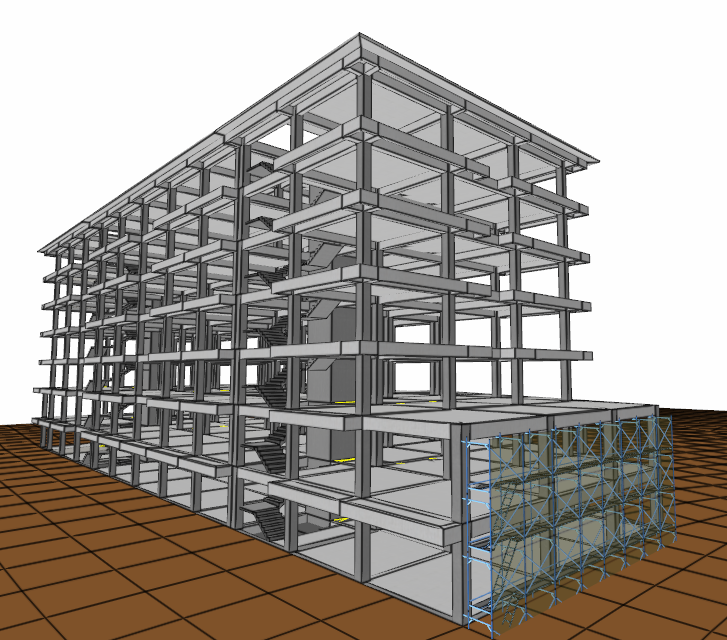
With the Scaffolding Macro command, scaffoldings are gradually created on the facades in the structural project, where there is a elevation difference.
Usage Steps
-
For the first level scaffolding, proceed to the story plan where the scaffolding will sit.
-
Click the Scaffolding Macro command.
-
Create the starting point of the scaffolding by clicking with the left mouse button.
-
In the window that opens, “The project will be converted to a scaffolding specific format. Do you want to continue?” Close the warning by clicking the Yes button.
-
After saving the project, a warning dialog will open showing the name given to your scaffolding project and the path to the folder it is in.
-
Close the warning dialog by clicking the OK button.
-
You can change the layout direction of the scaffolding by pressing the spacebar.
-
Determine the end point of the scaffolding and click the left mouse button.
-
The scaffolding settings dialog will open.
-
Enter your first level height into the scaffolding height. The program will calculate story number based on your partition height and will revise the height value you entered.
-
In the settings dialog, set the properties of the scaffolding such as element sections, anchor points, brace positions and click the OK button.
-
Your scaffold will be created.
-
For the second level scaffolding, proceed to the story plan where the scaffolding will sit.
-
Create the starting point of the scaffolding by clicking with the left mouse button.
-
Determine the end point of the scaffolding and click the left mouse button.
-
The scaffolding settings dialog will open.
-
Enter your second level height in the scaffolding height. The program will calculate your story number based on your partition height and will revise the height value you entered.
-
In the settings dialog, set the properties of the scaffolding such as element sections, anchor points, brace positions and click the OK button.
-
Your scaffolding will be created.
-
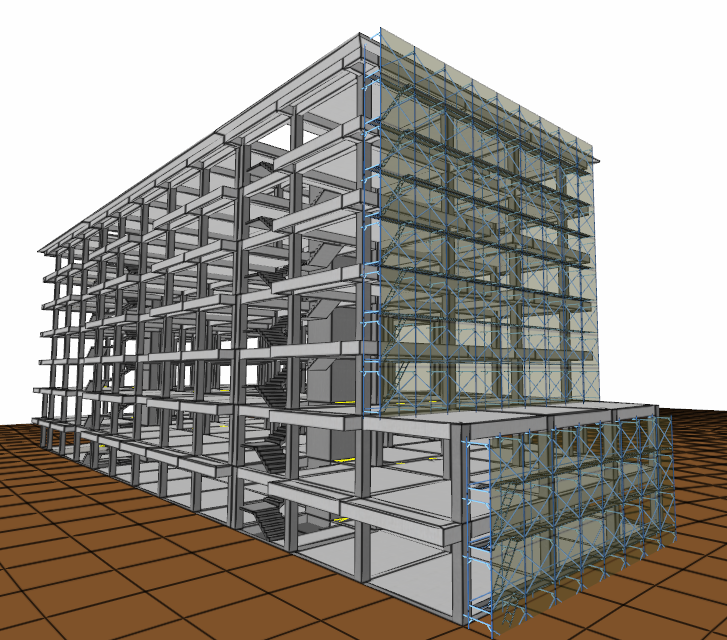
Your stepped scaffolding is complete.
|
Usage step |
|---|
|
The facade to be created as the first level scaffolding 
|
|
Determination of the starting point of the scaffolding 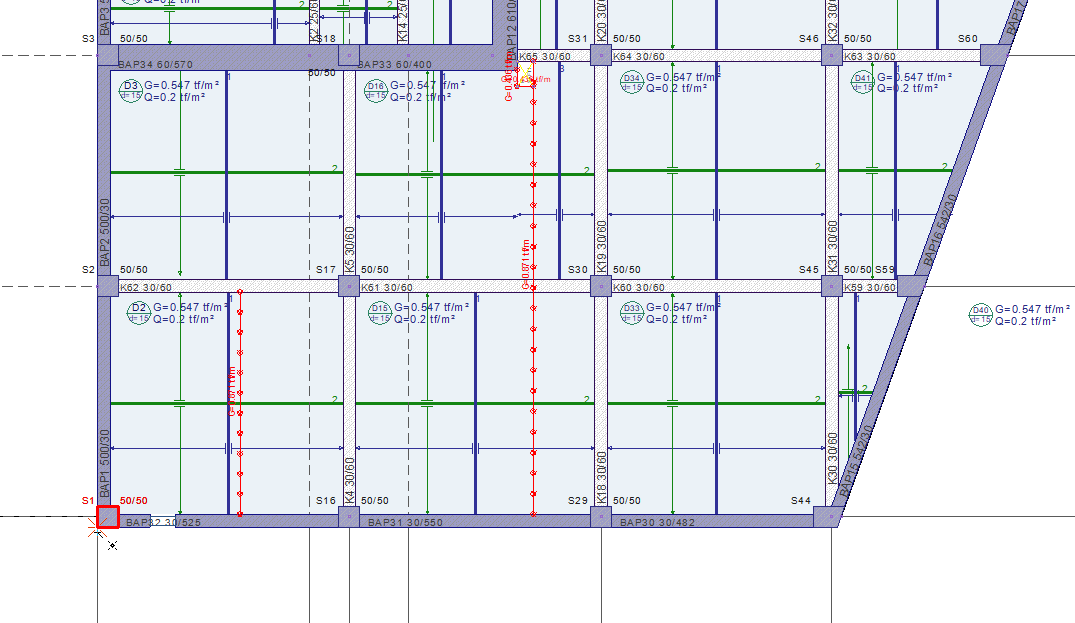
|
|
“The project will be converted to scaffolding specific format. Do you want to continue?” Answer yes to warning 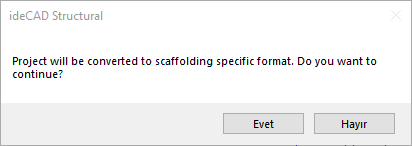
|
|
Conversion of the project to a scaffolding project 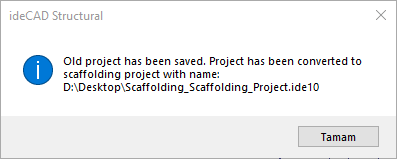
|
|
Establishment of a preview of the scaffolding 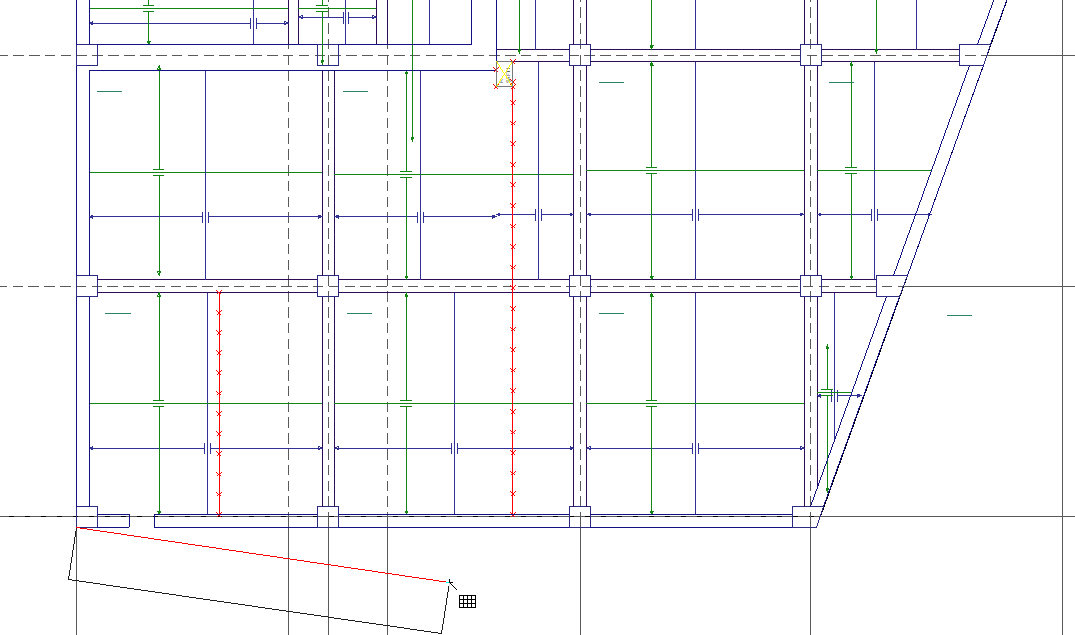
|
|
Determining the end point of the scaffolding 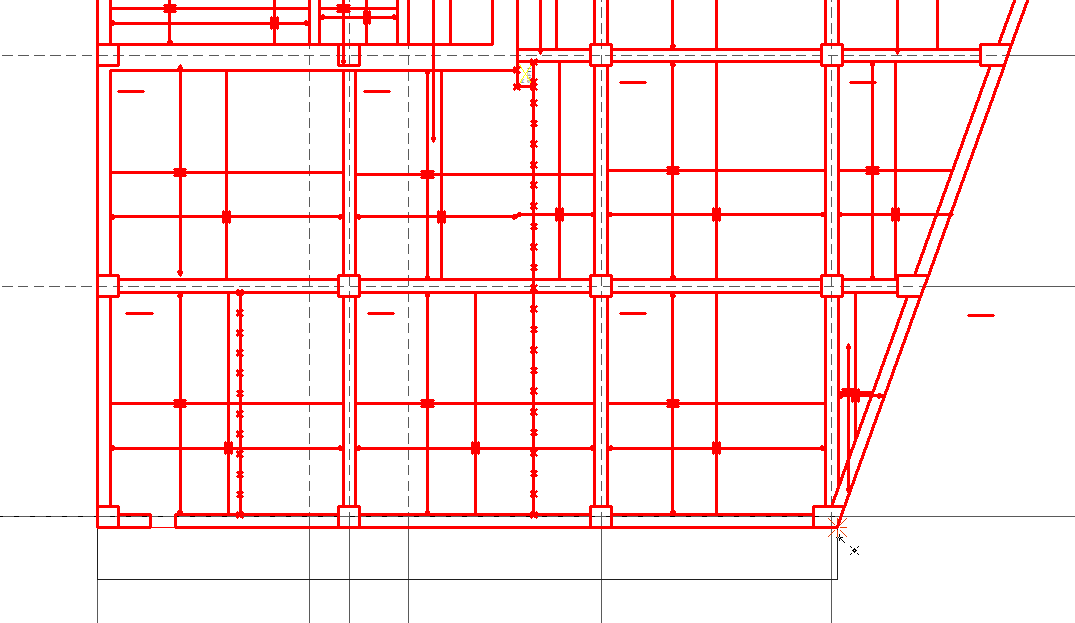
|
|
Entering 1000 cm as the height of the scaffolding 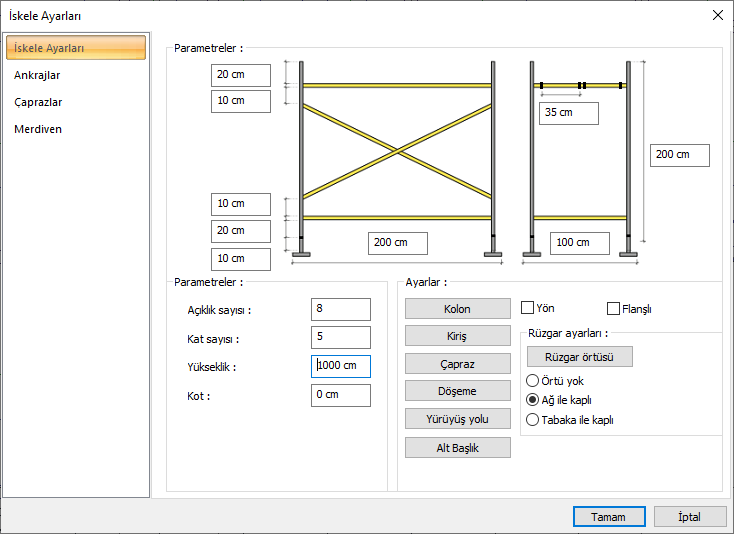
|
|
Formation of the scaffolding 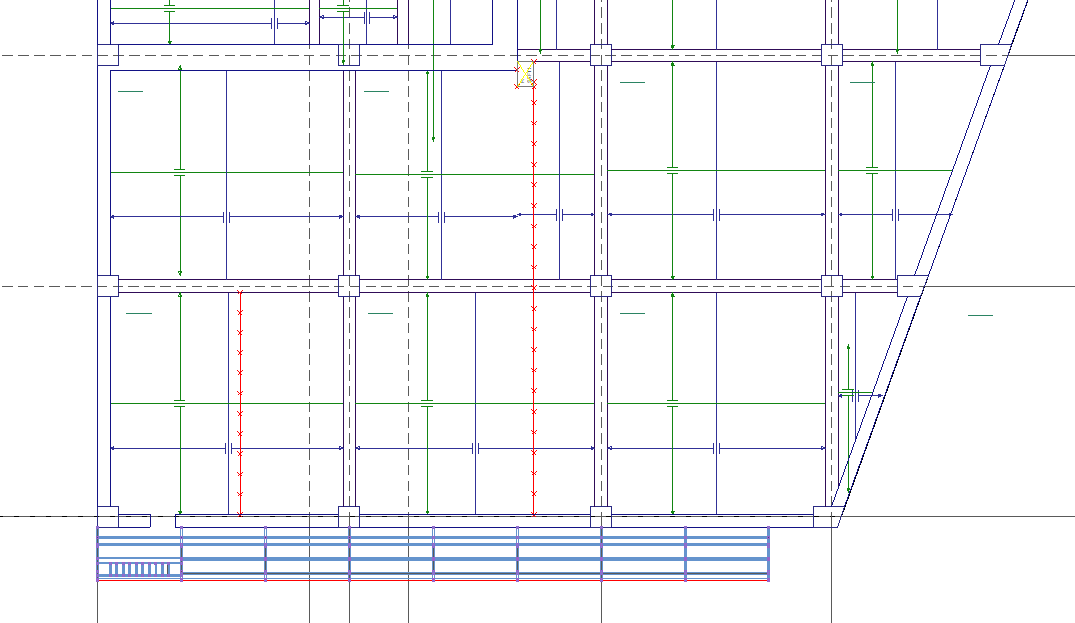
|
|
The facade to be formed as a second level scaffolding 
|
|
Determination of the starting point of the scaffolding 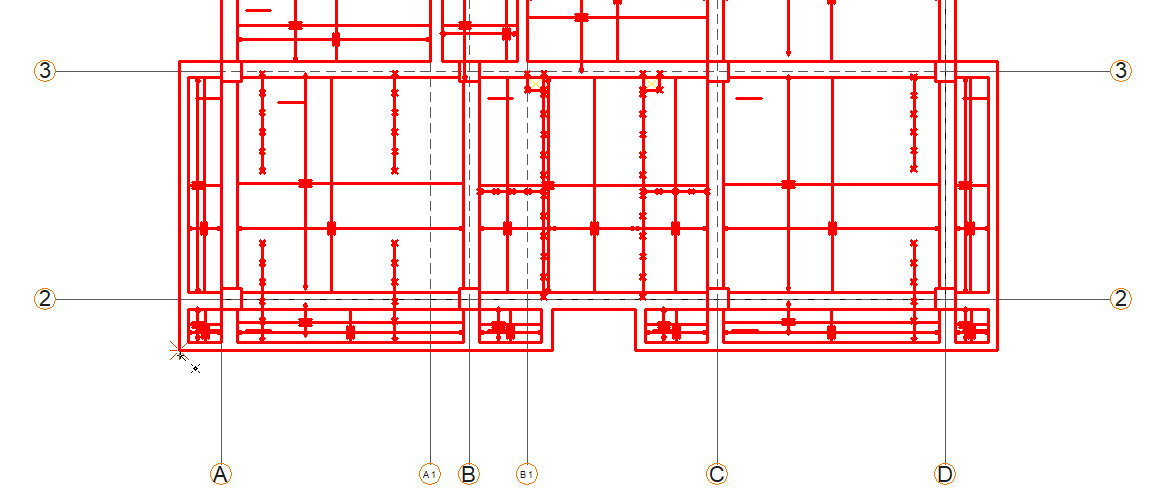
|
|
Establishment of a preview of the scaffolding 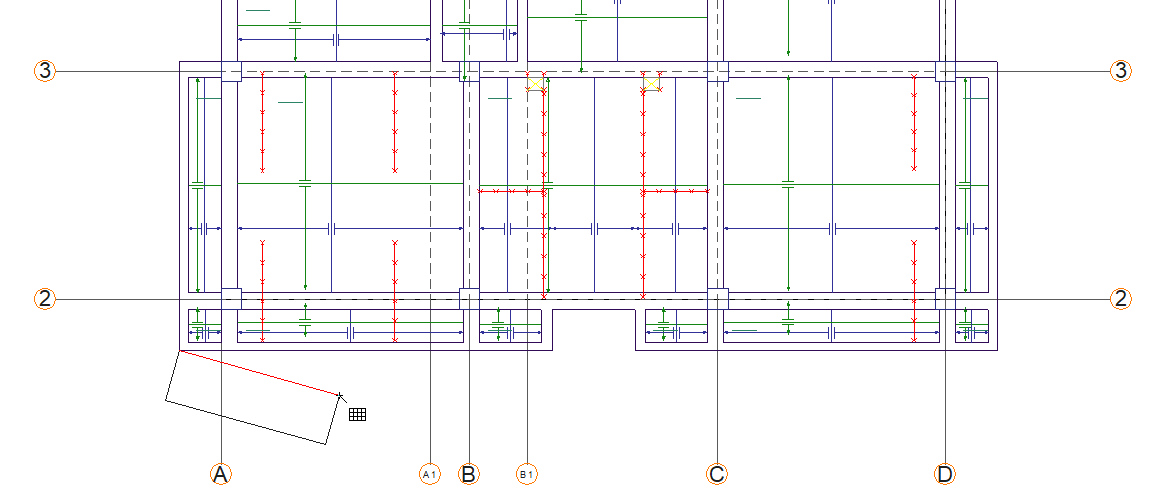
|
|
Determining the end point of the scaffolding 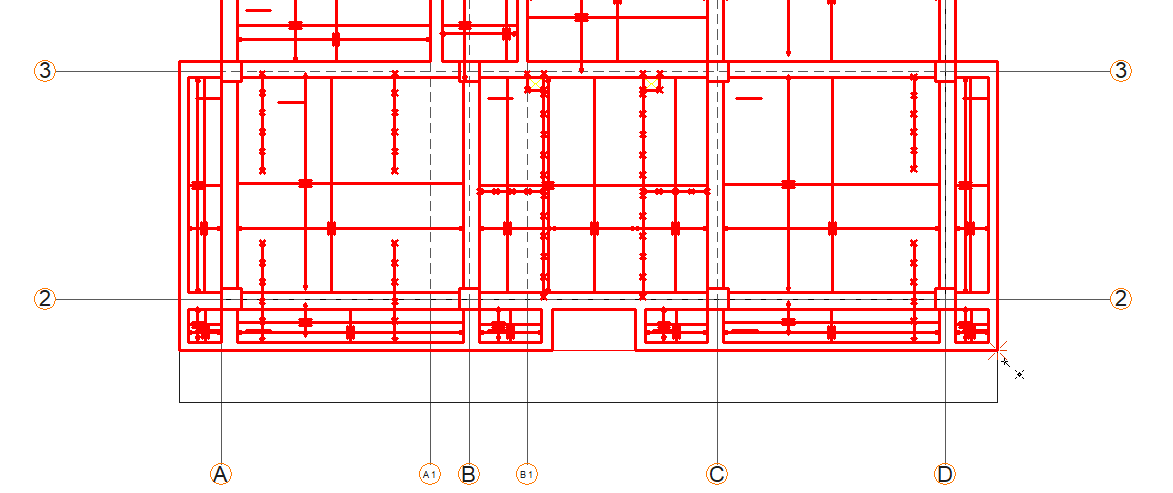
|
|
Entering 1600 cm as the height of the scaffolding 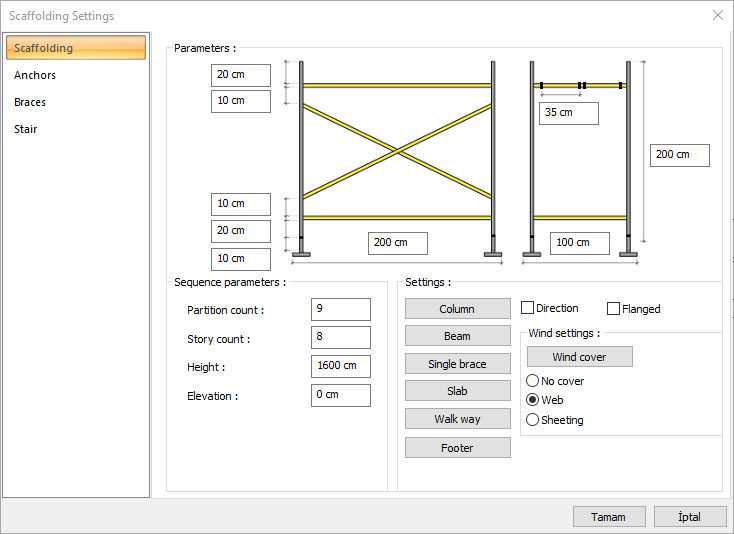
|
|
Formation of the scaffolding 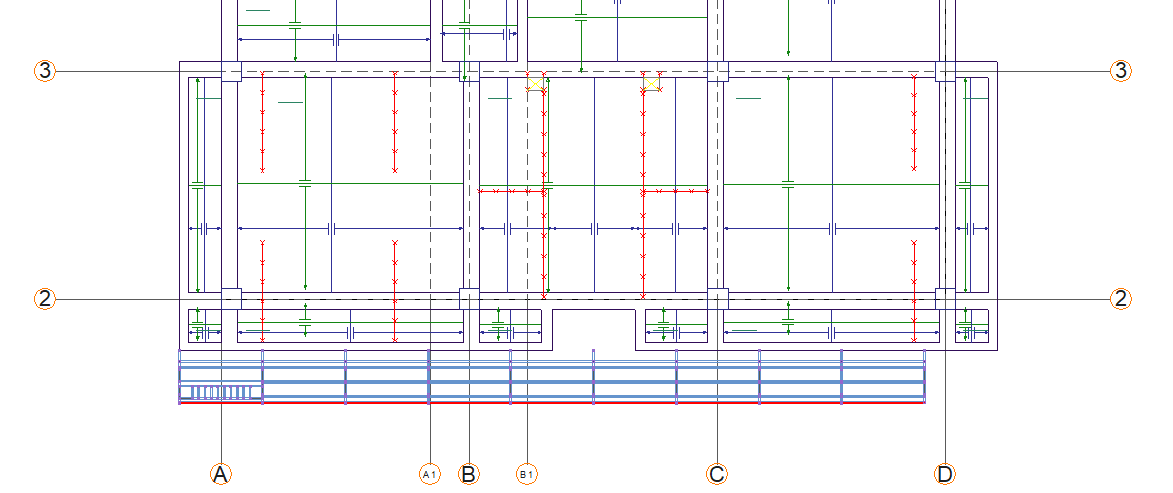
|
Next Topic