
With polar tracking , the drawing is made by jumping to the defined angles and increment angle multiples while in the drawing command. Additional angles can be added. With the dynamic input feature, drawing is made by entering angle and/or length information from the keyboard without using the coordinate box.
Location of the Polar Tracking and Dynamic Input Settings
You can access it under the ribbon menu Settings tab Project Settings heading in the architectural program.
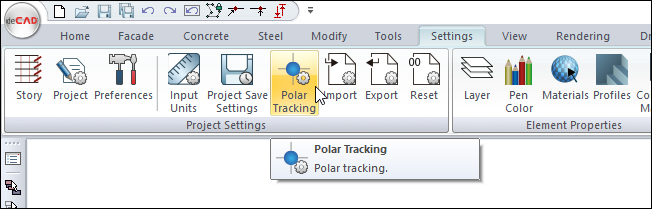
You can also access it from the Preferences tab in the Preferences.
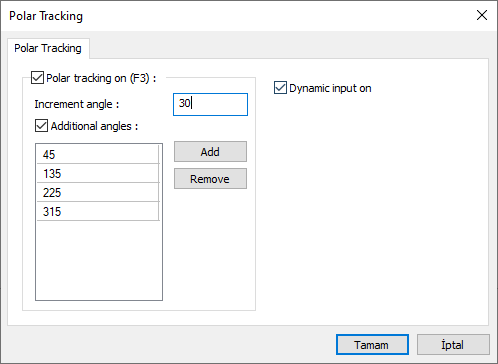
Polar Tracking and Dynamic Input Settings
|
Specifications |
|---|
|
Polar tracking on (F3) Activates polar tracking mode. In any drawing command, when the cursor is moved after the first point is given, the cursor snaps to defined angles. |
|
Increment angle Determines the angles that the cursor will snap to with an increment of the entered angle value. For example, given the increment angle 30, polar tracking works for 0, 30, 60, 90,120.150 etc angles. |
|
Additional angles 
Activates polar tracking for additional angles other than increment angle. Polar tracking is also activated for additional angles. |
|
Add Adds additional angle. |
|
Remove Additional angle deletes. |
|
Dynamic input on It allows entering angle and length information at the same time without using the coordinate box while entering the object. |
Polar Tracking
Polar tracking allows drawing in multiples of the angle defined in the Polar Tracking tab of the Preferences dialog. If polar tracking is active, in any drawing command, when the cursor is moved after the first point is given, the cursor jumps to defined angles.
|
Cursor snaps to 30 degrees 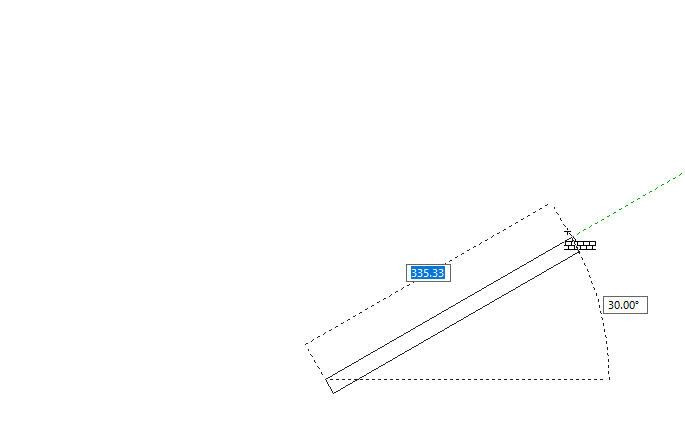
|
|
Cursor snaps to 120 degrees 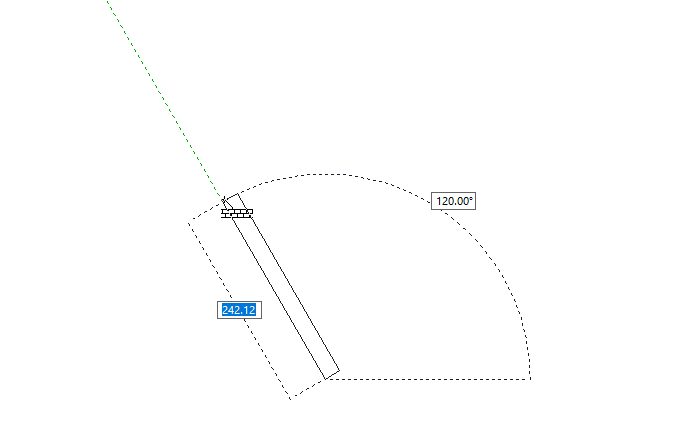
|
|
Cursor snaps to 135 degrees 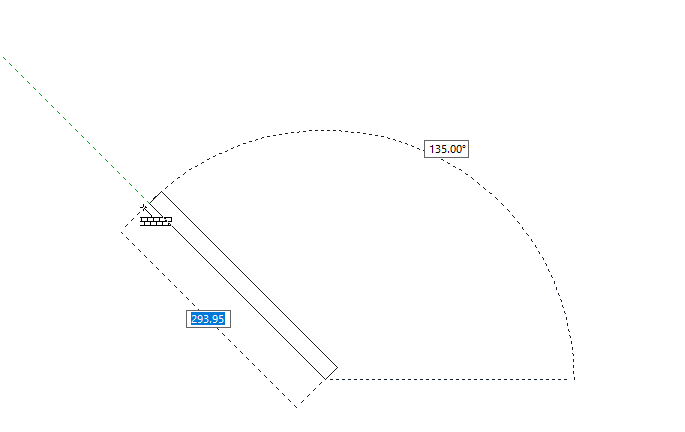
|
Dynamic Input
Dynamic input allows entering angle and length information at the same time without using the coordinate box while entering the object. During the process, the TAB key on the keyboard allows to enter the length-angle values.
For example, let's draw a line with a length of 500 cm and an angle of 60 degrees with the dynamic input possibility.
-
Click the multiple lines command and click the drawing area to give the first point of the line.
-
Type 500 on the keyboard. The length value will be 500. (Enter 0.5 if the input unit is meters)
-
Press the TAB key on the keyboard. The cursor will be in the Angle box.
-
Type 60 as the angle value.
-
Click the left button and the line will be formed.
|
Usage step |
|---|
|
Creating the first point of the multiple line 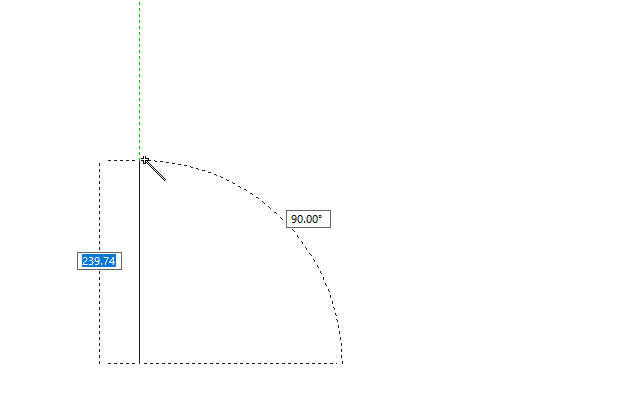
|
|
Entering 500 cm on the keyboard for the length value 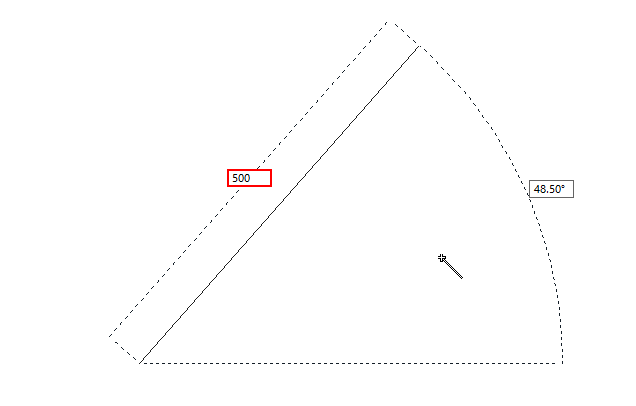
|
|
Entering 38 for the angle value from the keyboard 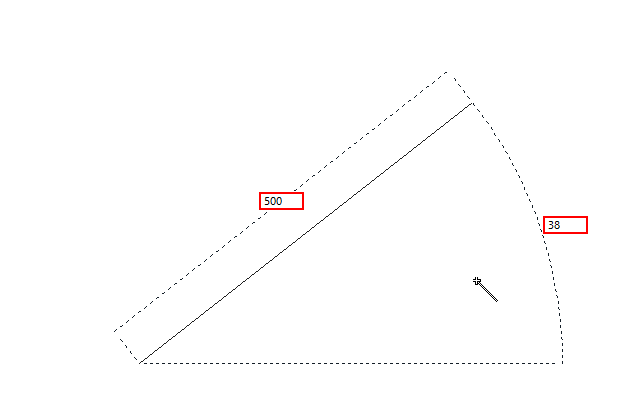
|
|
The formation of the line 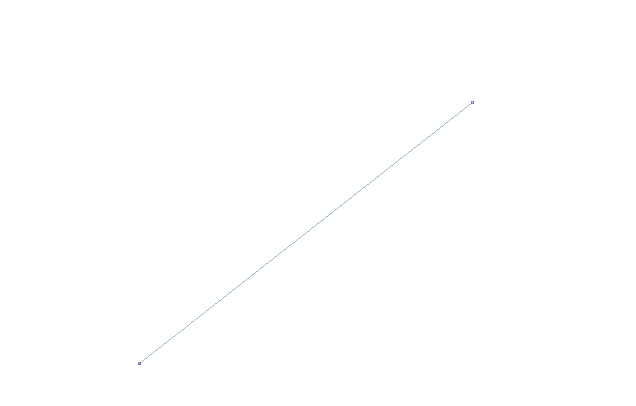
|
Next Topic