
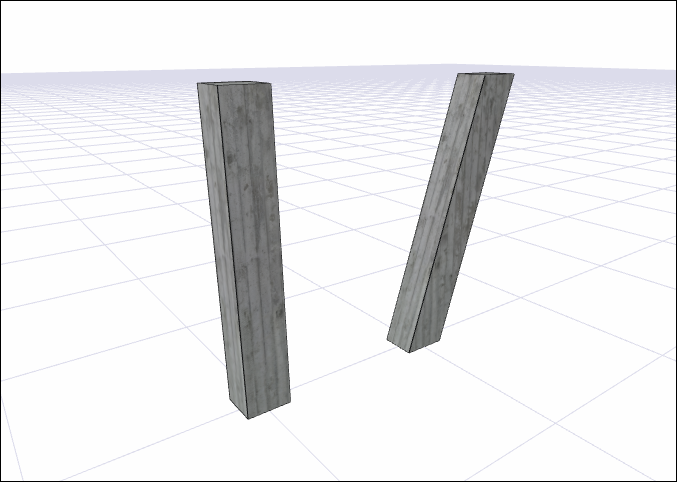
Inclined columns are created with the Shear feature.
Location of the Shear Feature
You can access the Shear feature by clicking the Settings icon from the Column toolbar .

You can also access it by clicking the column settings command.
Usage Steps
-
Click on the column settings command.
-
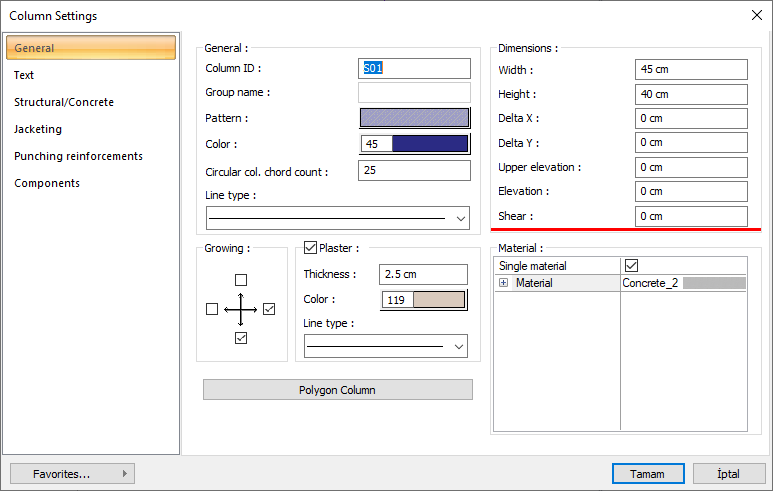
On the General Settings tab, enter a value for the Shear parameter. The value to be entered here refers to the distance between the bottom and top points of the column.
-
Click the OK button to exit the dialog.
-
Click the column icon.
-
The front view of the column at the end of the cursor will be in the form of a double column. One of these images shows the bottom of the column and the other the top of the column.
-
Click on the drawing area with the left mouse button. When you move the cursor, the inclined column will rotate depending on the movement of the mouse cursor.
-
After determining the direction of the column, place the column by clicking the left mouse button again.
All columns (rectangle, circle, polygon) you enter will be inclined columns unless you enter the column settings dialog again and enter the Shear parameter to zero again.
|
Usage step |
|---|
|
Entering the shear value of 100 cm from the column settings dialog 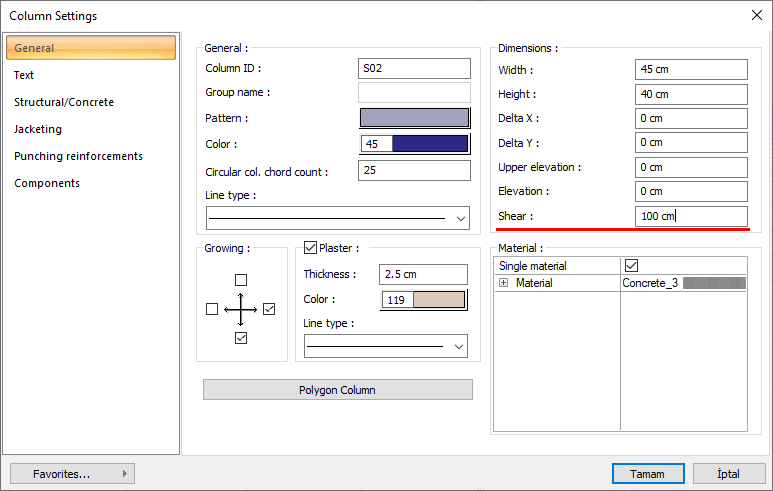
|
|
Formation of the inclined column preview 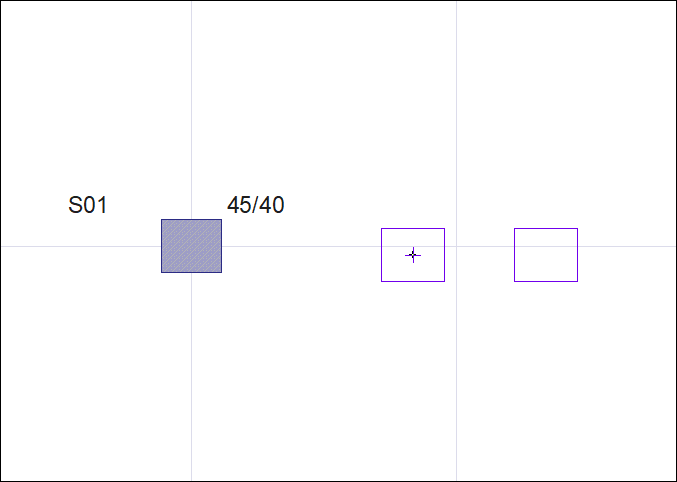
|
|
Fixing the column preview by clicking the left mouse button 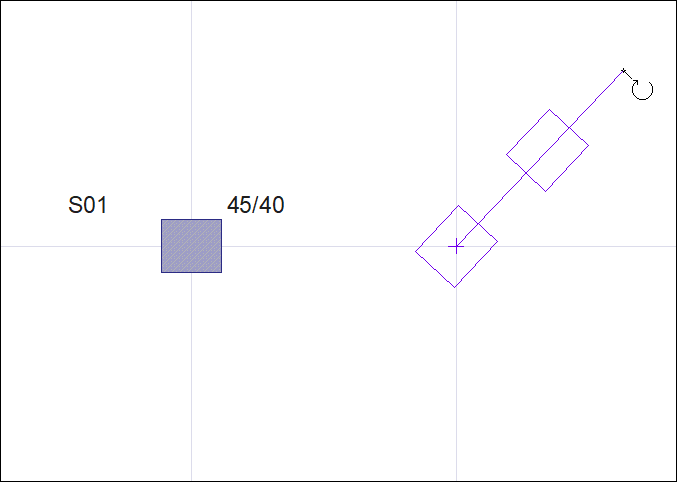
|
|
Rotating the column by moving the mouse 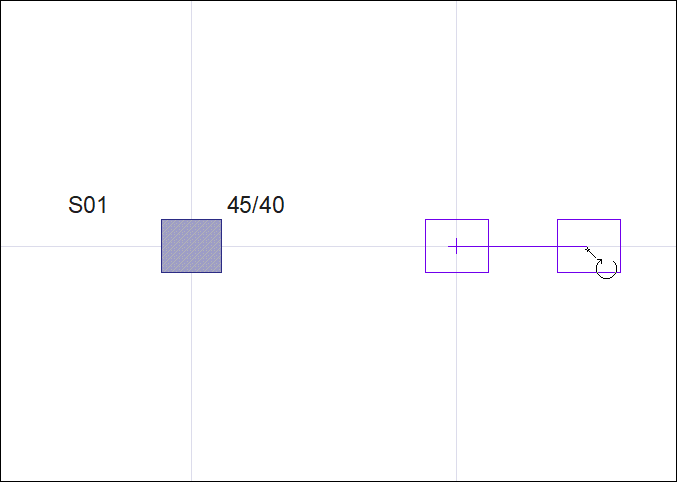
|
|
Creating a column by clicking the left mouse button 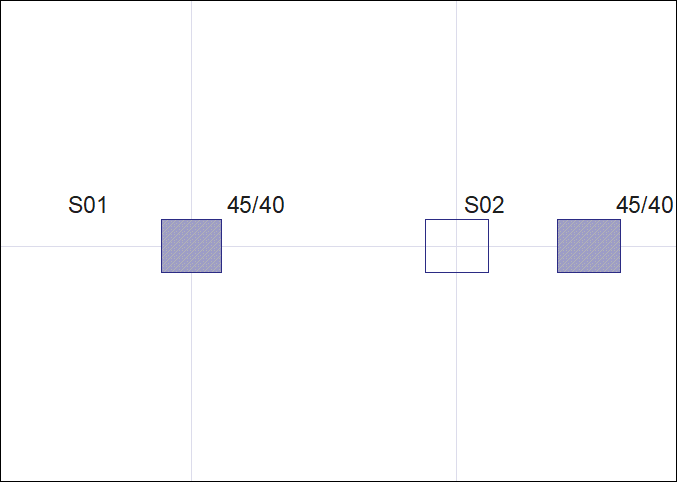
|
Next Topic