
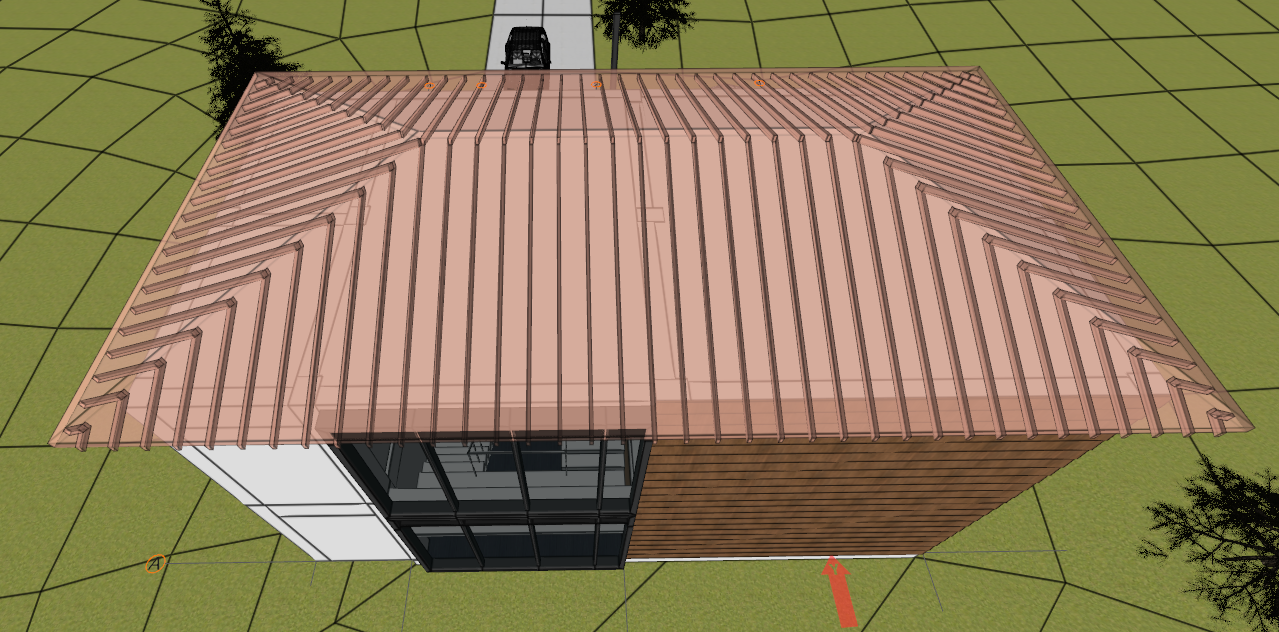
Rafters are wooden carriers that carry the roof coverings on the roofs and are at least 5x10 cm in size, laid at the roof slope at certain intervals. Rafter roof detail is created with the rafter command.
Location of the Rafter Command
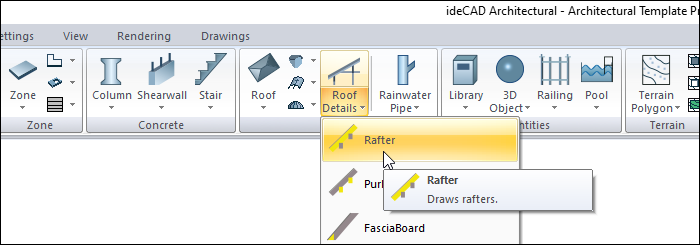
In the Architectural Program
You can access it under the ribbon menu Home tab Roof title.
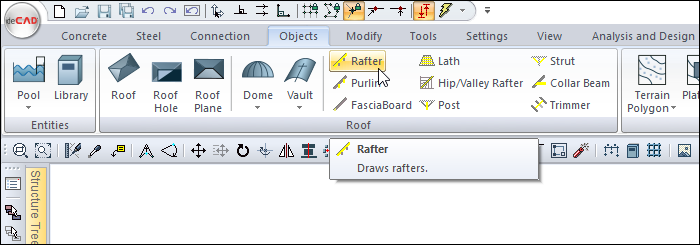
In Structural Program
You can access it under the ribbon menu Objects tab Roof title.
Rafter Settings Dialog

|
Specifications |
|---|
|
Rafter count The information on how many rafter will be created on the relevant roof surface is entered here. After selecting the option, the rafter count is entered in the box. The program automatically adjusts the rafter spacing according to the entered rafter count. |
|
Rafter spacing If it is wanted to place rafters on the roof surface based on the distance between rafter, the option is selected. In this case, rafters are created at spacing entered in the information box. The number of rafter is automatically calculated by the program according to the entered spacing. |
|
Remaining distance It is the distance between the two rafter that are on the middle, or rafters and the roof end, depending on the beginning of the rafter allignment (starting from the right, left middle, etc.). The user cannot intervene. |
|
Shift If it is wanted to shift the rafters, a value is entered here. That the roof is looked up from the eaves, the positive value shifts the merteks to the right and the negative value to the left. |
|
Rafter width Rafter section width is entered. |
|
Rafter height Rafter section height is entered. |
|
Starting point 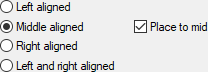
The program is informed from where to start the rafters placement on the roof surface by selecting one of the Left aligned, Middle aligned, Right aligned or Left and right aligned. If the "Middle aligned" option is selected, the "Place to mid" option becomes active. If option is marked, a rafter is placed in the middle of the respective roof surface and other rafter are placed starting from this rafter. |
|
Inclined rafter 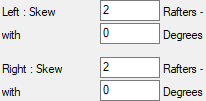
In order for the rafters on the ends to be drawn with an inclined, sentences starting with "Left : Skew" and "Right : Skew" should be completed. The sentence is completed by writing the number of inclined rafters to be drawn to the upper boxes and the slope value to the bottom boxes. For example; "2 rafters on the left are inclined by 5 degrees." Accordingly, two rafters on the left side are drawn with a 5 degree slope according to the viewing direction. |
|
Apply to all edges If apply to all edges option is marked, rafters will be created on all roof surfaces according to the entered parameters. |
Usage Steps
To draw a rafter:
-
Click the Rafter icon in the ribbon menu .
-
Click with the left mouse button on the roof eaves you want to create a rafter.
-
The rafter design dialog will be displayed. Make the necessary settings here and press the OK button.
-
Rafters will be formed on the relevant roof surface.
-
Create rafters for all roof surfaces with the above process order.
|
Usage step |
|---|
|
Selecting roof while on rafter command 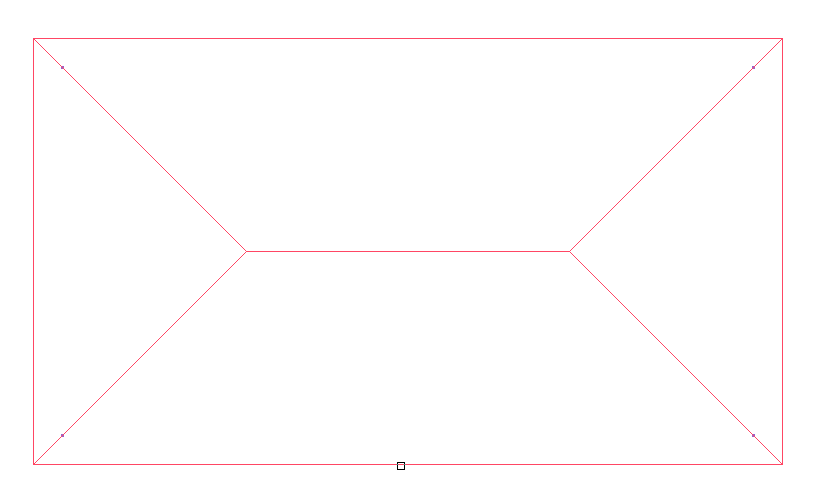
|
|
Creation of rafter previews 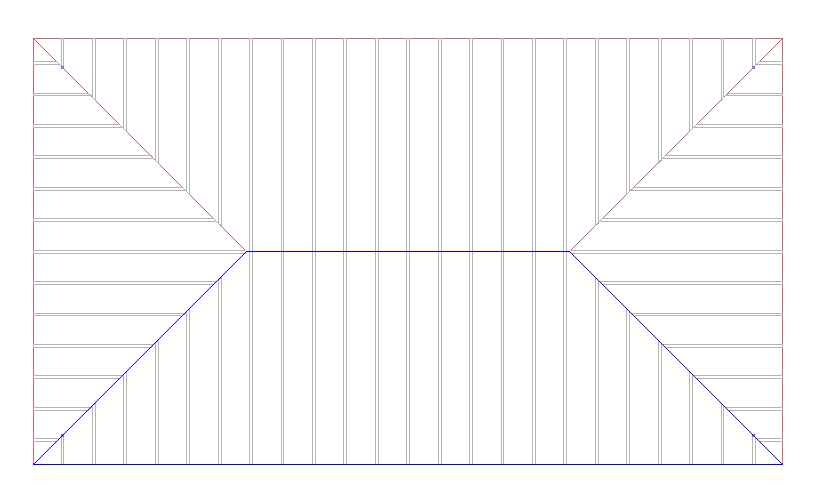
|
|
Adjusting the settings in the rafter settings dialog - entering 30 of the rafter spacing 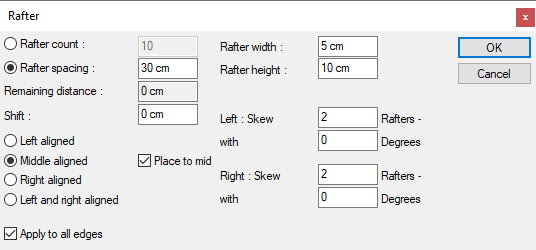
|
|
Preview change according to the entered rafter spacing 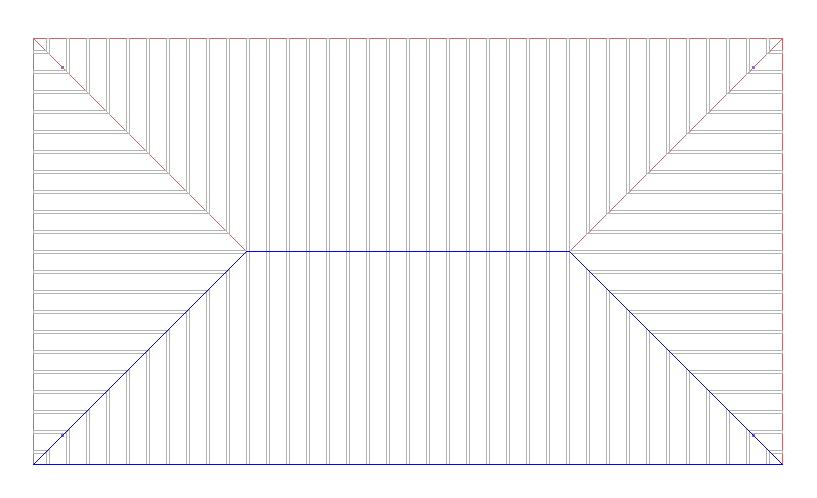
|
|
Formation of rafters 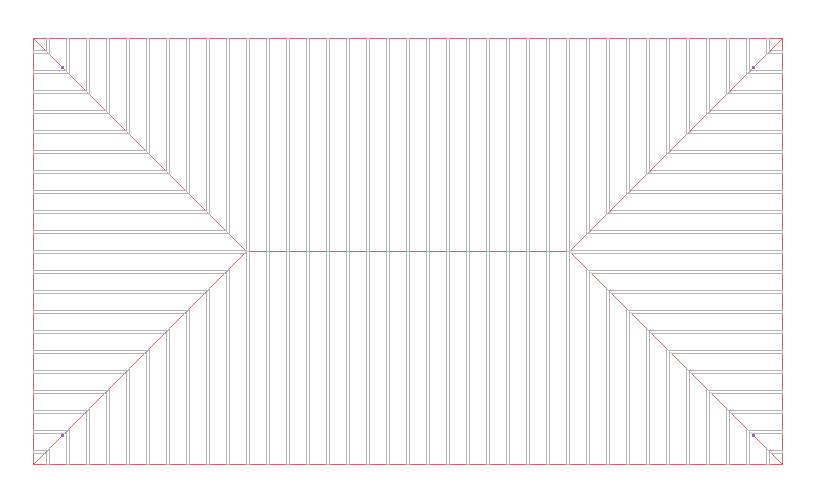
|
Next Topic
Related Topics