
U, L, T etc. The shearwall group name row in the shearwall settings is used to design shearwalls with types as a single element.
Defining a Shearwall Group
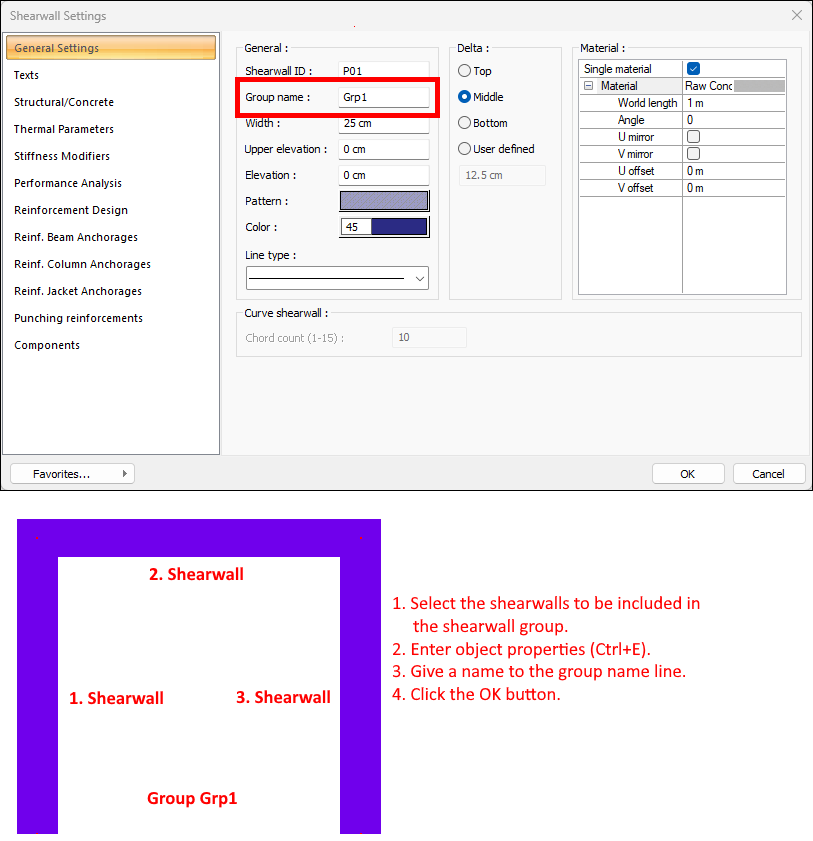
Shearwalls to be in the same group are selected, entered in the object settings, and the group name is given a name on the line.
After completing the building modeling, if you want to define a shearwall group:
-
Select the shearwalls to be included in the shearwall group.
-
Press CTRL + B keys. Shearwalls will be selected on all floors.
-
Make the perspective window full screen and make all layers visible.
-
Press CTRL + E key. The shearwall settings dialog will open.
-
Give a name to the group name line.
-
Click the OK button.
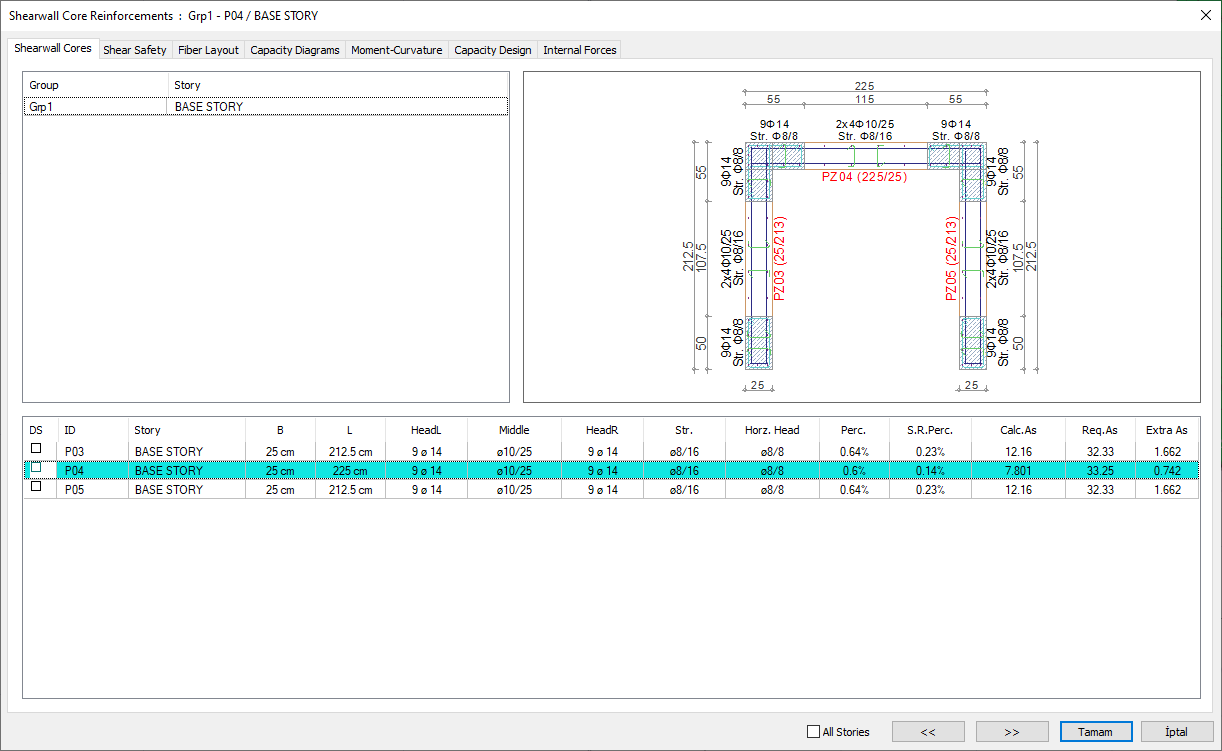
After the analysis, shearwall design results can be seen in the Shearwall Core Reinforcements dialog.
Shearwall group rapaors; You can create the Report/Compound Shearwall line in the classic menu , and click the Reports/Concrete/Compound Shearwall icon in the ribbon menu.
Cancelling a Shearwall Group
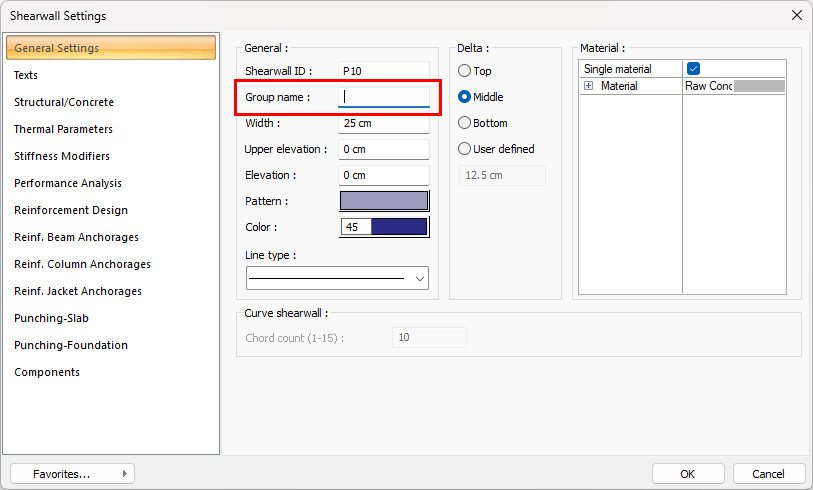
If a shearwall group is to be cancelled or a shearwall within the group is to be removed, the group name of the relevant shearwall(s) must be deleted from the Shearwall Settings dialog.
-
Select the relevant shearwall(s).
-
Click the Entity Properties command.
-
The shearwall settings dialog will open.
-
Click on the Group Name row.
-
Delete the name written in the row.
-
Click the OK button.
-
When the analysis is run again, the shearwall group will be cancelled.
-
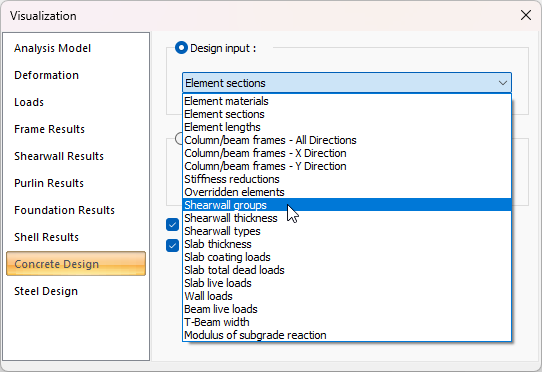
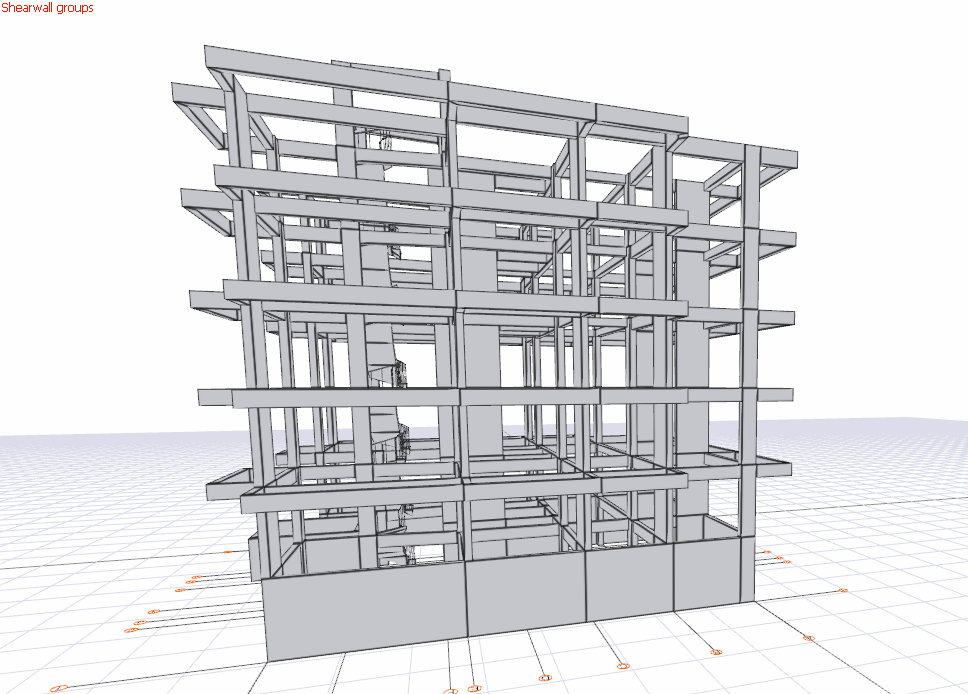
You can check whether the shearwall group has been cancelled via Visualization > Concrete Design > Design input > Shearwall groups.
Next Topic