
The determined view of the drawing area is saved as a picture (bmp, jpeg, tiff, png, etc.) with the Plan Screenshot command.
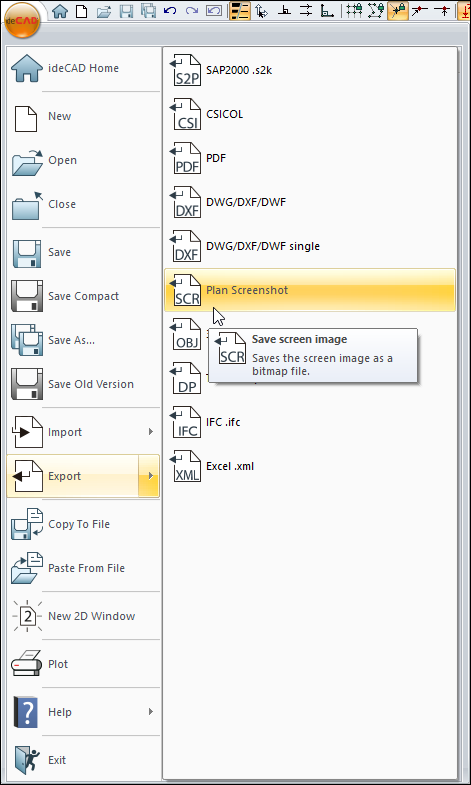
Location of Plan Screenshot Command
You can access it from the menu under the ideCAD logo in the upper left corner of the ribbon menu.
Usage Steps
-
Click the ideCAD icon/Export/Plan Screenshot icon in the ribbon menu .
-
The Save Image dialog opens. In the File Types section below, choose which format you want to save in.
-
Type a name in the File Name line and click the OK button.
-
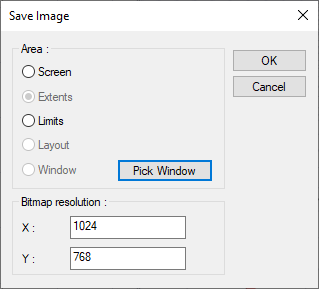
The Save Image dialog will open. After the desired settings are made, click the OK button.

Save Image Dialog
|
Options |
|---|
|
Screen It allows to save the area determined by the current zoom factor in the working drawing window. |
|
Extents It allows to save the area covering all the drawings in the working drawing window. |
|
Limits It allows the area created by the coordinate values specified in the Preferences/Grid & Limits/Drawing Limits section to be saved. |
|
Layout It allows the area created by all the drawings in the layout window to be saved. This option can be selected while the layout window is active. |
|
Window It allows to save the area that can be determined with the Pick Window button. |
|
Bitmap resolution 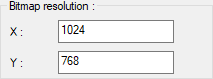
Values are entered for the image resolution. |
Next Topic
Related Topics