
With the camera and create camera commands, the camera is defined in order to return to the same viewpoint without having to adjust it again after working in different views.
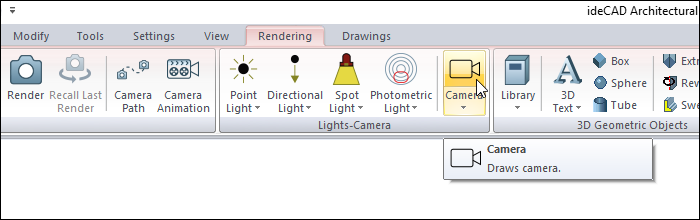
Location of the Camera Command
You can access it under the ribbon menu Rendering tab, Lights-Camera title in the architectural program.
Location of the Create Camera Command
You can access the Create camera command from the menu that opens by clicking the right mouse button in the perspective window.

Usage Steps of Creating Camera in Perspective Window
After adjusting your view in the perspective window, you can define a camera.
-
Adjust your point of view.
-
Click the right mouse button on the perspective screen.
-
Click on the create camera line from the drop-down list.
-
The camera will settle.
|
Usage step |
|---|
|
Adjusting the viewpoint in the perspective window 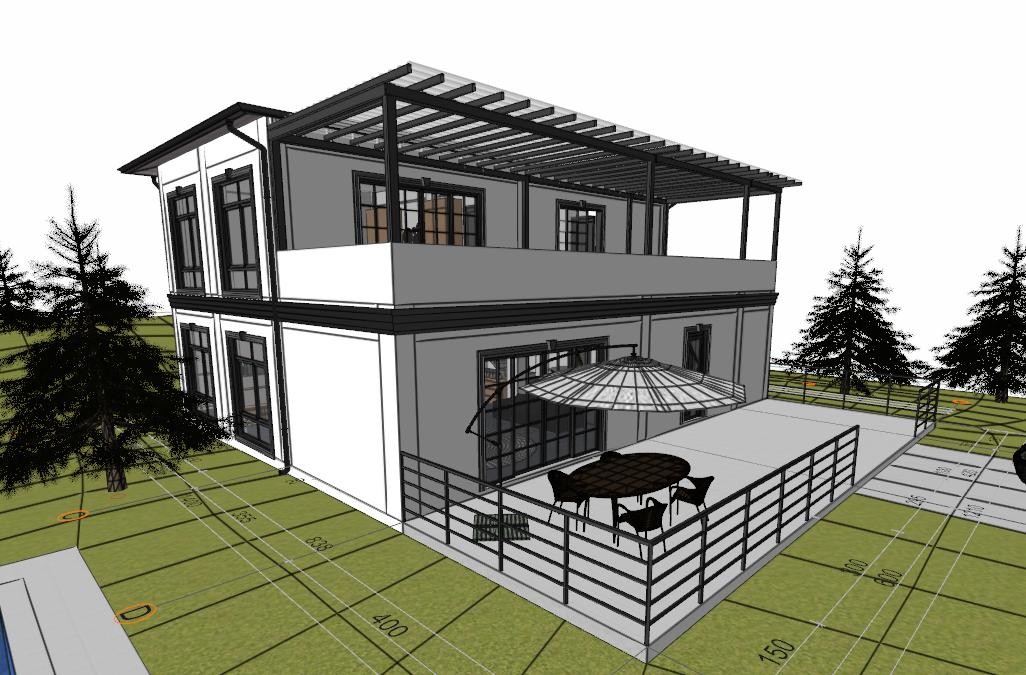
|
|
Clicking the Create camera line 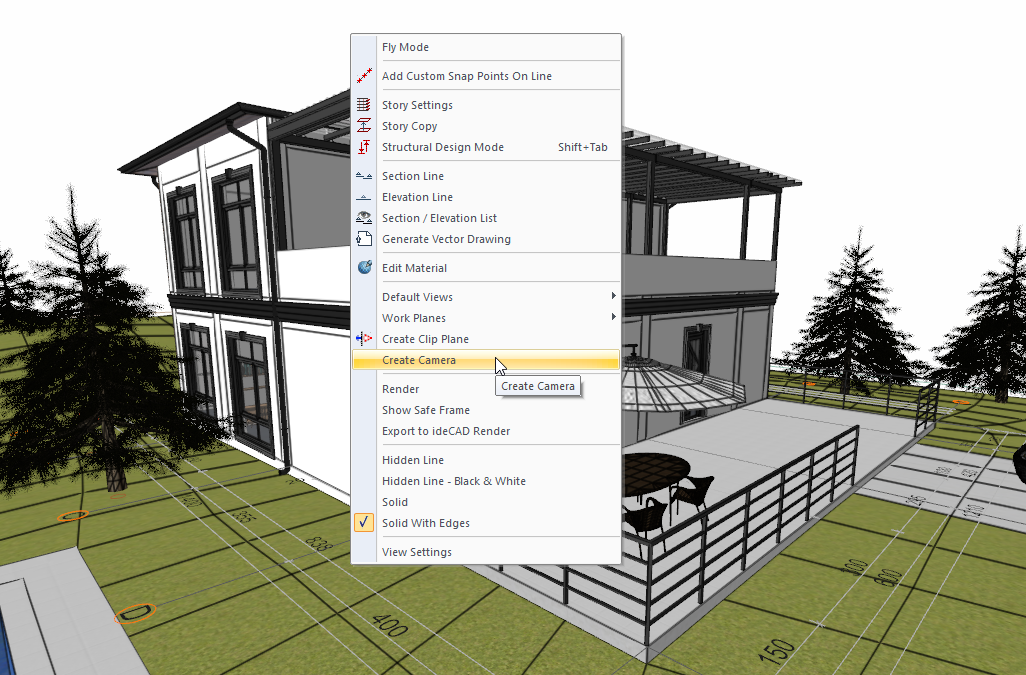
|
|
Camera formation 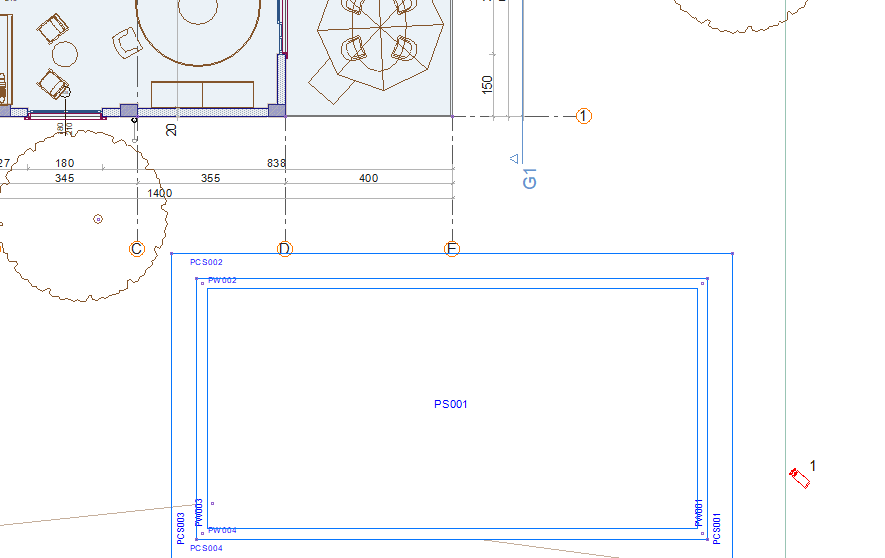
|
Usage Steps of Creating Camera in Plan Window
You can define the camera by leveling it in the plan window.
-
Click the Camera icon in the ribbon menu .
-
Click on the drawing area.
-
Rotate the camera by moving the mouse.
-
When it is in the direction you want, click the left mouse button.
-
The camera will settle.
-
Before or after placing the camera, you can enter the camera settings and adjust the settings such as elevation, direction, perspective.
|
Process step |
|---|
|
Determining the location of the camera in the drawing area 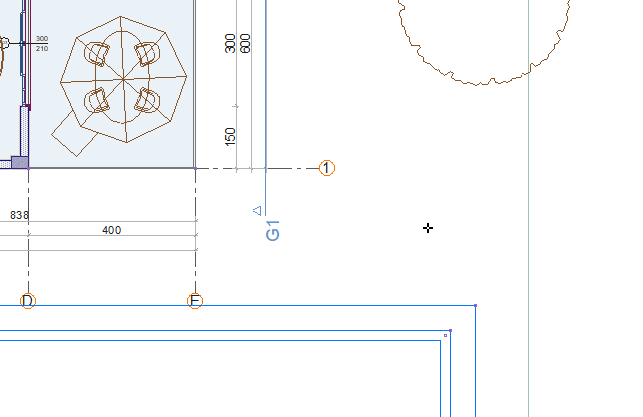
|
|
Determining the camera direction 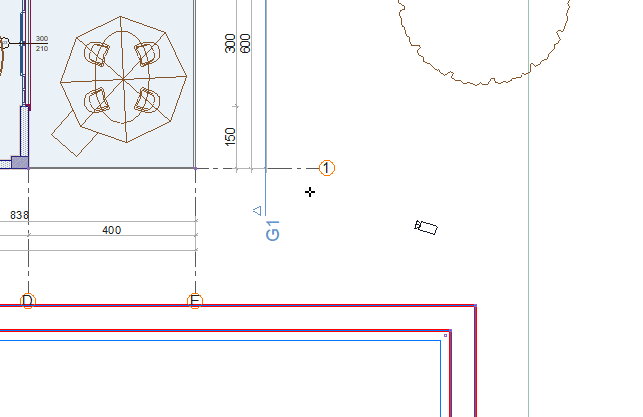
|
|
Camera formation 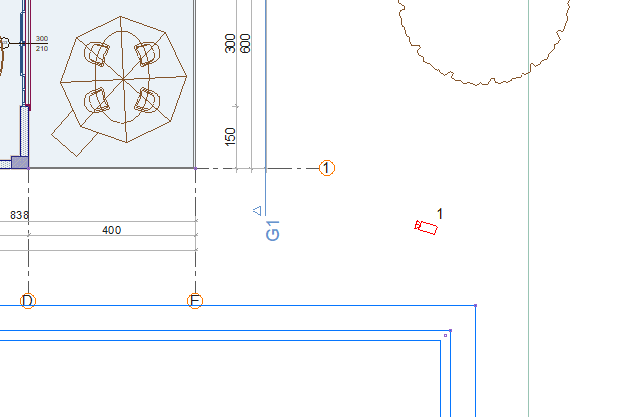
|
Next Topic