
Create the terrain in this section. In the create lot lines step, define the land to the lines defined by the multiple lines.
|
Previous steps have been followed in the project file called Create the Terrain. You can download the file and follow the steps given in this title on the project. |

-
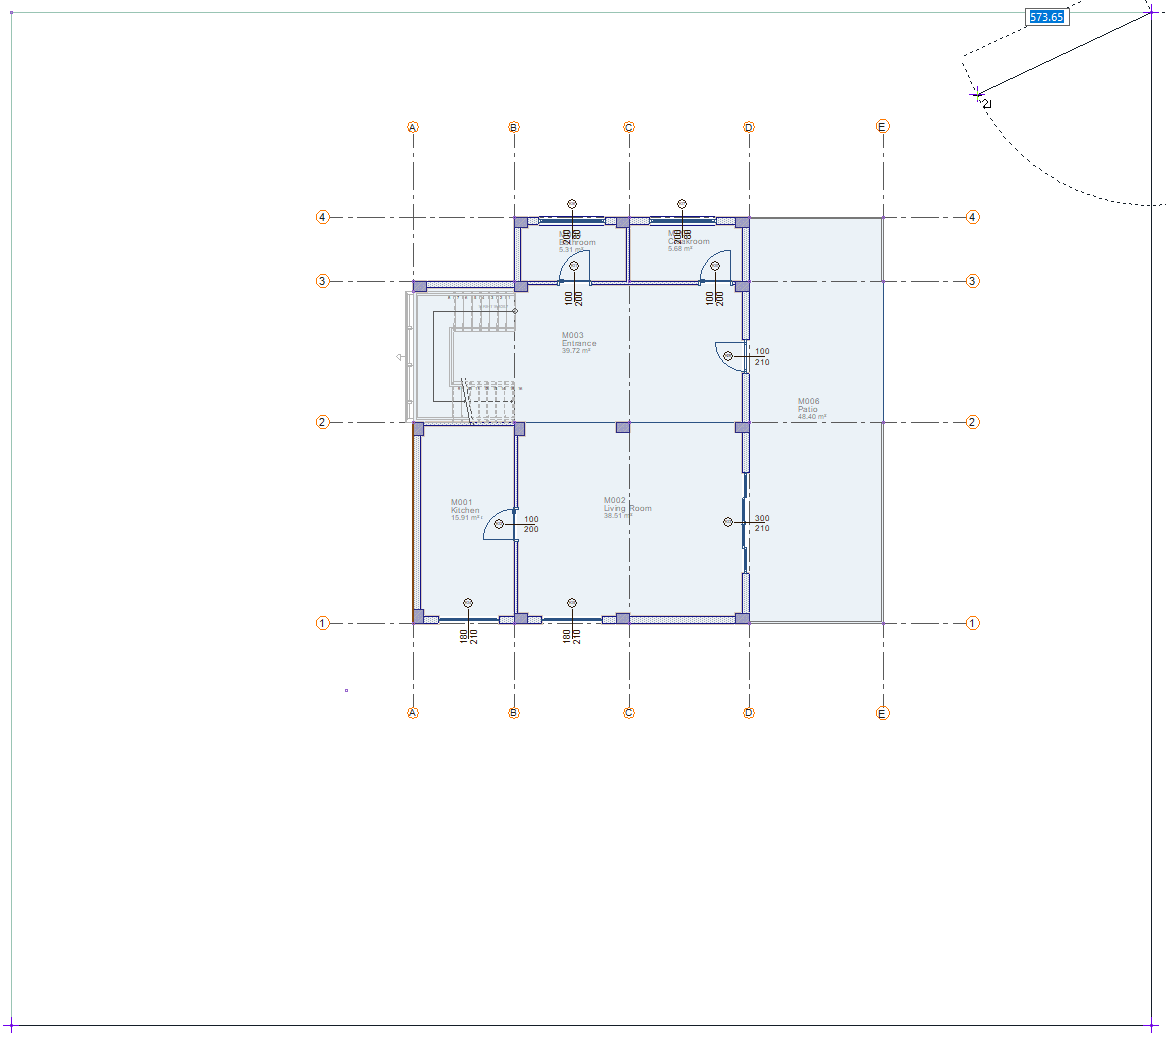
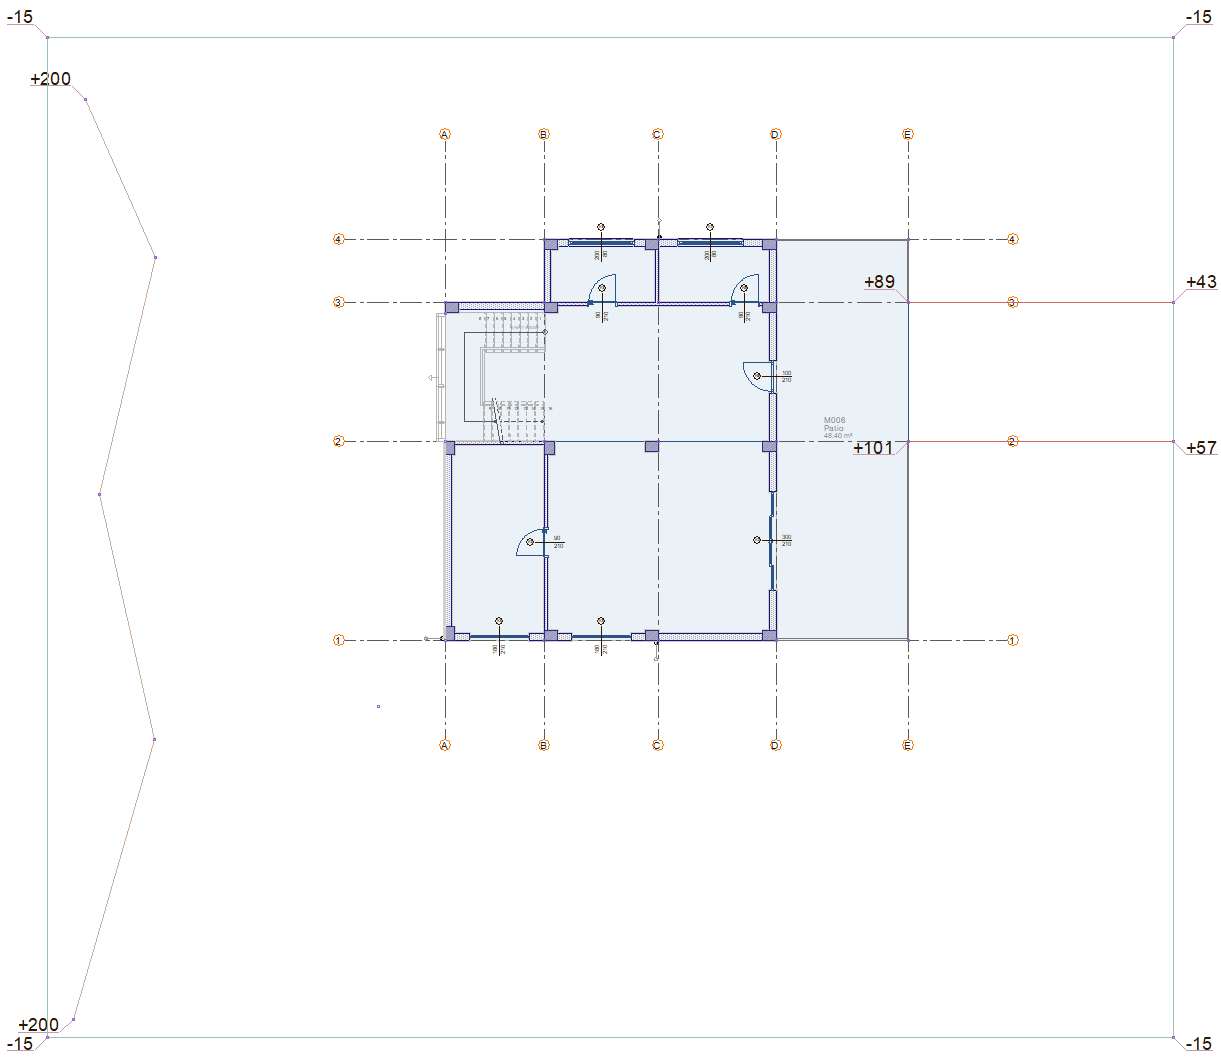
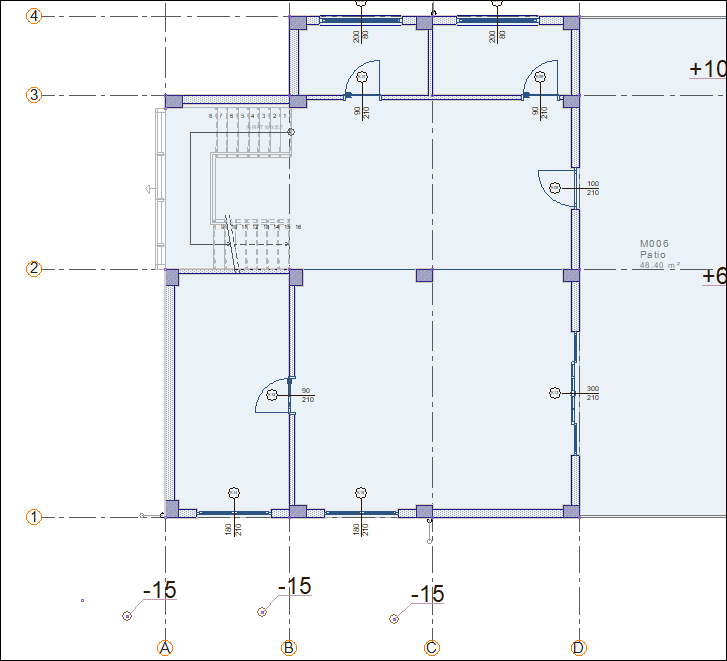
Enter the terrain command. In the terrain toolbar, enter -15 cm in the elevation box.

-
Click on the lower left corner of the lot.

-
Click on the lower right corner.

-
Click on the upper right corner.
-
Click on the upper left corner.
-
Click on the lower left corner again.
-
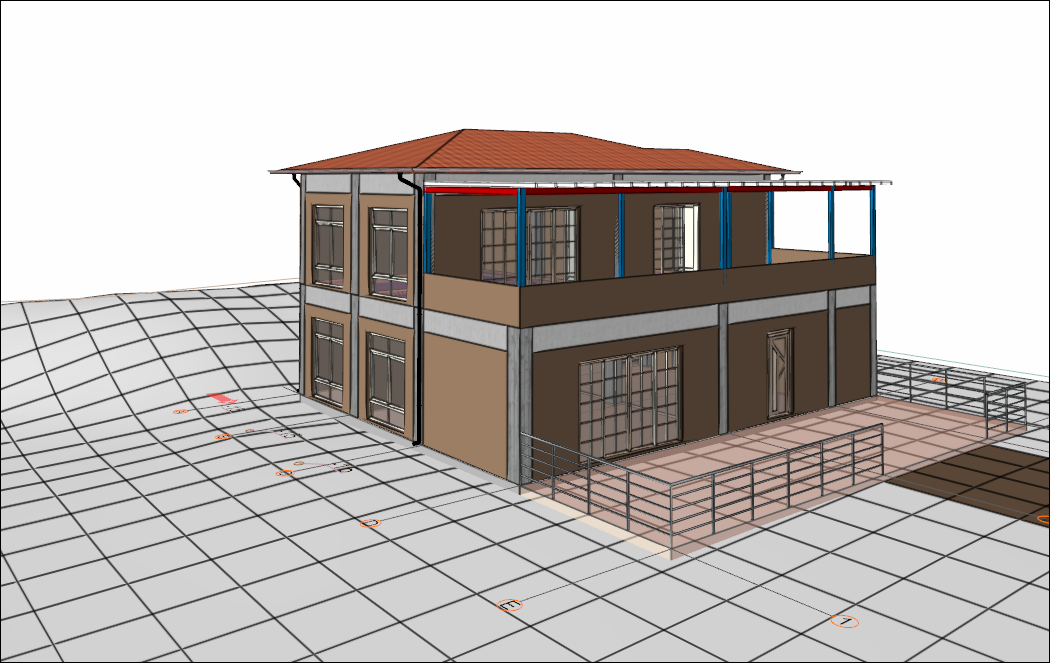
Terrain will be formed.
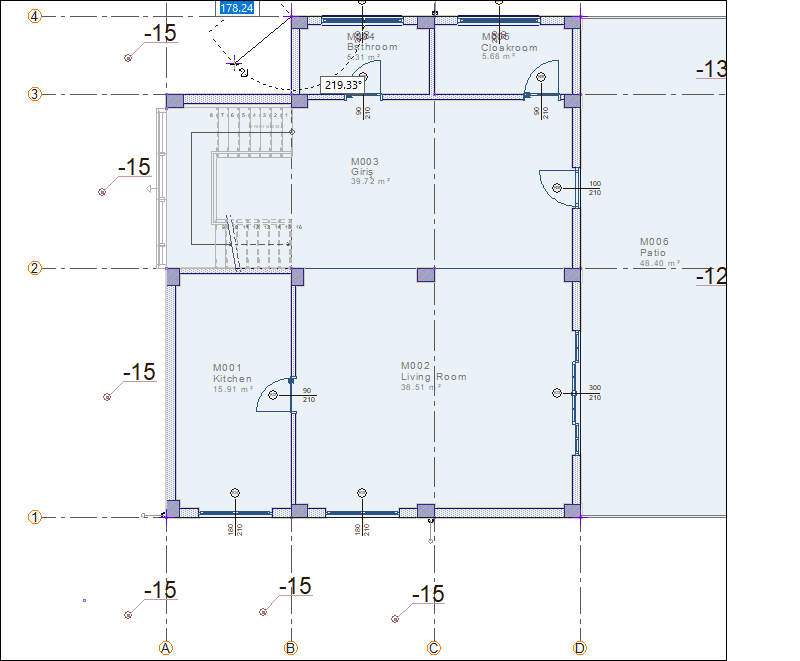
Create a walking path.
-
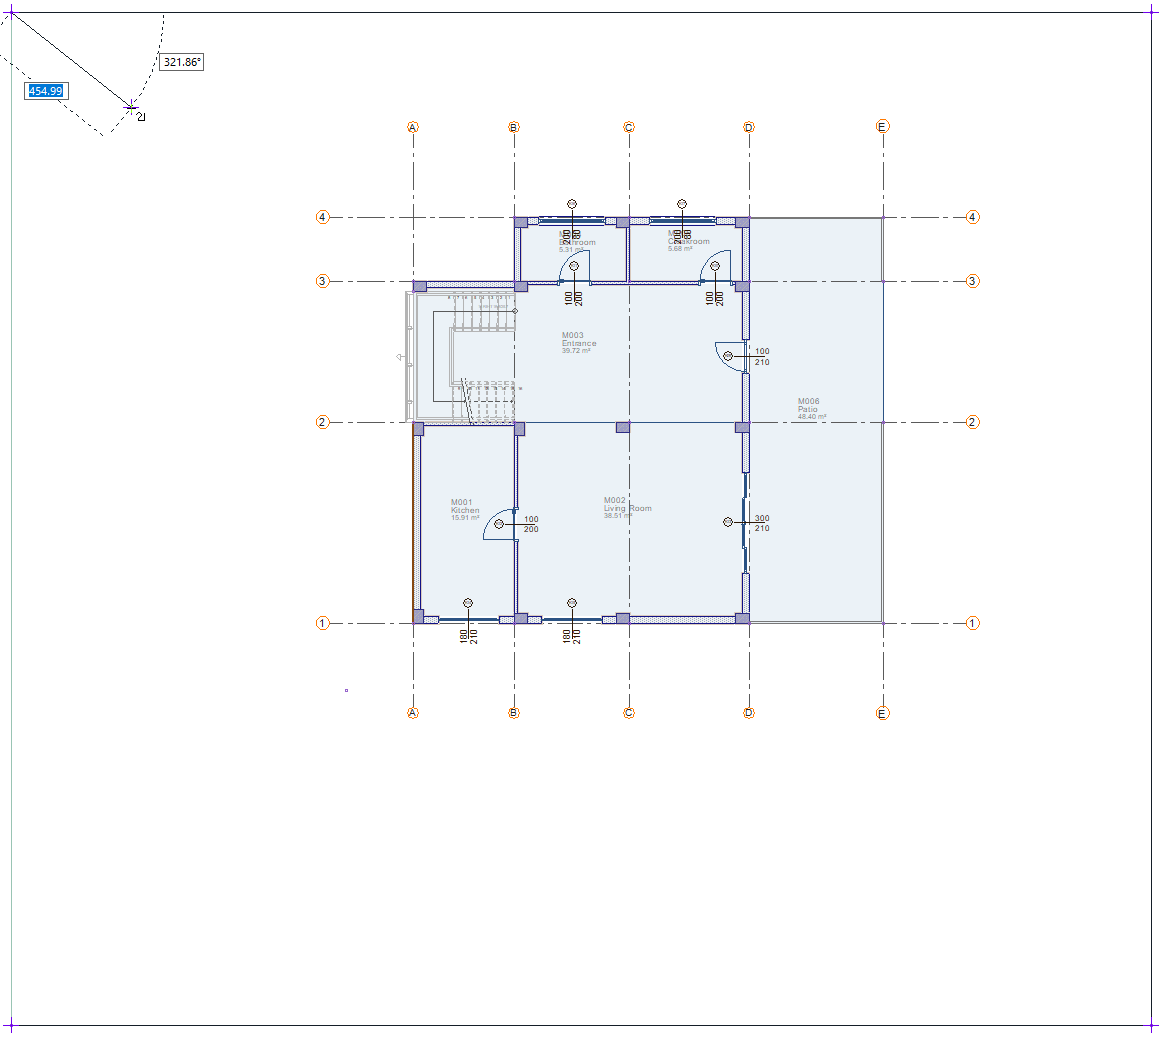
Click on the sub region command. Click on the E-2 axis intersection.
-
Press the Shift key to get a straight edge and click the lot line.
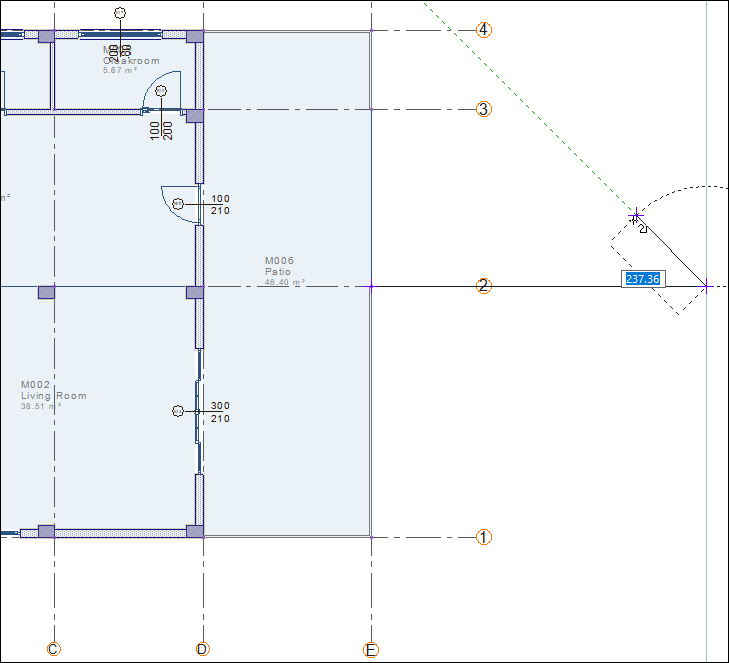
-
Press the Shift key to get a steep edge. Type the value 420 and press enter.
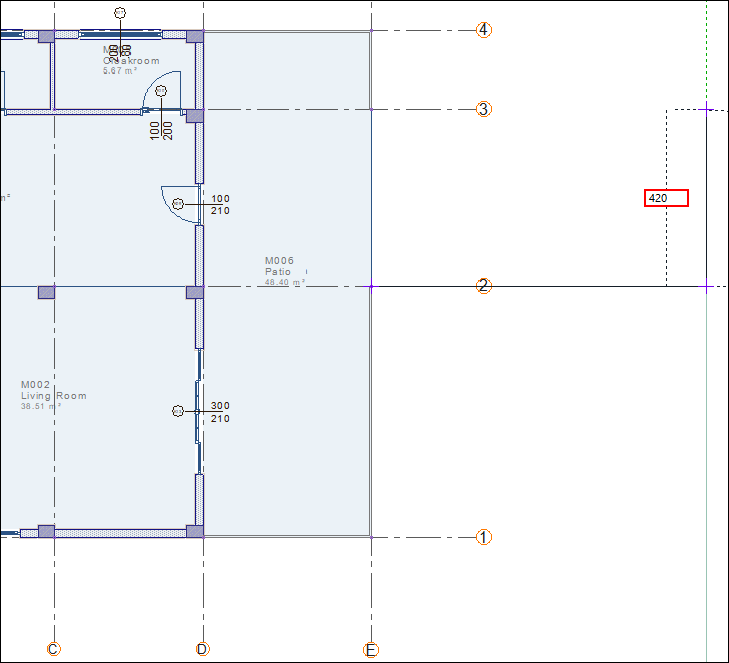
-
Click on the E-3 axis intersection.
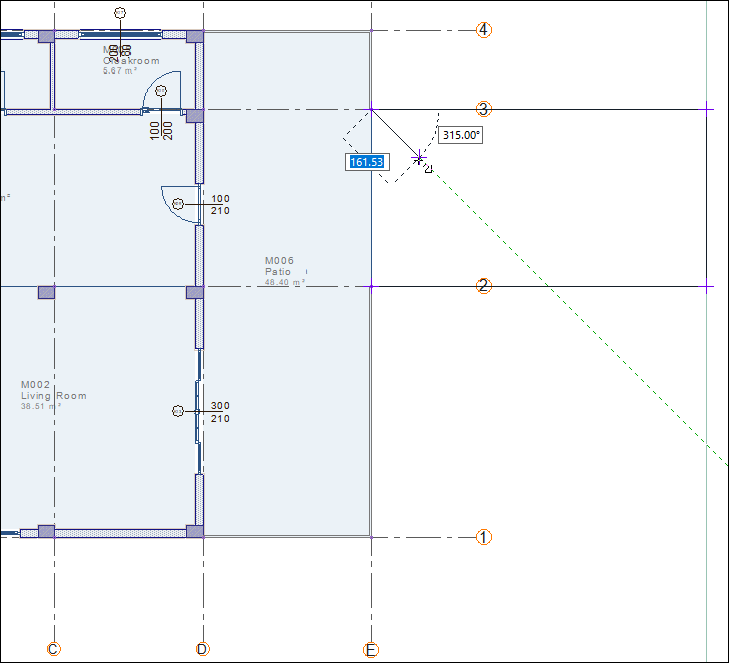
-
Click on the E-2 axis intersection. Sub region will be formed.

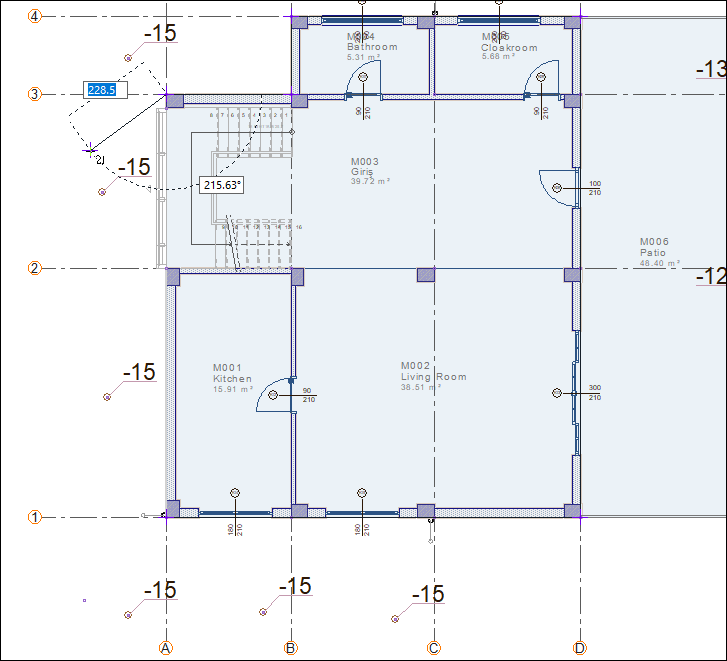
Create elevation line in the terrain.
-
Click the elevation line command.
-
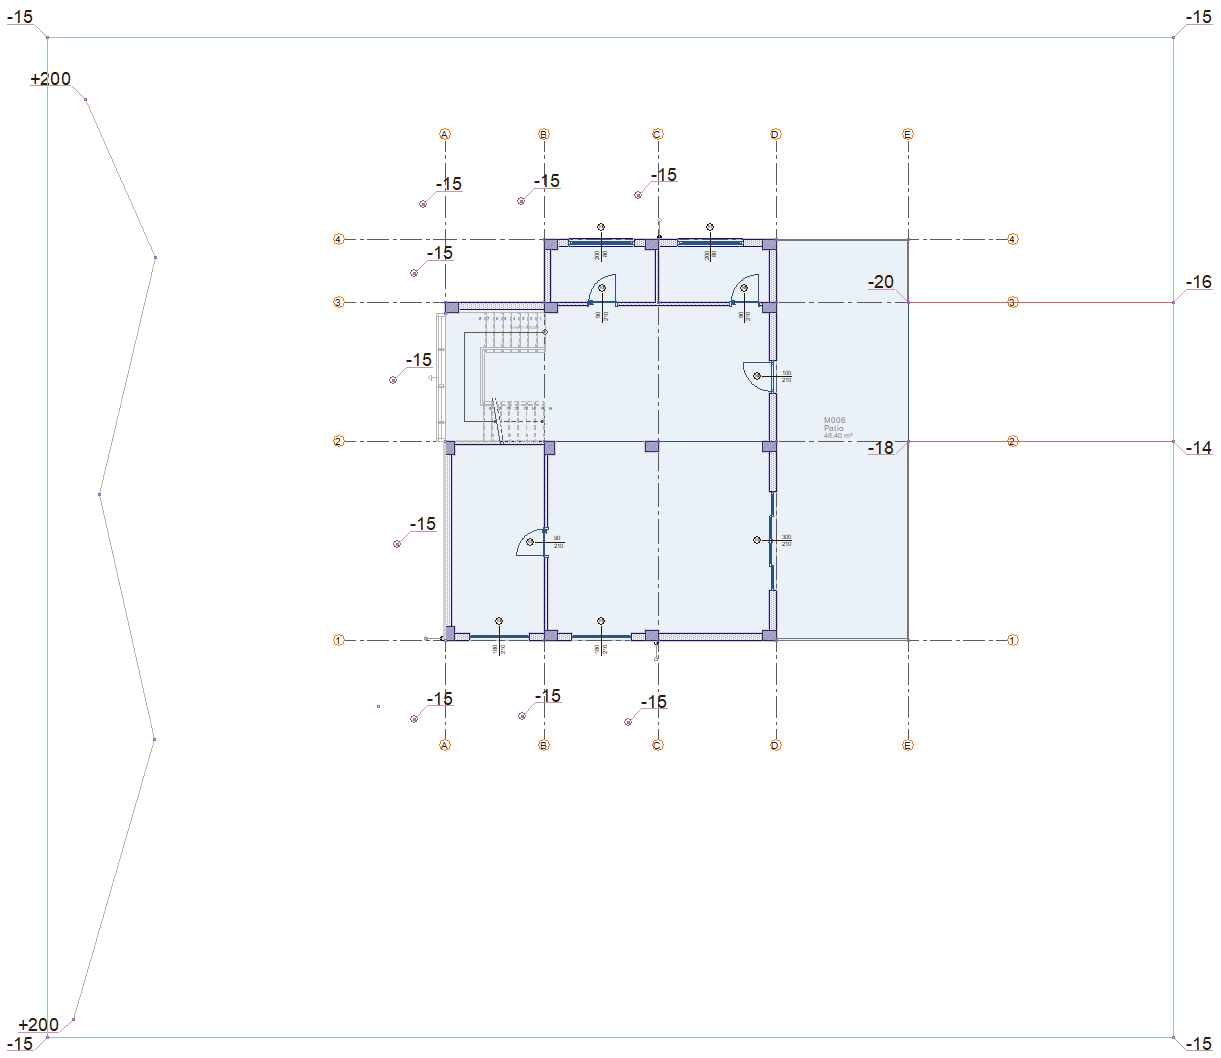
In the terrain toolbar, enter the value 200 cm in the elevation box.
-
Click on 5 dots on the left side of the terrain. Click the right mouse button to end the command.
-
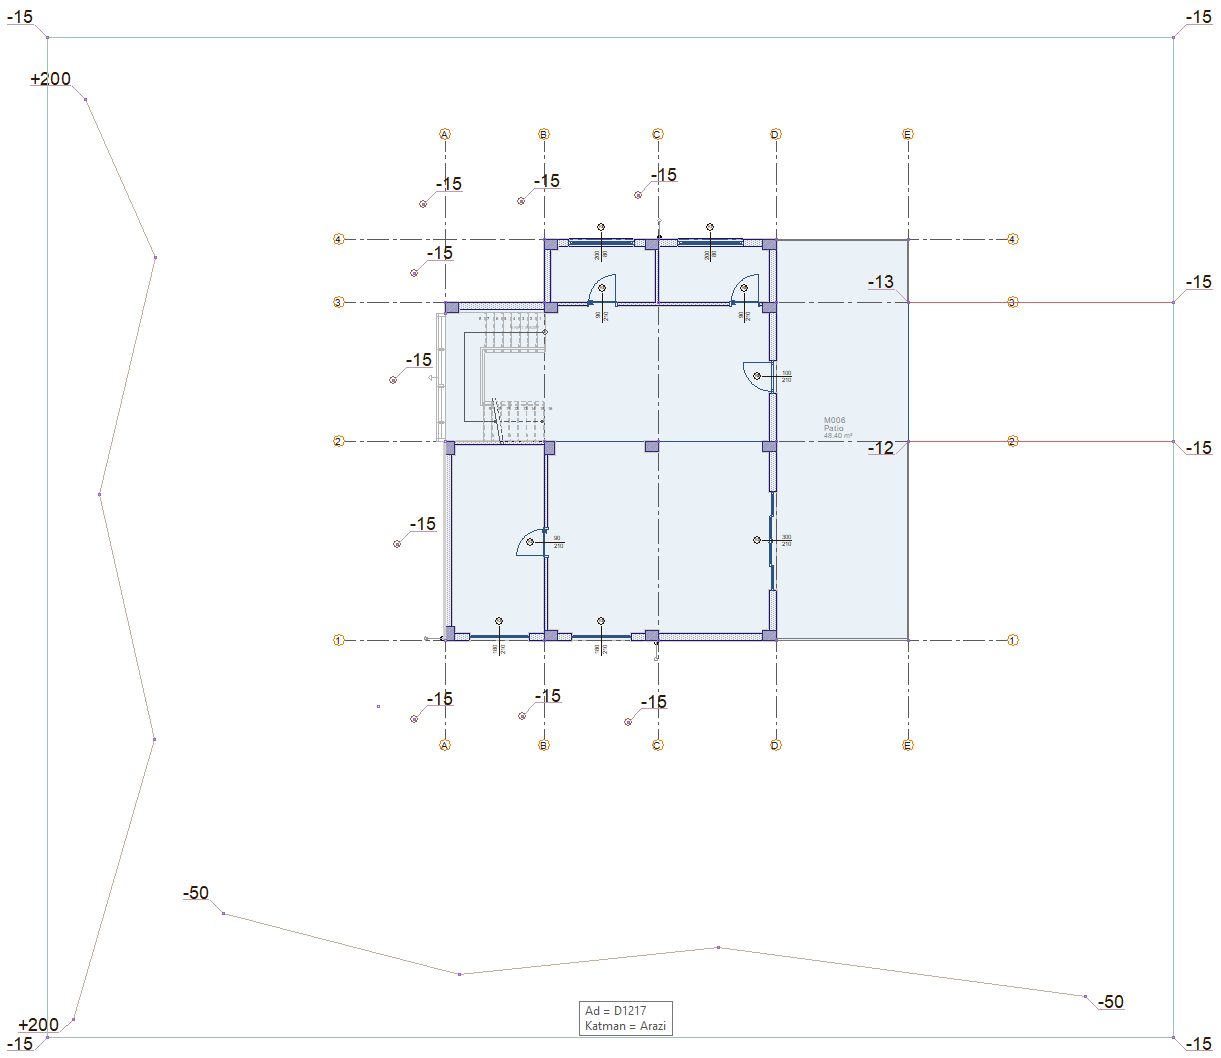
There will be elevations in the terrain.

-
Click the elevation point command.
-
In the terrain toolbar, enter -15 cm value in the elevation box.
-
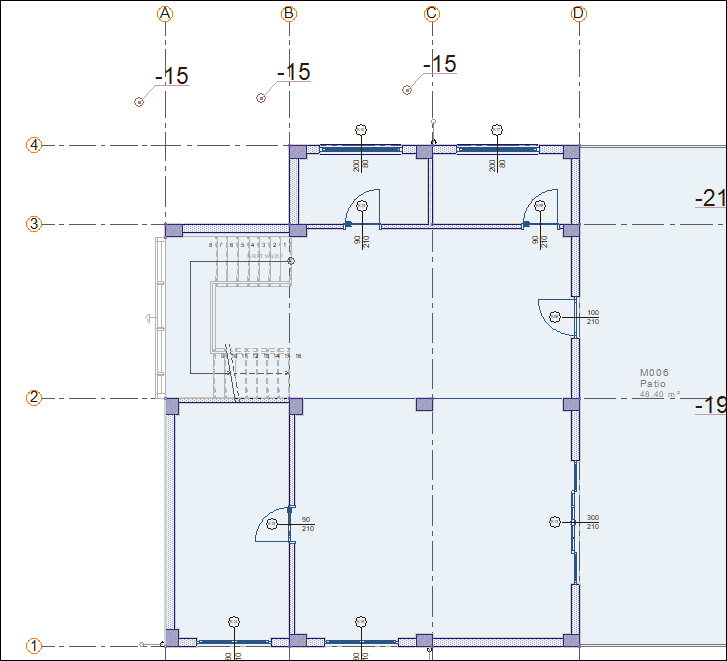
Lower alignment of axis 1 give elevation points to the left side of axes A, B and C.
-
Upper alignment of axis 4 give level points to the left side of axes A, B and C.
-
Left alignment of axis A, give elevation points between axes 1, 2, 3 and 4.

-
The elevation points are complete.
-
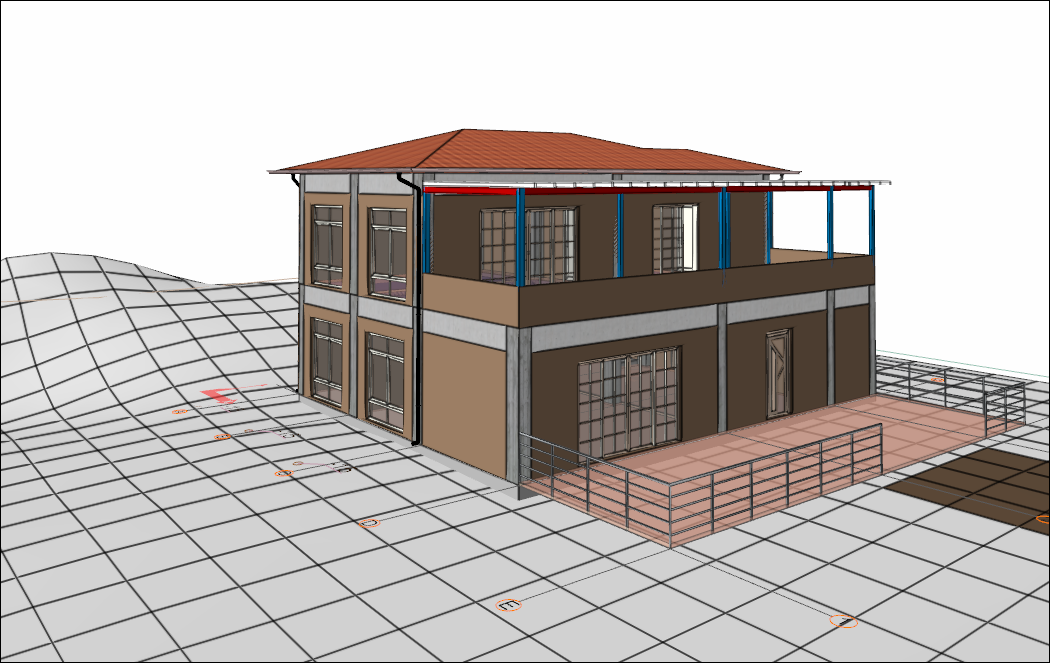
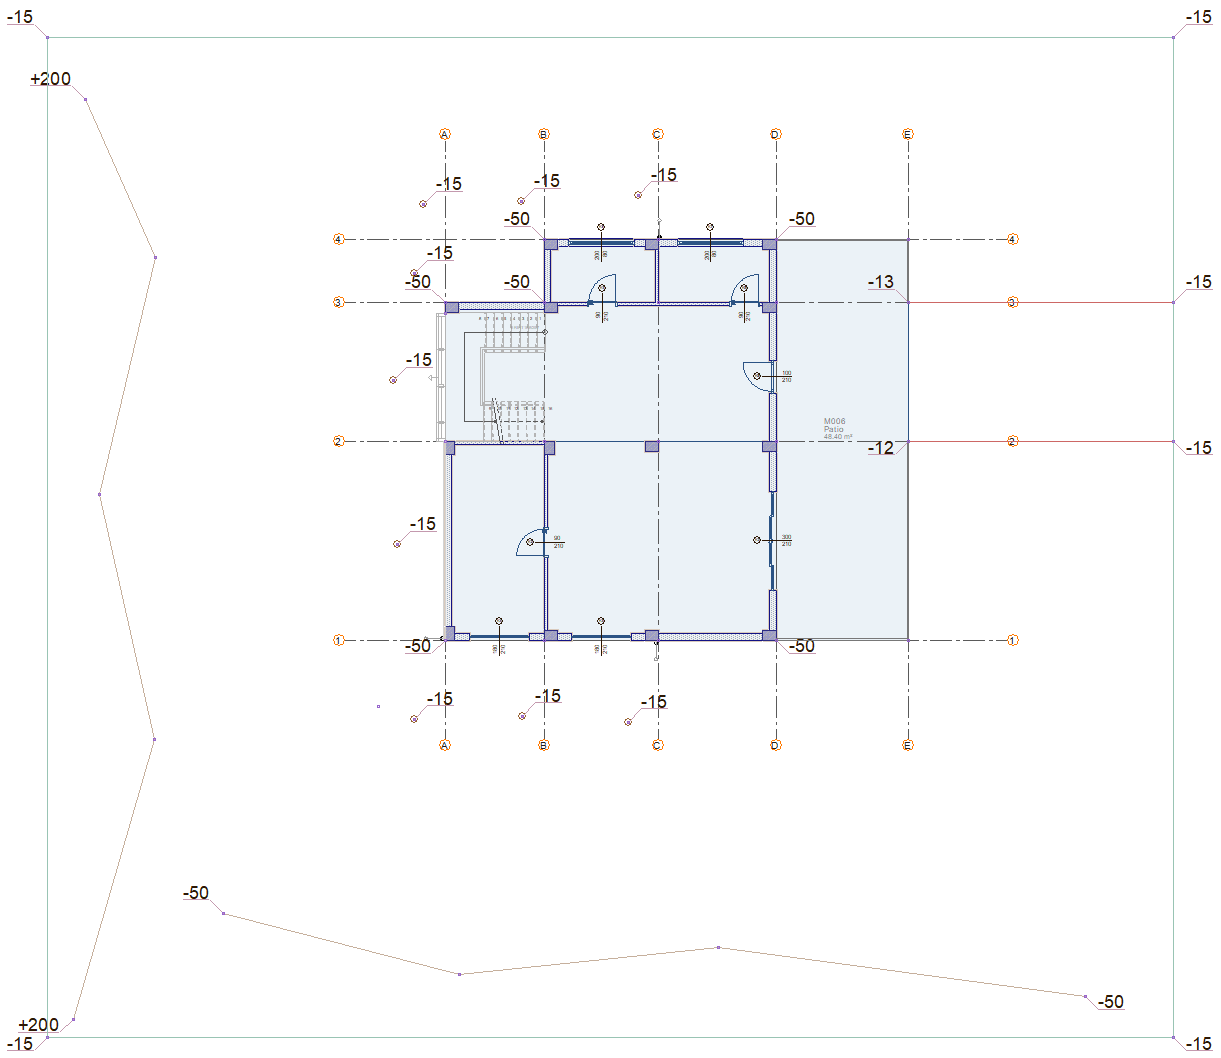
The terrain will be shaped according to the given elevation points.

-
Click the elevation line command.
-
In the terrain toolbar, enter -50 cm value in the elevation box.
-
Click on 4 points on the left side of the terrain. Click the right mouse button to end the command.

-
The terrain will be shaped according to the given elevation line.
-
Double click on the terrain in the perspective screen. The terrain settings dialog will open.
-
Check the option handle terrain polygon edges as elevation lines. Click the OK button to close the dialog.
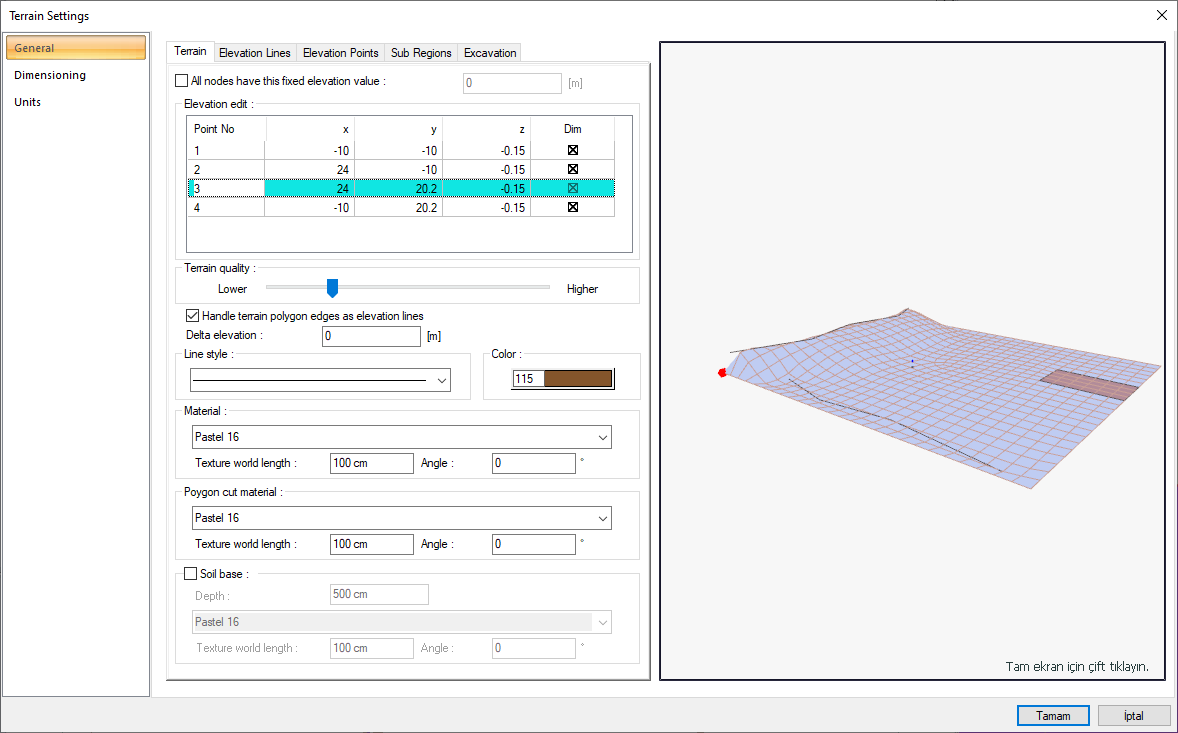
-
Terrain polygon edges will not be affected by elevation points and elevation lines of the entry.

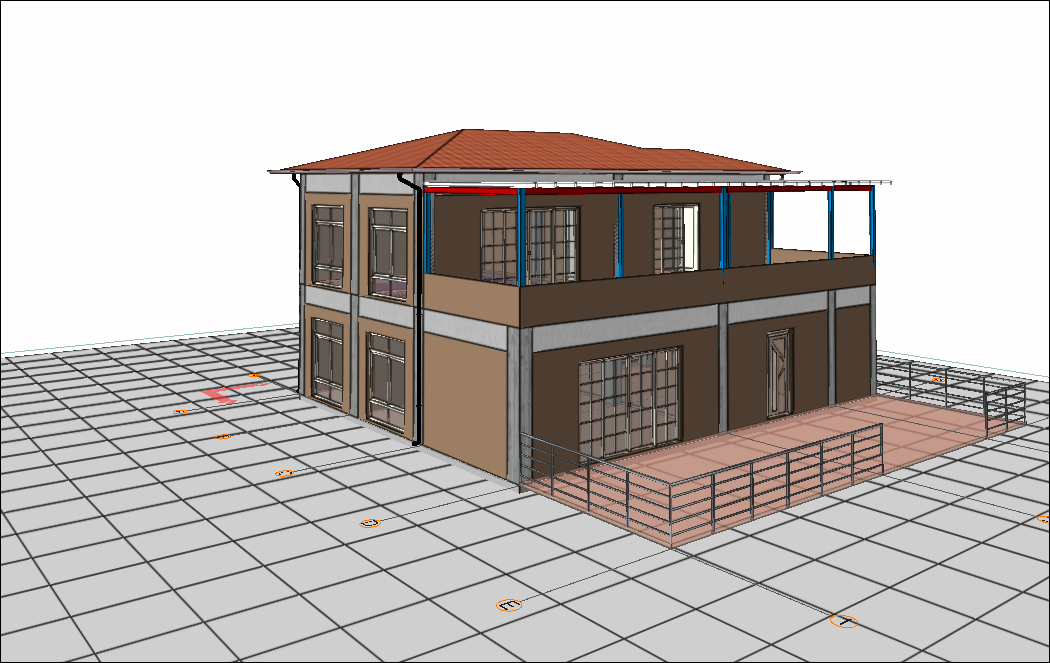
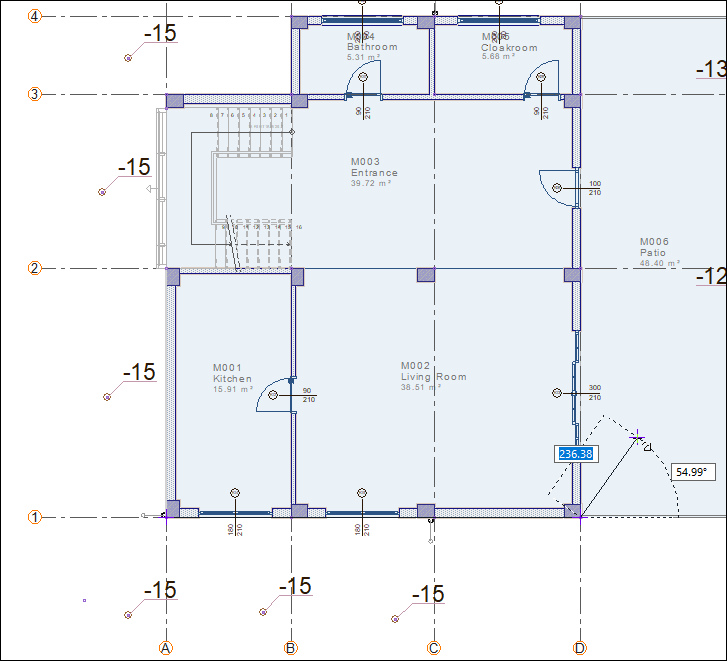
As a result of terrain changes, the patio will not sit on the ground.
-
Move mouse on the patio zone and double click.
-
The zone settings dialog will be displayed.
-
In the general tab, enter 27 cm for thickness and -20 cm for elevation.

-
Click the OK button to close the dialog. According to the given values, the location will change and it will now sit on the ground.
Open the terrain hole for the raft foundation.
-
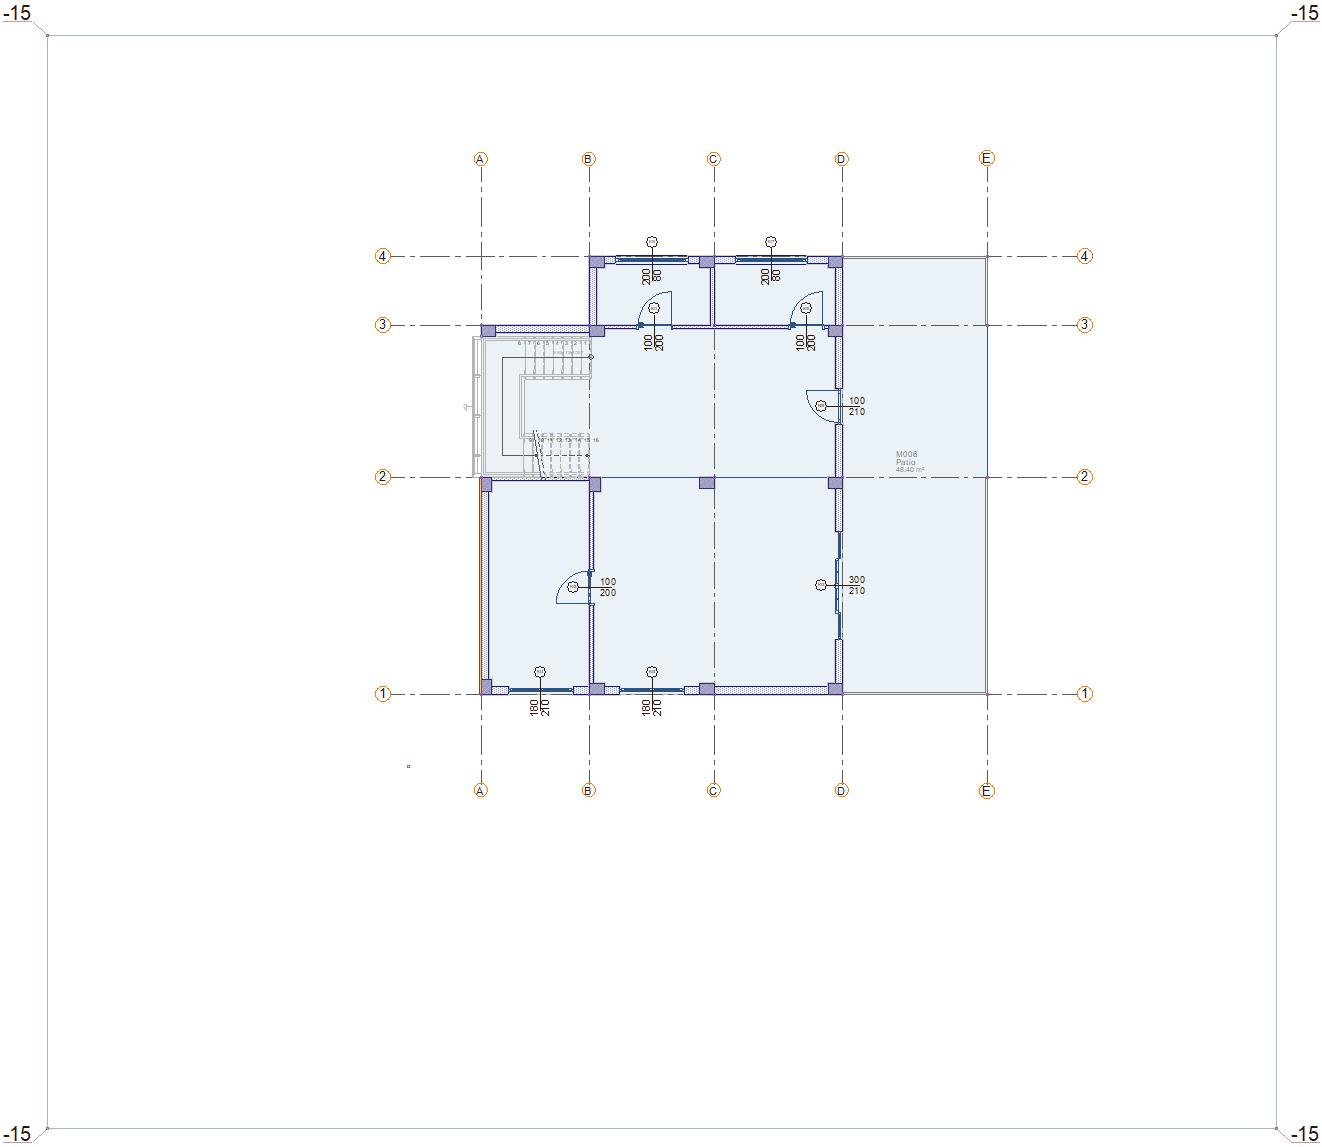
Click the terrain hole command.
-
In the terrain toolbar, enter -50 cm value in the elevation box.
-
Click on the A-1 axis intersection then click on the D-1 axis intersection.
-
Click on the D-4 axis intersection then click on the B-4 axis intersection.
-
Click on the B-3 axis intersection then click on the A-3 axis intersection.
-
Click on the A-1 axis intersection. There will be a hole.
-
With this process, the sections will also appear raft foundation.
Follow the steps of the video below.
Next Tutorial