
There are Mirror Door/Window Label, Mirror X and Mirror Y commands for door/window mirror operations . Mirror operations are used according to architectural project designs.
Mirror Door/Window Label
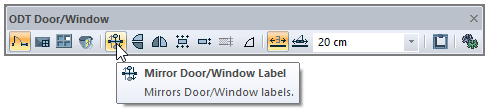
The direction of the door/window dimensioning label can be adjusted from the door window settings, and it is possible to change the direction of the label while placing the door/window. The dimensions are smart and when the label direction is changed, the text changes automatically according to the direction of the door/window. Label direction can be changed by clicking the "Mirror Door/Window Label" icon on the door/window toolbar.
Location of Mirror Door/Window Label Command
The Mirror Door/Window Label command that appears after the Door/Window command is run is available in the auxiliary toolbar.
Usage Steps
-
Click the Door/Window icon in the ribbon menu .
-
At the end of the cursor, the image of the door/window will be created. If the door/window label circle is not on the side you want, click the "Mirror Door/Window Label" icon from the door/window toolbar. You can also run label mirror by pressing the 1 key on the keyboard. The direction of the label will change.
-
Place the mouse cursor on the wall where you want to place the door / window and click the left mouse button. Door/window drawing will be completed.
|
Usage step |
|---|
|
Determining the location of the door / window 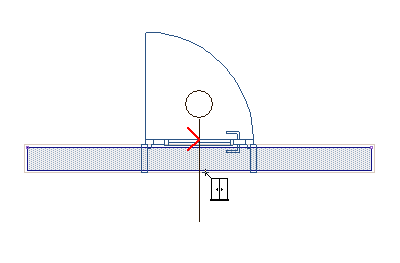
|
|
Getting symmetry by clicking the symmetry icon or pressing the 1 key 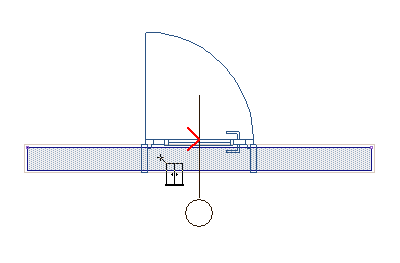
|
Mirror X
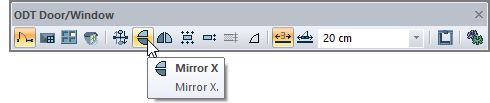
The "Mirror X" command is used to set the in-and-out opening direction of the door / window. In other words, the "Mirror X" command takes the symmetry of the door / window with respect to the wall axis. This process can be done during or after the door / window is installed.
Location of Mirror X
Usage Steps
-
Click the Door/Window icon in the ribbon menu .
-
At the end of the cursor, the image of the door/window will be created. Click the "Mirror X" icon from the door/window toolbar to open the door/window in or out. You can also run the "Mirror X" command by pressing the 2 key on the keyboard.
-
Place the mouse cursor on the wall where you want to place the door/window and click the left mouse button. Door/window drawing will be completed.
|
Usage step |
|---|
|
Determining the location of the door/window
|
|
Getting mirror by clicking the Mirror X icon or pressing the 2 key 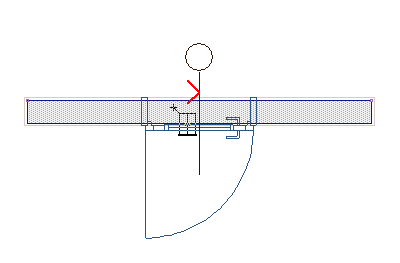
|
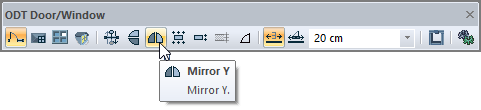
Mirror Y
The "Mirror Y" command is used to adjust the right / left opening direction of the door / window. In other words, the "Mirror Y" command takes the symmetry of the door / window with respect to the door / window center axis perpendicular to the wall axis. This process can be done during or after the door / window is installed.
Location of Mirror Y
Usage Steps
-
Click the Door/Window icon in the ribbon menu .
-
At the end of the cursor, the image of the door / window will be created. Click the "Mirror Y" icon from the door/window toolbar to open the door / window in or out. You can also run the "Mirror Y" command by pressing the 3 key on the keyboard. The opening direction of the door/window will change.
-
Place the mouse cursor on the wall where you want to place the door / window and click the left mouse button. Door / window drawing will be completed.
|
Usage step |
|---|
|
Determining the location of the door/window
|
|
Clicking the Mirror Y icon or pressing the 3 key to get mirror 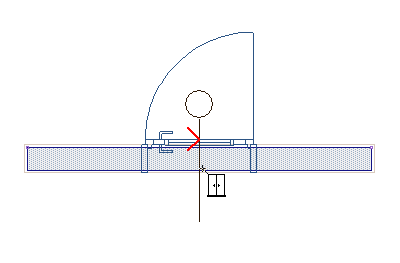
|
For the opening direction of a existing placed door/window;
-
Select the door/window you want to change the opening direction by clicking with the left mouse button and click the right mouse button.
-
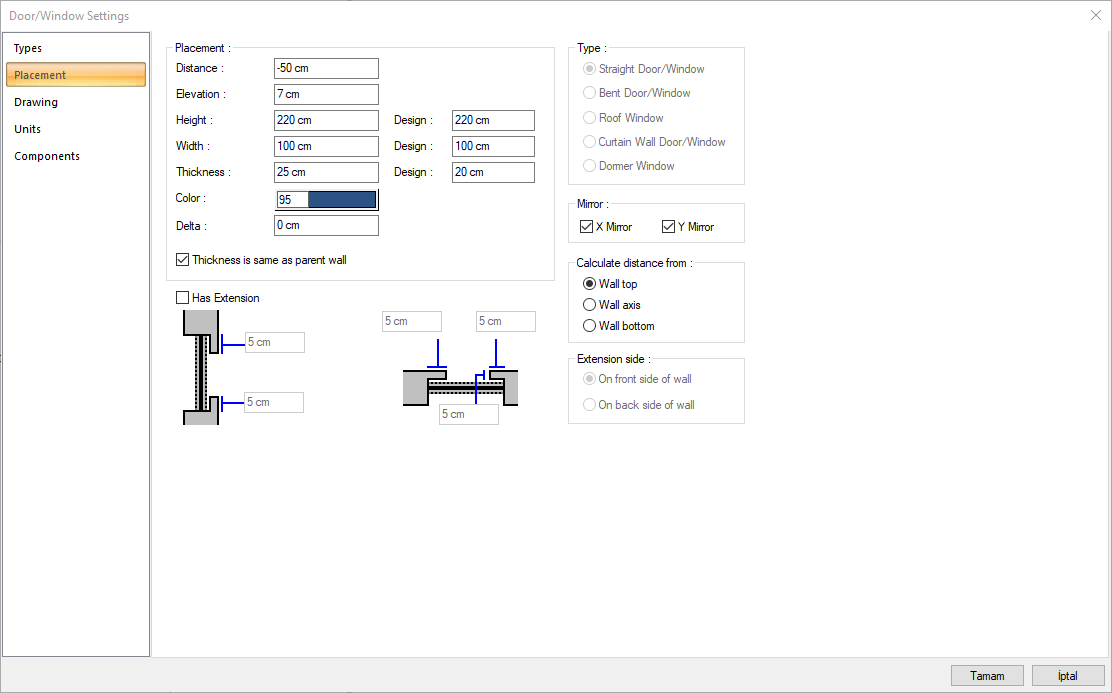
In the Door/Window Settings dialog that opens, switch to the Placement tab.
-
Click the box in front of the X Mirror and Y Mirror lines here by clicking the left mouse button.
-
When you exit the dialog by clicking the OK button, the X and Y opening direction of the door / window you selected will change.
Next Topic