
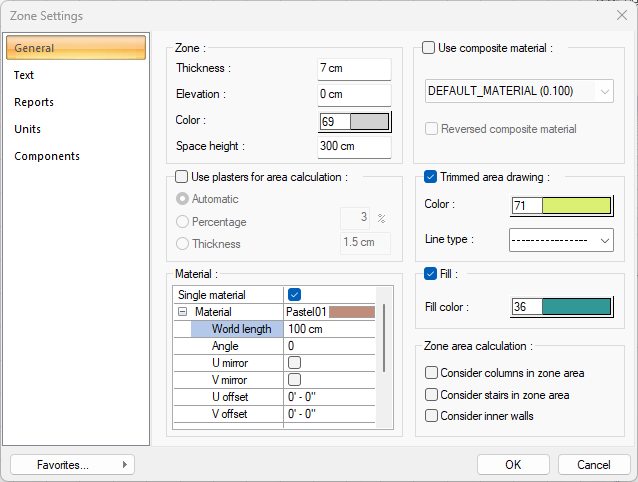
The Zone Settings dialog consists of five tabs: "General", "Text", "Reports", "Units" and "Components". Each of these tabs has user-changeable parameters.
Zone Settings Command
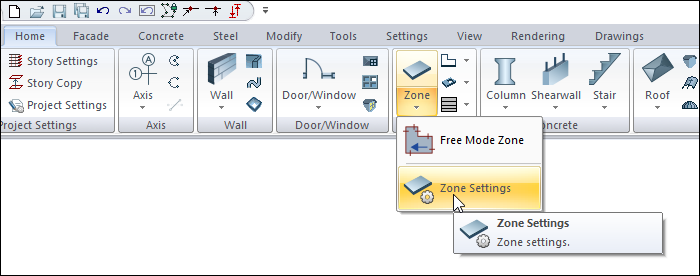
The zone that appears on the screen after running the zone command is located in the auxiliary toolbar.
You can access it under the Ribbon menu Home tab, Zone title.
General Tab
|
Specifications |
|---|
|
Thickness Zone thickness is entered. Zone thickness is the value measured from the story floor upwards. If the thickness of the zone is increased, the zone becomes thicker upwards. |
|
Elevation Zone elevation is entered. When the elevation is zero, the lower surface of the zone coincides with the story base. If a positive value is entered, the zone rises up from the story floor, if a negative value is entered, it falls under the story floor. |
|
Color The zone is the color of the border lines. When the color box is clicked, the appropriate color is selected from the window that opens. |
|
Use plasters for area calculation 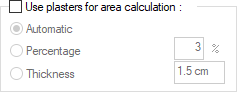
If the use plasters for area calculation option is selected, the plaster calculation becomes active. If it is automatically marked, the area between the wall plaster and the wall is deducted from the zone area while calculating the zone area and the area value found is written on the zone. If the percentage is marked, while calculating the zone area, the zone area is deducted as the percentage of the value written in the "Percentage" line and this value is written on the zone. If the thickness is marked, while calculating the zone area, the plaster thickness is taken into account as the value entered in this line and the area between the plaster and the wall is deducted from the zone area. If the use plasters for area calculation option is not selected, plaster thicknesses are not taken into account in the zone area calculation. |
|
Material 
The material to be used on the upper, lower and other surfaces of the zone is selected from the list. Surfaces are covered with the selected material and displayed as such in renderings. Texture length is entered into the world length. For example; If 1 is entered, the selected material texture is taken as 1 meter and covered on the relevant walls. The angle is the angle of the texture. Offset the U and V shifting. The motion value in the x and y plane is entered. With U and V mirroring, the texture is symmetrical with respect to the y and x planes. By selecting the single material option, the material selected in "Top material" is used on all surfaces of the zone. |
|
Use composite material 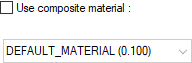
Composite materials allow the zone to be drawn in a different material view in the section. If checked, it allows the use of materials defined in the "Composite Material" editor. After the row is marked, one of the composite materials in the list below is selected with the left mouse button. Changes the view of the zone in section according to the selected composite material. |
|
Reversed composite material If marked, the materials used in the zone are reversed. When the section is taken, the top hatching in the zone section area appears at the bottom, the bottom hatch at the top. |
|
Trimmed area drawing 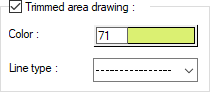
Using the "Trim to roof" command, it is marked if it is desired to show the section created with the zone and roof on the plan. If it is not desired, it is not marked. Color and line type determine the visual settings of the intersection on the plan. |
|
Fill It adds color to the zone. |
|
Fill color The color in which the interior of the zone will be painted is adjusted. Click on the color box with the left mouse button and slide the mouse cursor over the opened color palette. When the desired color is reached, the key is released. The color box turns into the selected color. If the color box is clicked with the shift key on the keyboard, the pen thickness of the relevant color can be adjusted. |
|
Zone area calculation 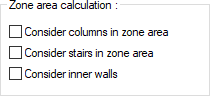
When the zone is placed, if there is a wall, stair or column object in the zone, it is used to subtract the total area of these objects from the total area of the zone while calculating the zone area. If Consider Columns is checked, ZoneArea Net = Zone Area - Area of Columns Within the Zone If Consider stairs is checked, ZoneArea Net = Zone Area - Area of Stairs Within the Zone If the wall is marked, ZoneArea Net = Area I Area - Area of Walls within the Zone One or more of the options can be marked at the same time. |
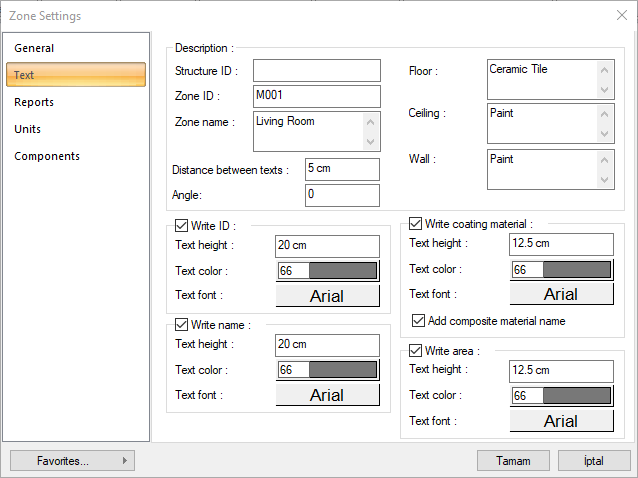
Text Tab
|
Specifications |
|---|
|
Structure ID This line is used for the definition of the zone in the quantities created according to DIN277 and II BV standards. Name of the building is entered. |
|
Zone ID It is the name that will appear in the building components of the zone. |
|
Zone name Enter the name of the zone here (living room, kitchen, etc.). Enter the zone name in the box, click the OK button and the dialog is closed. The zone name entered is written on the relevant zone in the plan. |
|
Floor/Ceiling/Wall 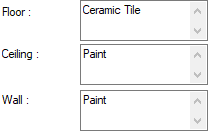
Enter the name of the coatings (parquet, ceramic, paint etc.) in the area and the area belonging to the zone. |
|
Distance between texts The distance between the two lines is entered in the zone text block written on the zone. |
|
Angle The angle of the zone text written on the zone is entered. |
|
Write ID 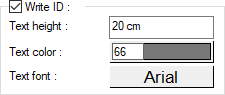
If it is checked, the zone id is shown in the plan. Text height: The height of the zone id text is adjusted.
|
|
Write name 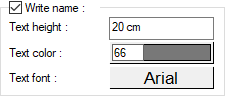
If checked, the name of the zone is shown in the plan. Text height: The height of the zone name text is adjusted.
|
|
Write coating material 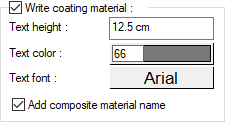
If it is marked, the area covering text is shown in the plan. Text height: The height of the zone coating text is adjusted.
|
|
Write area 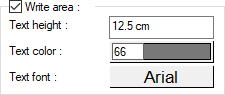
If marked, the zone area is shown in the plan. Text height: The height of the zone area text is adjusted.
|
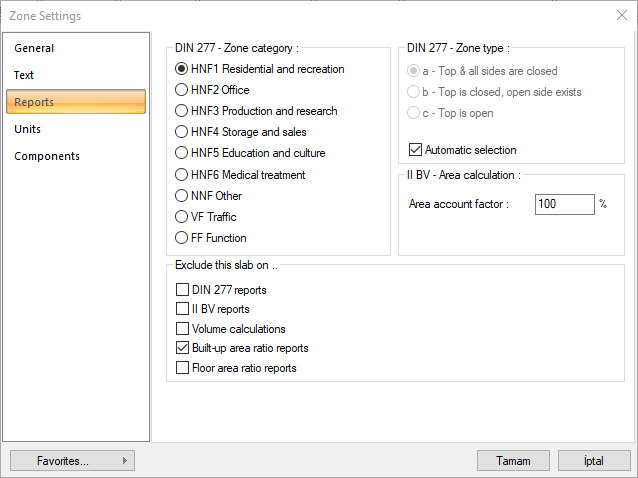
Reports Tab
|
Specifications |
|---|
|
DIN 277 - Zone category 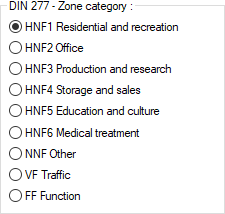
The option is marked for whatever purpose the zone will be used for. Options, respectively; HFN1 is residential and recreation, HFN2 office, HFN3 production and research, HFN4 storage and sales, HFN5 education and culture, HFN6 medical treatment, NNF other, VF traffic, FF function. |
|
DIN 277 - Zone type 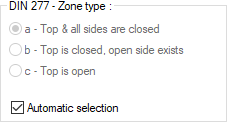
One of the options a-top and all sides are closed, b-top is closed, open side exists, c-top is open options are marked or automatic selection is marked and the ideCAD is automatically found. |
|
II BV - area calculation 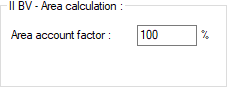
The area account factor containing II BV metrics is entered. |
|
DIN 277 reports When the option is selected, the zone is not taken into consideration in DIN 277 reports. |
|
II BV reports When the option is selected, the zone is not taken into consideration in the II BV reports. |
|
Volume calculations When the option is selected, the zone volume is not taken into consideration in DIN 277 and II BV reports. |
|
Built-up area ratio reports
When the option is selected, the zone is not taken into build-up area ratio reports |
|
Floor area ratio reports When the option is selected, the zone is not taken into floor area ratio reports. |
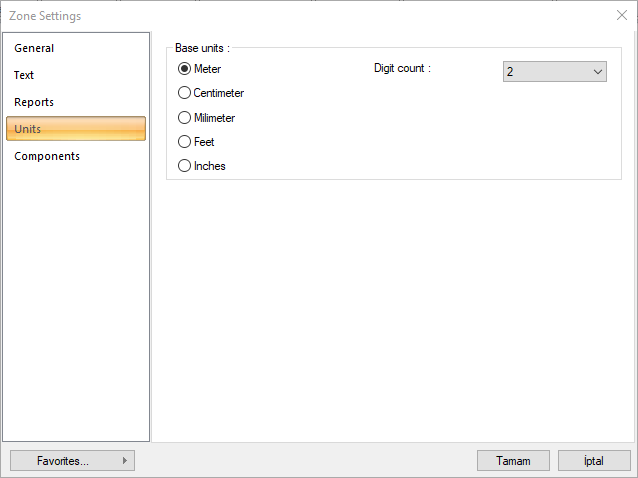
Units Tab
|
Specifications |
|---|
|
Base units 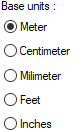
One of the selections is activated by clicking the left mouse button on the job. Meter: If checked, the unit of information text will be meters.
|
|
Digit count 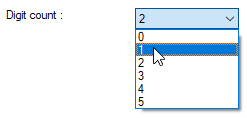
It determines how many digits will be shown after the comma. The desired number is selected from the list. For example, if 2 is selected, units will be shown as two digits after the comma. If 0 is selected, units will not be shown after the comma. |
Components Tab

Add new components: Assigns the building materials defined for the detailed building components metering to the wall object.
-
Click the Add New Component button.
-
The Components Selection dialog will open.
-
In this dialog, click on the folder related to the material from the list on the left. Choose the material you want to use.
-
Set the parameters on the right.
-
Click the OK button. The "Component Selection" dialog will be closed. A summary line of the material will appear in the Components tab. More than one material assignment can be made to an object.
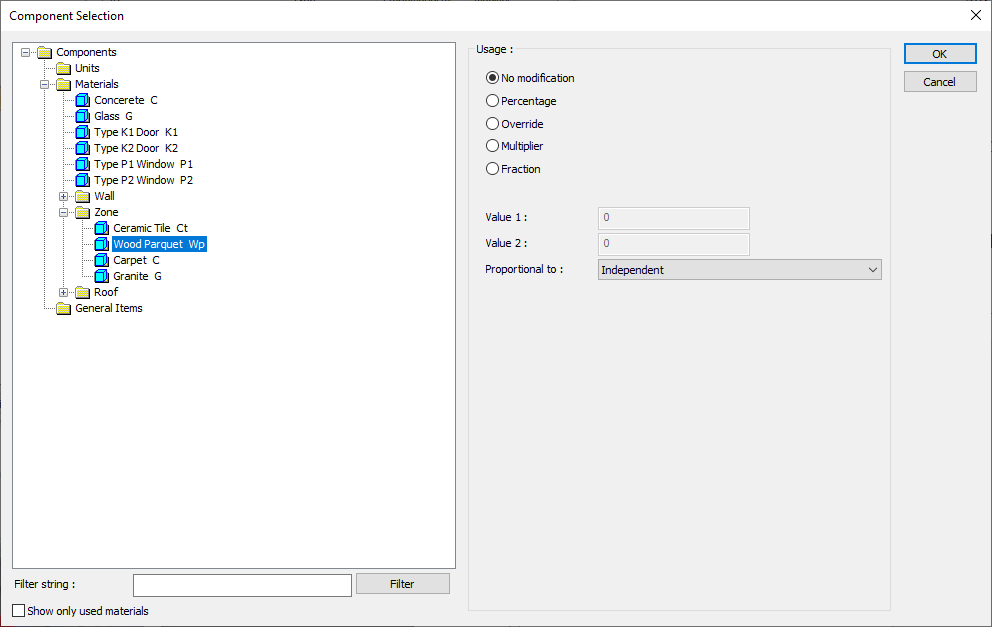
The parameters in the use section of the component selection dialog are:
No modification: The amount of material to be assigned for the object in question is marked when it is desired to be used in the size that was previously specified in the material definition.
Percentage: This line is marked when it is desired to be used with the percentage of the amount previously determined in the material definition, as much as the value entered in the "Value 1" line in the same dialog. For example, if the material quantity is 70, if the line “Value 1” says 40, it means the material amount will be used up to 40 * 70%.
Override: This line is marked so that the quantity entered in the “Value 1” line in the same dialog will be used instead of the quantity previously determined in the material definition.
Multiplier: This line is marked in order to use the value found at the end of the multiplication of the value entered in the "Value 1" line in the same dialog with the amount previously determined in the material definition.
Fraction: This line is marked so that the amount determined in the material definition before will be used as the fraction value created by the values entered in the "Value 1" and "Value 2" lines in the same dialog. "Value 1" is the denominator "Value 2" is the denominator.
Proportional to: It is determined to what scale-area, circumference, length etc.-, region-side area, top, edge etc.- the material will be proportioned to. The content of the proportional list box is automatically determined according to the object and the size of the material. For example, a different list will be created if an operation is made for the column, a different list will be created for the library, a different list for the volume, and a different list for the field.
Following are the lines that appear in the proportion list according to the zone and material size.
|
Zone |
||
|
Measure |
Listed |
Explanation |
|
Constant |
Independent |
The fixed measure used will be used exactly as the amount. |
|
Length |
Independent |
It means that the length measure found while defining the material will be used exactly as the length value. |
|
Perimeter |
It means that the length of the material will be found by multiplying the length measurement found when defining the material and the perimeter of the zone. |
|
|
Area |
Independent |
It means that the area measure found while defining the material will be used exactly as the amount. |
|
Top area |
It means that the value to be found by multiplying the area measure found when defining the material with the area of the surface above the site will be used as the material area. |
|
|
Bottom domain |
The value to be found by multiplying the area of the area found when defining the material with the area of the surface under the location means to be used as the material area. |
|
|
Top and bottom area |
When defining the material, the value found by multiplying the sum of the area size found at the top and bottom of the space and the surface areas at the top and bottom of the space means to be used as the material area. |
|
|
Volume |
Independent |
It means that the volume measurement found when defining the material will be used exactly as the volume value. |
|
Volume |
It means that the volume measurement found when defining the material will be used by multiplying the space volume. |
|
|
Count |
Independent |
The number measure found while defining the material will be used exactly as the material number. |
|
Count |
The number measure found while defining the material will be used exactly as the material number. |
|
Next Topic