
The Arc Wall command is used to draw an arc wall using the center-radius-angles technique. First the center, then the radius, and finally the arc angle is determined and the wall is drawn.
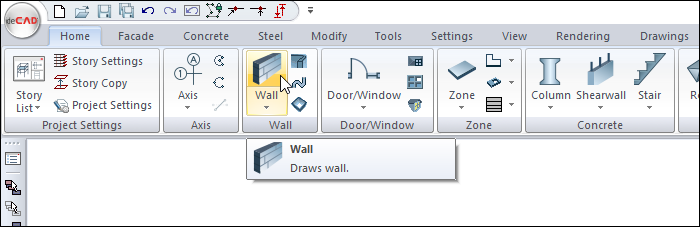
Location of Arc Wall Command
You can access the wall toolbar that opens after clicking the wall command.
Usage Steps
-
Click the Arc Wall icon from the toolbar .
-
Determine the center of the arc wall part to be drawn by clicking a point in the drawing area with the left mouse button.
-
Your radius and circle wall preview will change with the movement of your mouse.
-
Determine the arc radius by clicking a place in the drawing area with the left mouse button.
-
Drag the mouse counterclockwise. The preview of the wall being drawn will change depending on the mouse cursor.
-
You can define your wall by holding different points (bottom corner, middle or top corner) by clicking the delta icon from the wall toolbar or by pressing the spacebar on the keyboard. Every time you press the spacebar, your mania will change.
-
Complete the arc wall drawing by clicking a third point with the left mouse button.
-
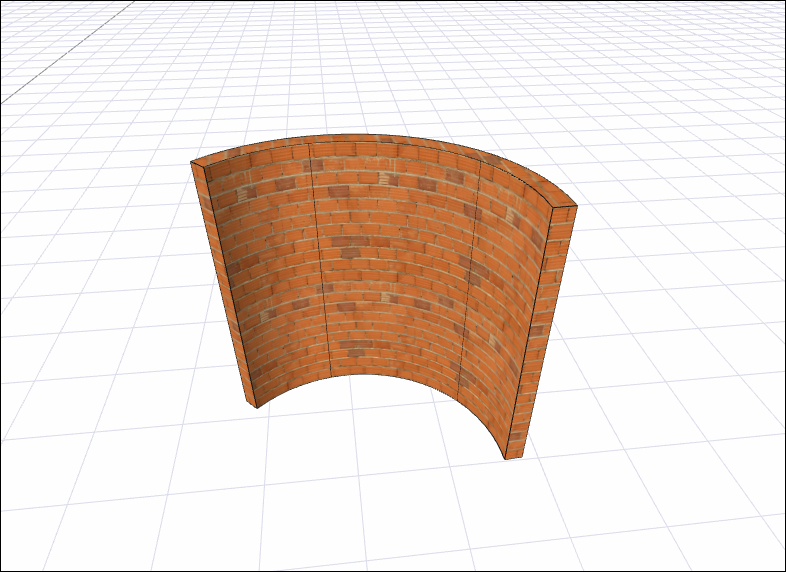
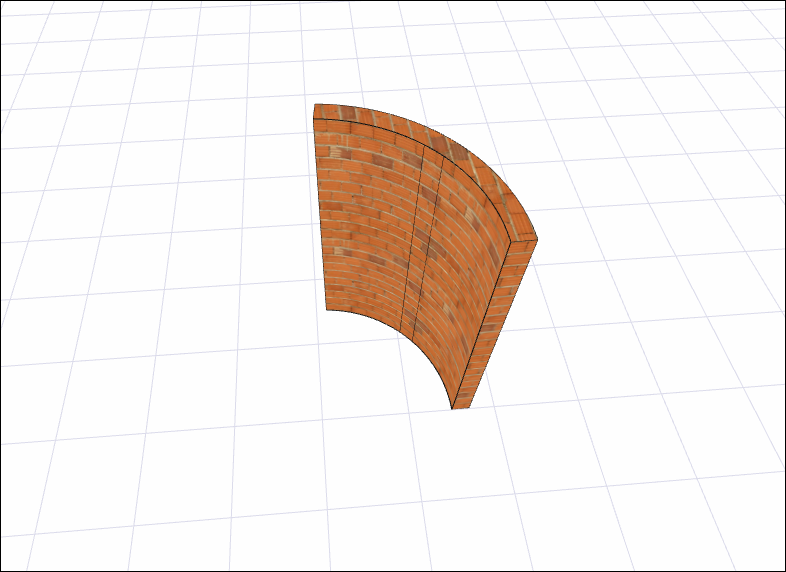
Press esc to exit the command. Your arc wall will be formed.
|
Usage step |
|---|
|
Determining the center of the arc wall part in the drawing area with the left mouse button 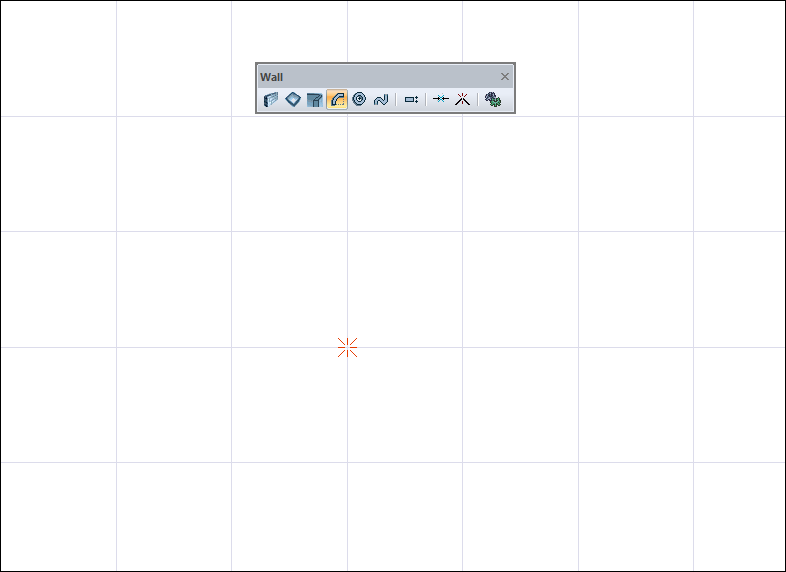
|
|
Determining the radius of the arc by clicking the left mouse button 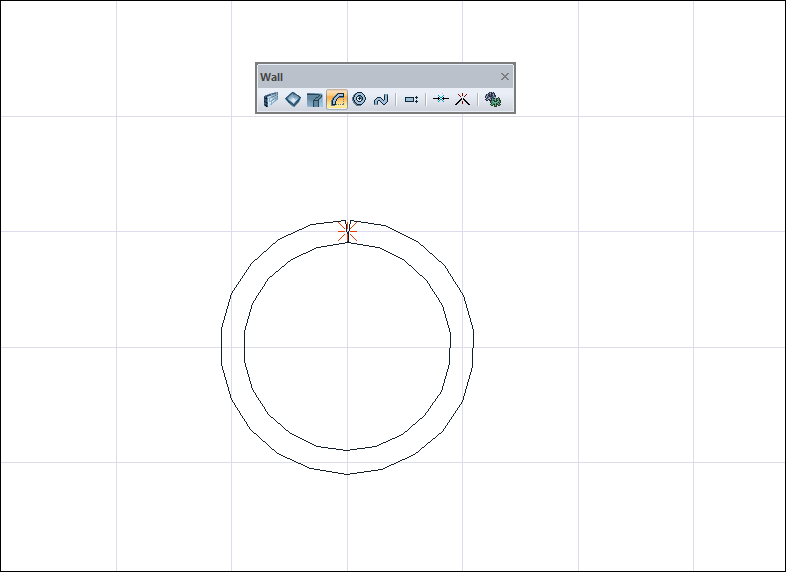
|
|
Change of arc part due to mouse movement 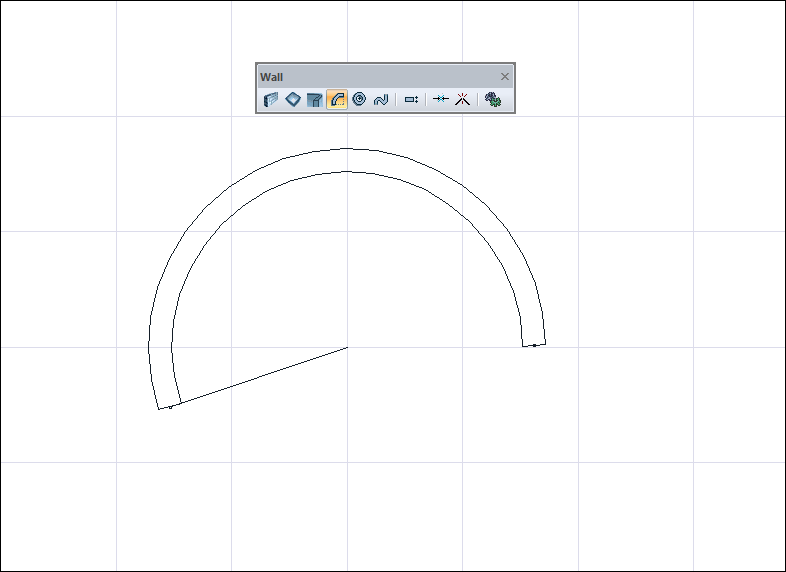
|
|
Changing the wall delta by pressing the spacebar 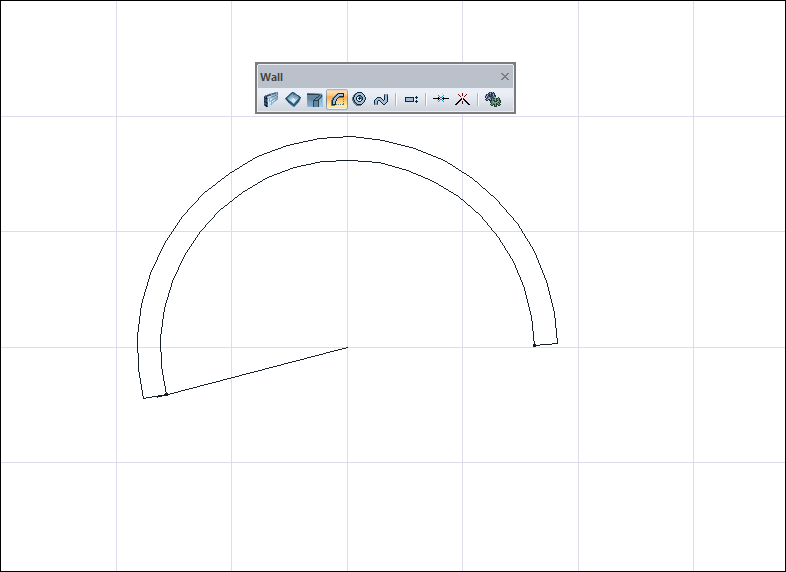
|
|
Determining the end point of the arc by clicking the left mouse button 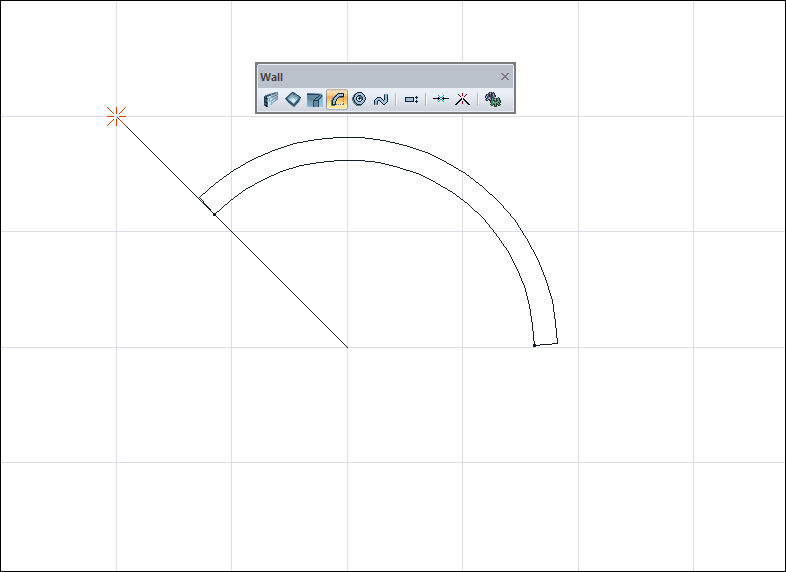
|
|
Exiting the command by pressing the Esc key on the keyboard and forming an arc wall 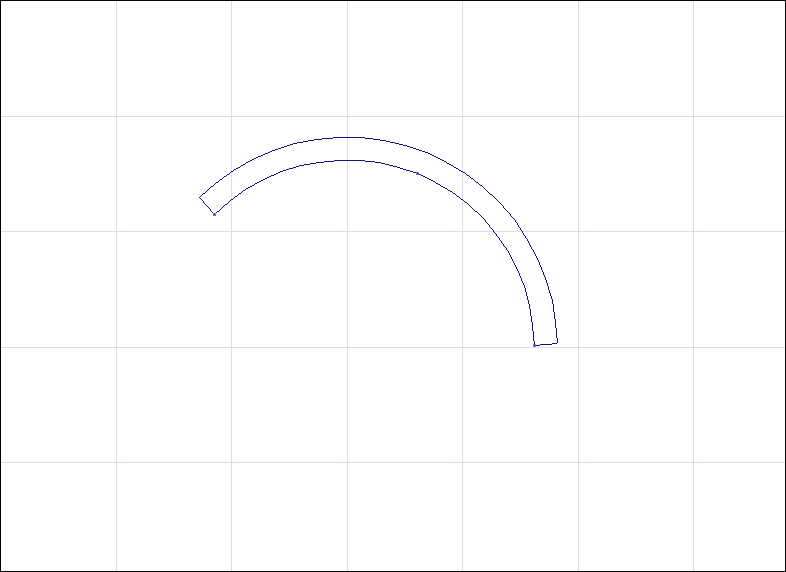
|
You can determine your arc wall by entering length and angle. For this;
-
Determine the center of the arc wall part to be drawn by clicking a point in the drawing area with the left mouse button.
-
Press the L key on the keyboard to determine the radius , the cursor will go to the L digit in the coordinate box . Here, enter 150 (cm) as the length value and press enter and click the drawing area. The radius will be the value you entered.
-
You can define your wall by holding different points (bottom corner, middle or top corner) by clicking the offset icon from the wall toolbar or by pressing the spacebar on the keyboard. Every time you press the spacebar, your mania will change.
-
Drag the mouse counterclockwise. The preview of the wall being drawn will change depending on the mouse cursor.
-
Press the A key on the keyboard , the cursor will go to the A digit in the coordinate box . Enter the angle value 85 (degrees) and press enter. Click in the drawing area. Your arc will have the angle value you entered.
-
Press esc to exit the command. Your arc wall will be formed.
|
Usage step |
|---|
|
Determining the center of the arc wall part in the drawing area with the left mouse button 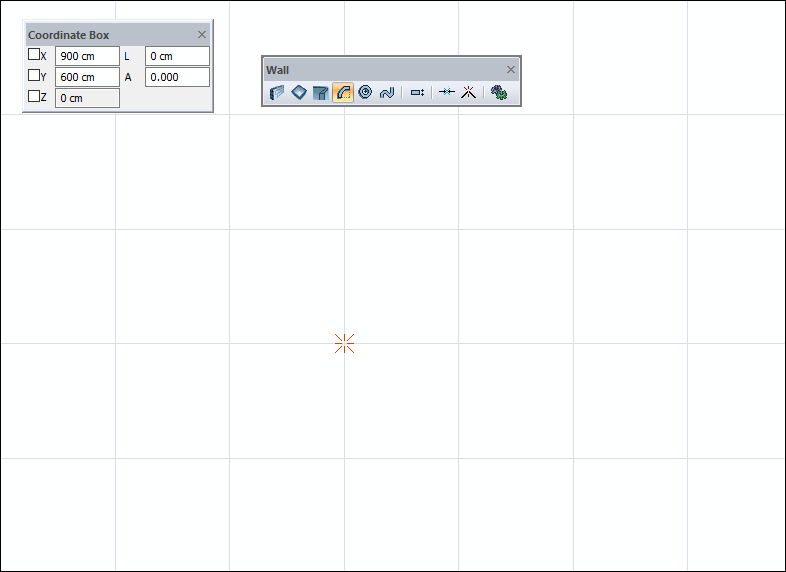
|
|
Pressing the L key on the keyboard for the arc radius length, entering the value 150 and locking the length by pressing the Enter key 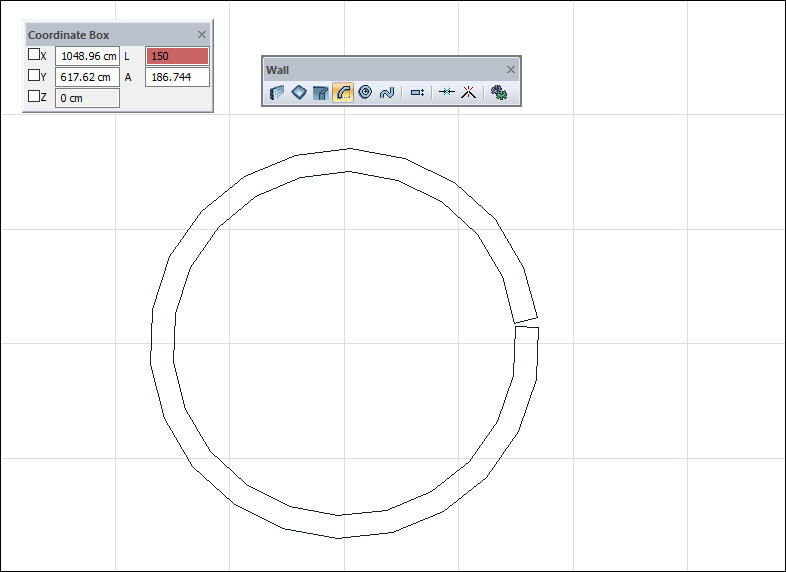
|
|
Change of arc part due to mouse movement 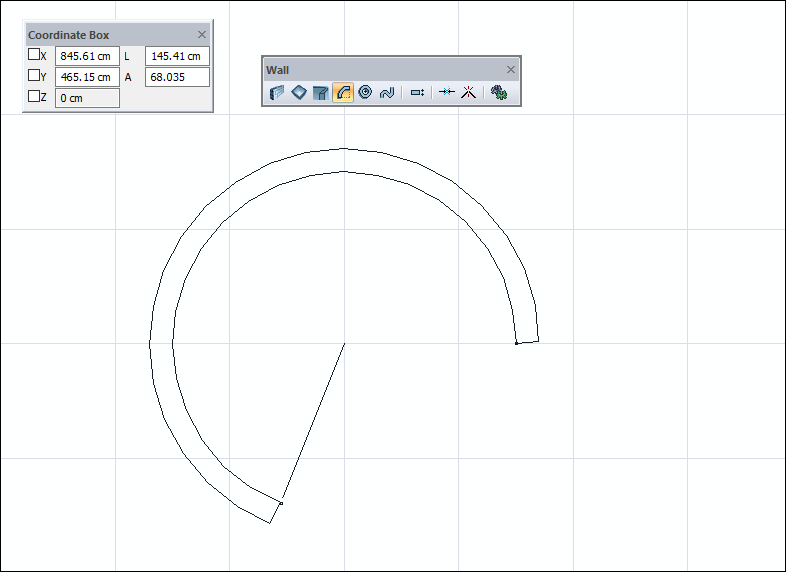
|
|
For the arc length, pressing the A key on the keyboard, entering the 85 angle value and pressing the Enter key to lock the angle 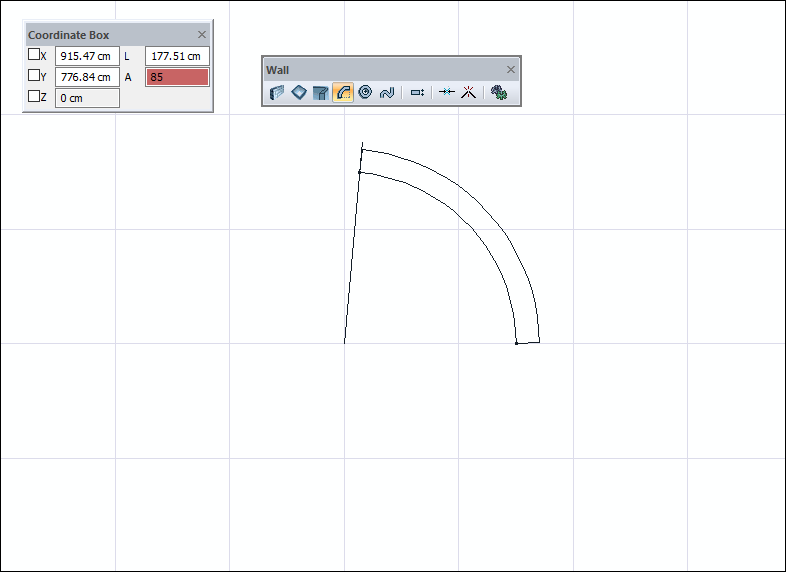
|
|
Creating an arc wall by clicking on the drawing area 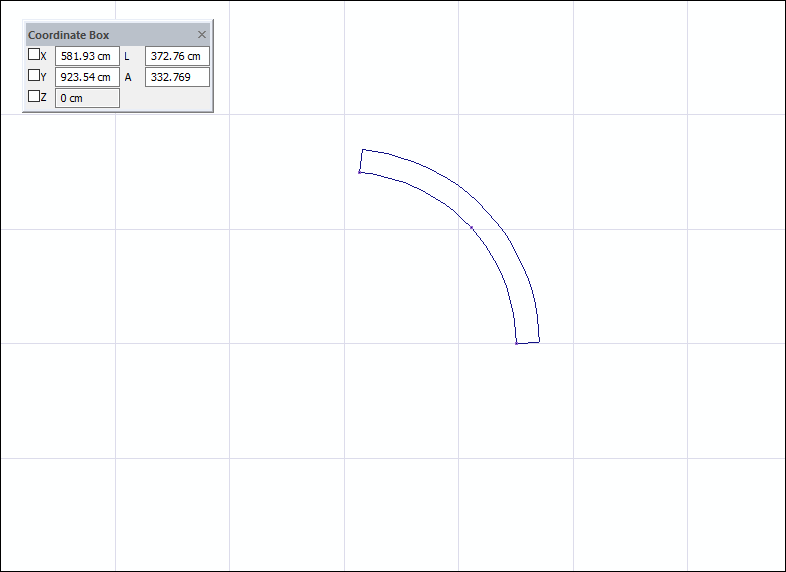
|
Next Topic