
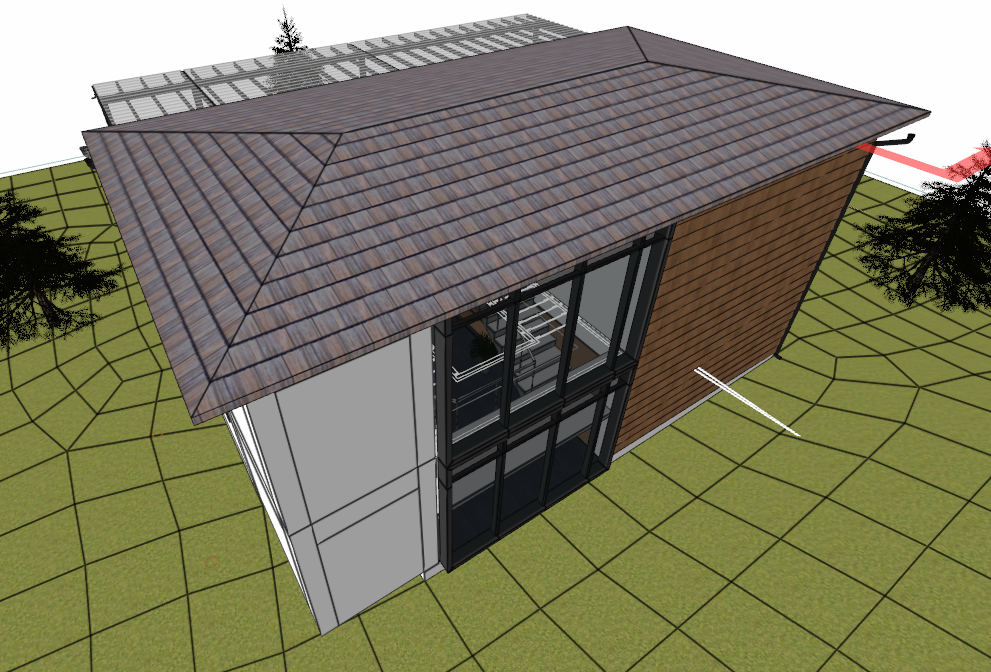
With the roof command, the roof is created by drawing roof boundaries (an enclosed area) in the drawing area.
Location of Roof Command
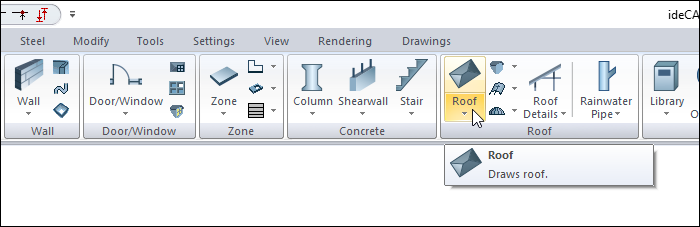
In the Architectural Program
You can access it under the ribbon menu Home tab Roof title.
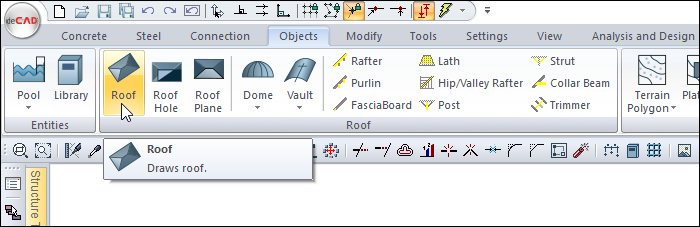
In Structural Program
You can access it under the ribbon menu Objects tab Roof title.
Roof Toolbar
Usage Steps
-
Click the Roof icon in the ribbon menu .
-
Click the left mouse button in the drawing area to create a closed polygon to define the roof boundaries.
-
While creating the polygon, you can enter different roof surface slopes for the relevant roof surface from the Roof Slope information box in the roof toolbar . Slopes are entered in percent.
-
When the polygon is closed, a roof will be created according to the slopes entered.
|
Usage steps |
|---|
|
Determining the first point of the closed polygon in the roof command 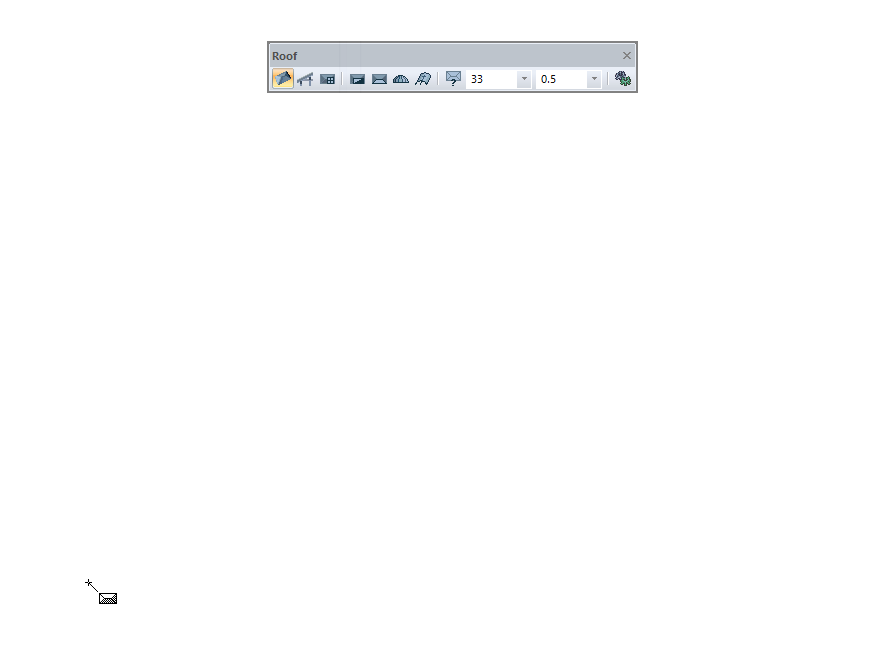
|
|
Determining the second point of the closed polygon 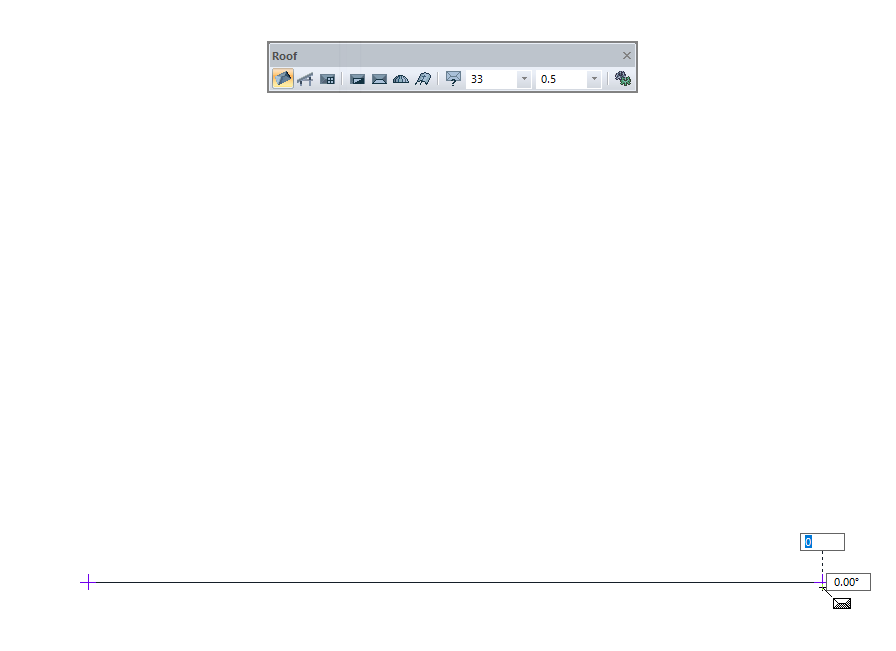
|
|
Entering 20 value in the roof slope box |
|
Determining the third point of the closed polygon 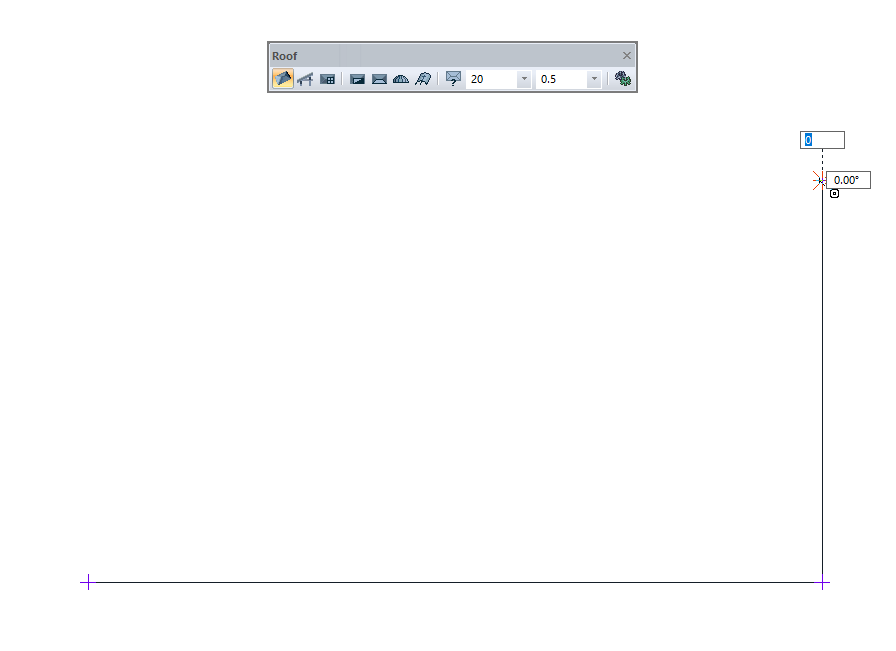
|
|
Determining the fourth point of the closed polygon 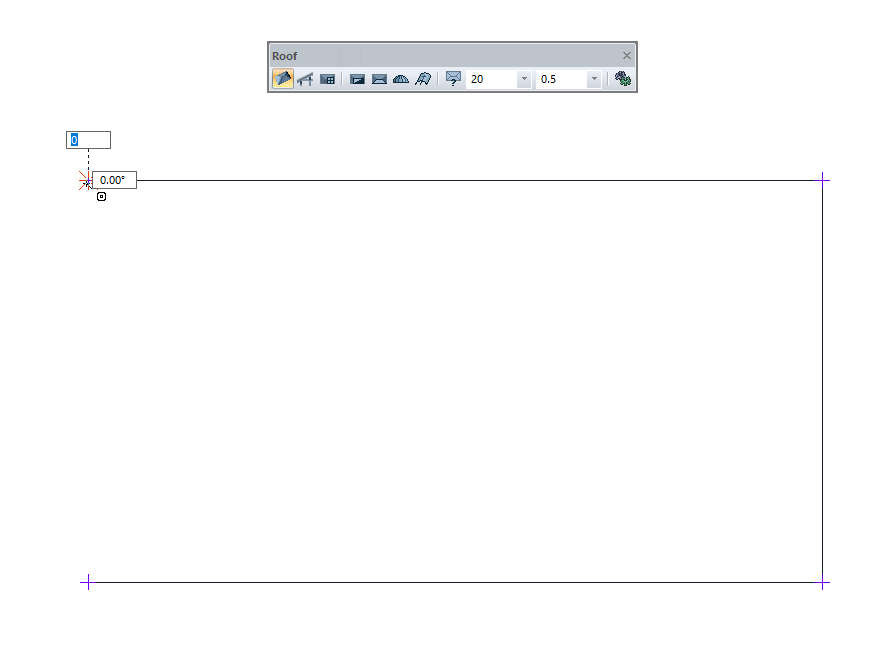
|
|
Determining the end point of the closed polygon 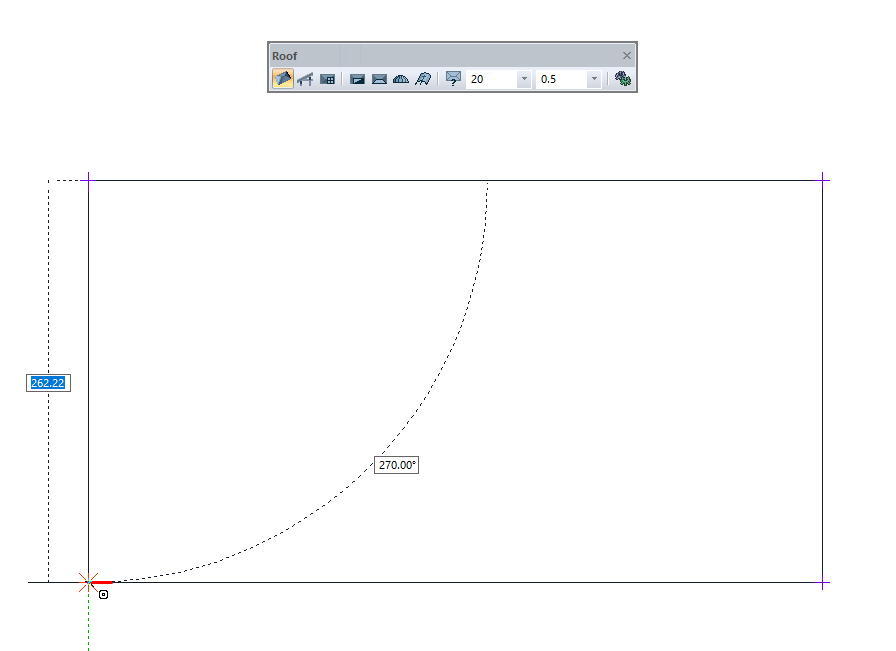
|
|
The formation of the roof 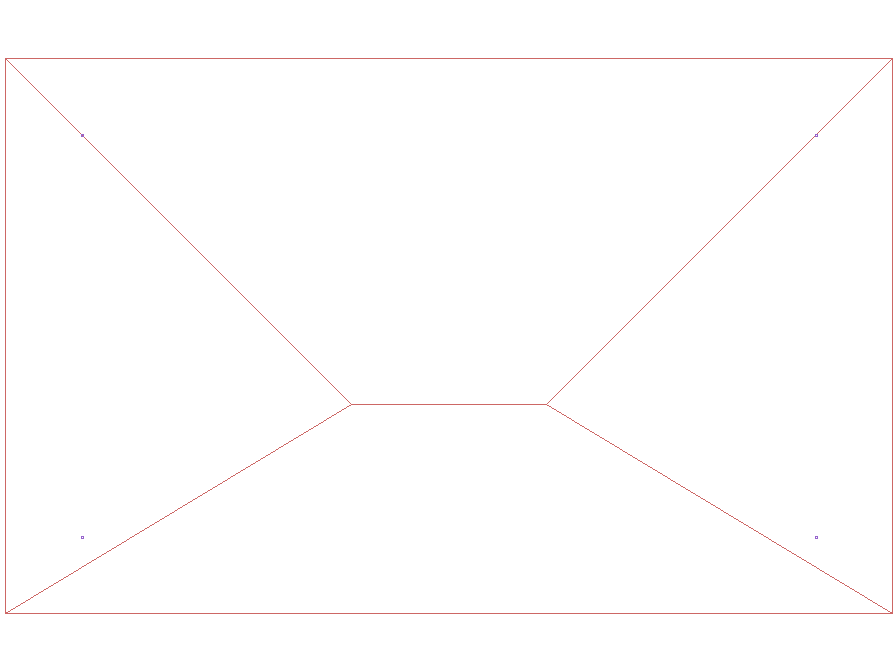
|
Next Topic