
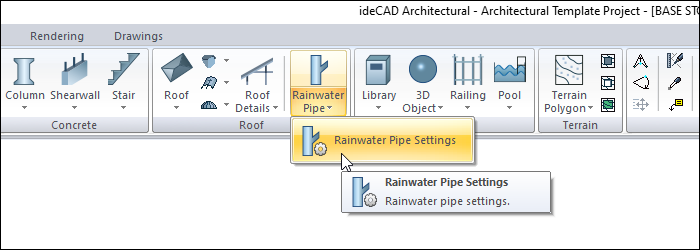
With the Rainwater Pipe Settings command, settings such as pipe dimensions, section, material and connectors are accessed.
Location of Rainwater Pipe Settings Command
You can access it under the Ribbon menu, Home tab, Roof heading.
General Tab

|
Specifications |
|---|
|
Body 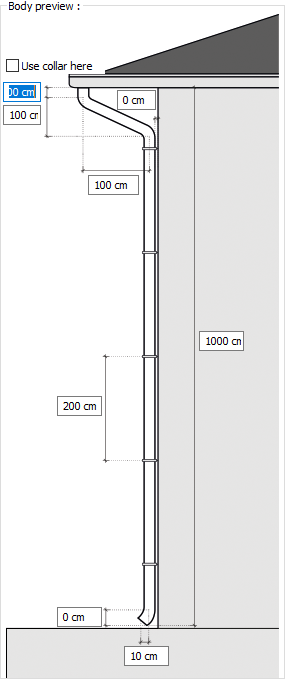
This part is used to enter the vertical dimensions of the rainwater pipe element. The collar ensures that the pipes joining vertically are clamped to each other. |
|
Sections 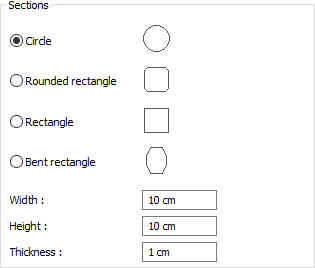
This is the part in which the section of the rainwater pipe is selected. The width and height lines are used to indicate the size of the pipe used. Thickness refers to the wall thickness of the rainwater pipe used. |
|
Pipe parameters 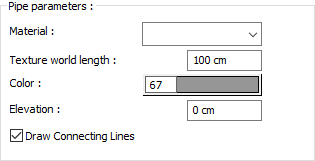
Select the material (texture) of the rainwater pipe from the drop-down list. Texture length of the material used is entered into the texture world length. For example; If 1 is entered, the selected material texture width is taken as 1 unit and overlaid on the relevant object. Select the color of the rainwater pipe from the dialog that opens when clicked. Rainwater pipe is drawn according to the story floor entered at the height of the entered elevation. |
|
Collar parameters 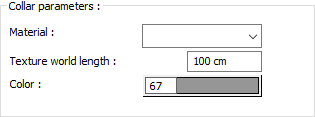
Select the material (texture) of the surface of the collars used on the pipe from the drop-down list. Texture length of the material used is entered into the texture world length. For example; If 1 is entered, the selected material texture width is taken as 1 unit and overlaid on the relevant object. Select the color of the collars used on the pipe from the dialog that opens when clicked. |
|
Pipe out side selection 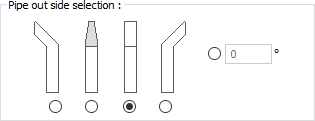
It is the tab between the rainwater pipe and the roof gutter in which the direction of the connection element is determined. In this section, as certain directions are specified, this direction can be determined by giving the angle value. |
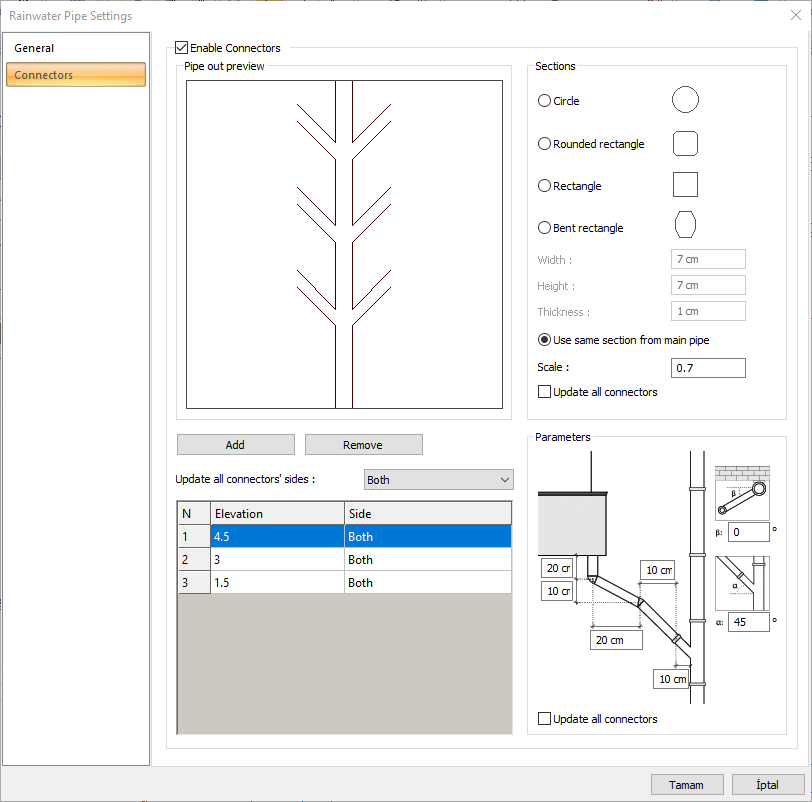
Connectors Tab
|
Specifications |
|---|
|
Pipe image 
This is the part where the image of the pipe is created by selecting the update all connection directions of the pipe to be connected. |
|
Add Adds a new connector when clicked |
|
Remove When clicked, it removes the connector selected from the table. |
|
Update all connectors' sides Select one of the left, right and both options for the direction of all connectors. |
|
Connector table 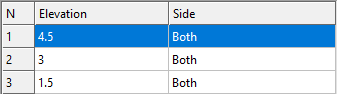
Elevation and direction values are given. The direction can be selected by giving the desired elevation value. |
|
Sections 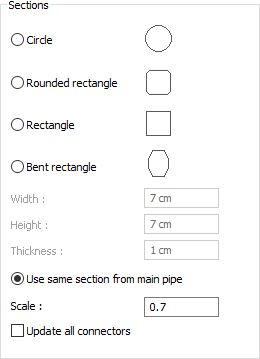
This is the part where the section of the connector pipes is selected. As the dimensions are entered manually, the selection of use the same section as the main pipe is based on the rainwater pipe. When the value is entered in the scale part, the pipe is taken as the basis and connector pipes are formed accordingly. |
|
Parameters 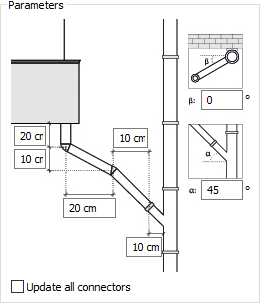
The length values for the sections shown in the schematic drawing are entered on the connector pipes. |
Next Topic