
With the Arc Beam command, concrete arc beams of the concrete design are created. The center-radius-angles technique is used to draw arc beams. The beam drawing is performed by first determining the center, then the radius, and finally the arc angle.
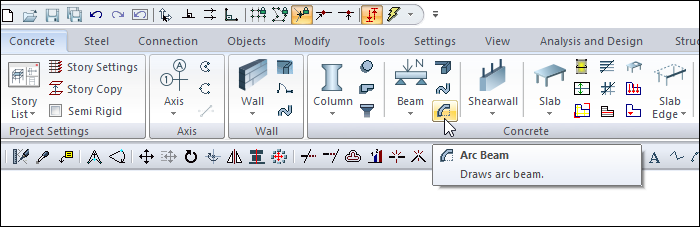
Location of Arc Beam Command
You can access it under the Concrete tab in the ribbon menu under the Concrete title.
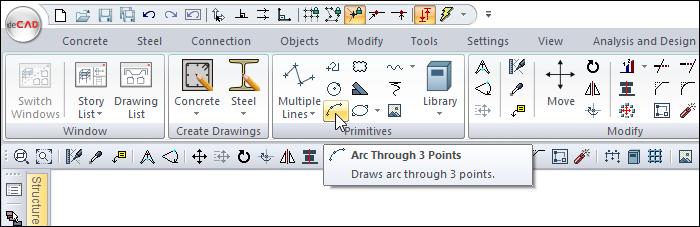
Create the Reference Arc
It may be easy to create your arc line as a reference.

-
Enter the arc-3 point command.
-
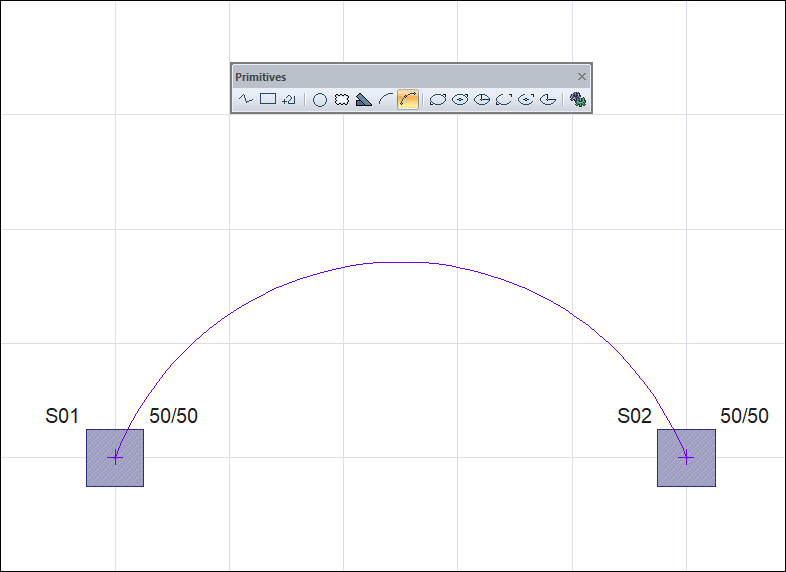
Select the S01 column as the starting point of your broadcast and the S02 column as the end point by clicking the left mouse button.
-
Your arc will change with the movement of your mouse. Complete the arc drawing by clicking the 3rd point with the left mouse button.
Usage Steps
-
Click the Arc Beam icon from the ribbon menu .
-
The beam toolbar will open.
-
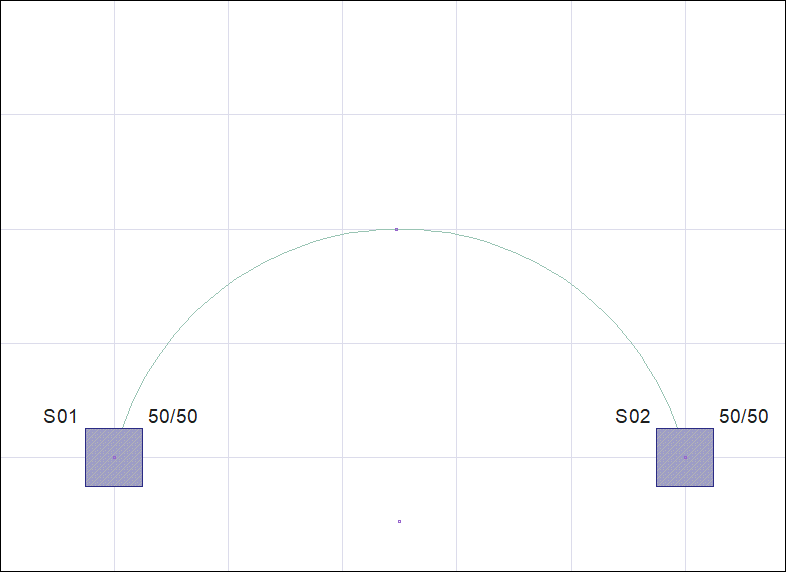
Place the mouse cursor over the arc center located in the middle of the two columns.
-
When you click the left mouse button, the beam projection in the form of a circle appears. The circle radius changes with the movement of your mouse.
-
Place your mouse over the S02 column. When the cursor changes shape, click the left mouse button. Your radius will be determined.
-
The preview of the arc segment will change with the movement of your mouse.
-
Move your mouse over the S01 column. When the cursor changes shape, click the left mouse button.
-
When you exit the command with the Esc key, your arc beam will be formed.
|
Usage step |
|---|
|
Determining the center of the arc beam by clicking the arc center 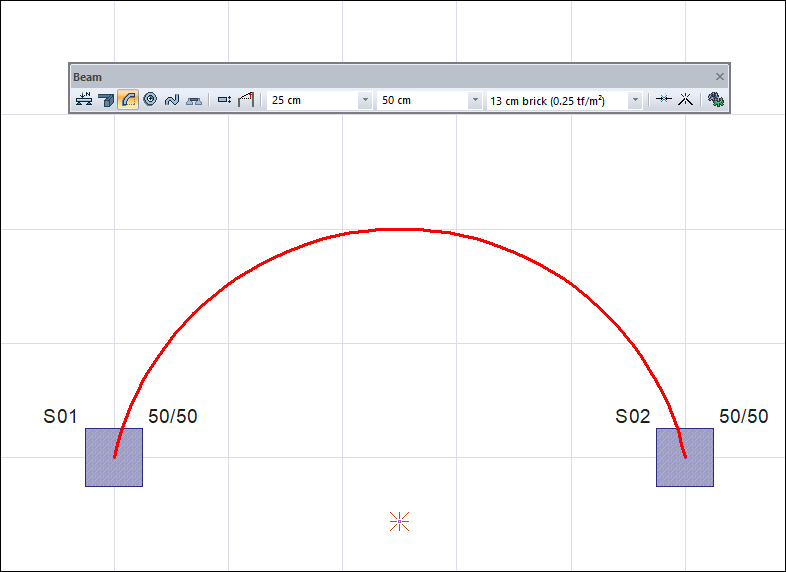
|
|
Changing the circle radius due to mouse movement 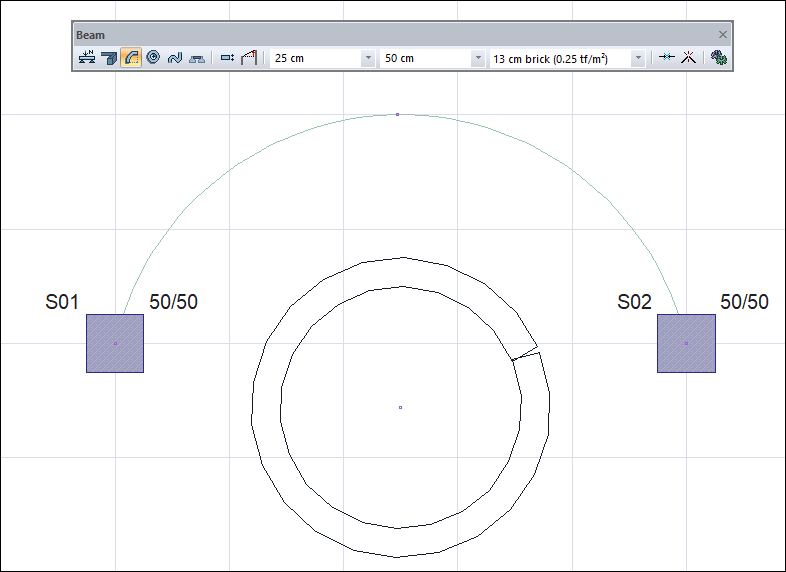
|
|
Determining the radius size by clicking on the S02 column and changing the arc segment depending on the mouse movement 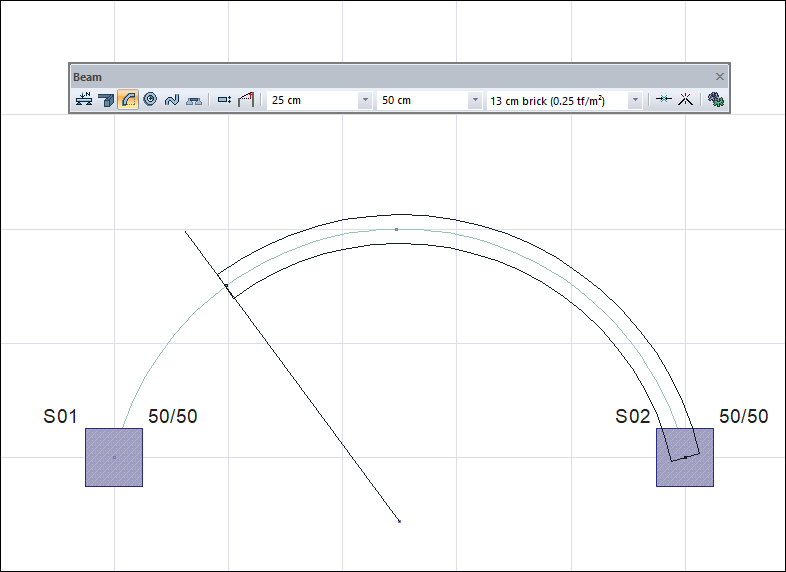
|
|
Determining the arc part by clicking the S01 column 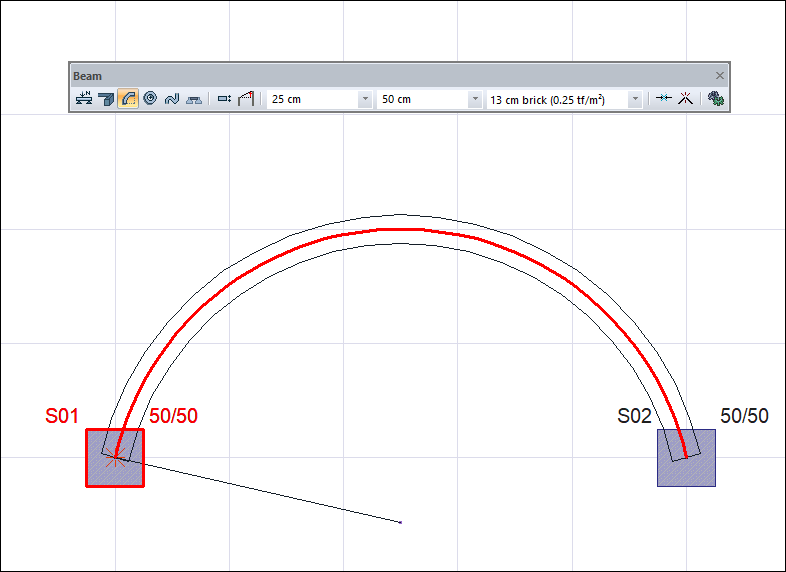
|
|
Formation of the arc beam 
|
Next Topic