
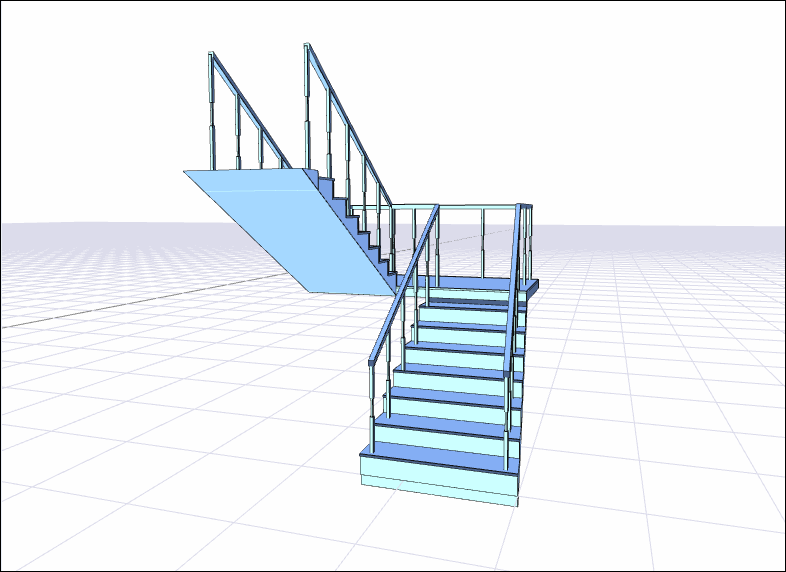
The deform stair command is used to create different stair shapes by holding a stair at certain points and deforming it. The stair can only be deformed at the deformation points. These deformation points are located on the stair contour. When the points are displaced, the shape of the stair changes accordingly.
Location of Deform Stair Command
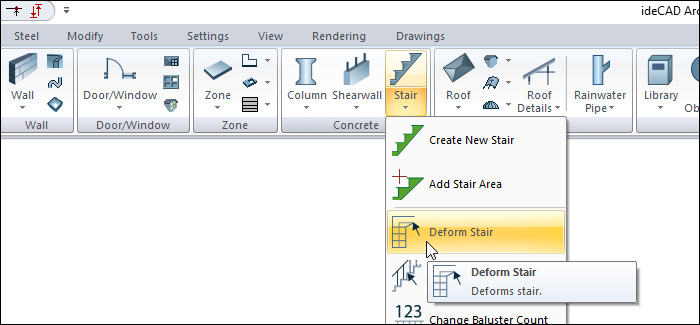
In Architectural Program
You can access it under the ribbon menu Home tab, Concrete title.
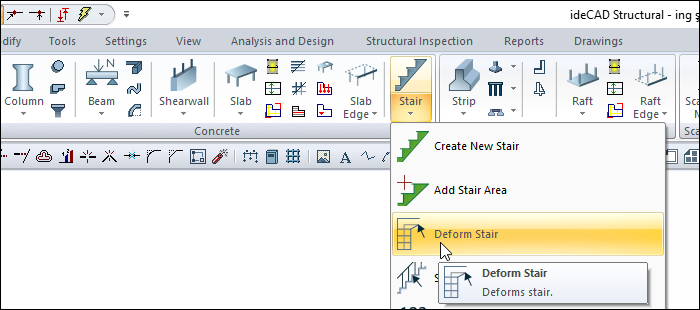
In Structural Program
You can reach it under the ribbon menu Concrete tab, Concrete title
Stair Deformations Toolbar
|
Icons |
|---|
|
Deform stair It reveals the catching points of the ladder, it deforms the ladder by capturing the grasping points. |
|
Add primary node Creates new snap points in an existing ladder. |
|
Delete primary node Primary Node Deletes the nodes created with the Add Node icon. |
|
Cancel stair deformation Undo the changes made with the stair deformation command. |
|
Secondary stair deformation It is used to deform the ladder by moving the secondary ladder grab points. It affects the exit line and stair railings. |
|
Add secondary node Creates new capture points (nodal points) on the exit line and railing on the stairs. |
|
Delete secondary node Deletes the joints created with the Add Secondary Node icon. |
|
Cancel secondary stair deformation It cancels the changes made with the secondary ladder deformation command. |
|
Stairs Opens the ladder toolbar. |
Usage Steps
For stair deformation:
-
Click the Deform Stair icon in the ribbon menu .
-
The Stair Deformations toolbar will be opened.
-
On the current stair drawing, the nodes where you can deform the stair will be marked.
-
Move the mouse cursor over the node you want to move and click the left button.
-
Drag the mouse. The clicked node will move with the mouse. With the moved node, the stair will also be deformed and its shape will change.
-
Move the mouse to the node you want and click the left button. The relevant node will be moved to the clicked place.
It is possible to deform the stairs in this way and adapt them to the required geometry.
By creating new nodes for stair deformation, you can make a node deformation.
-
Click the Add Primary Node icon from the Stair Deformations toolbar .
-
Place the mouse cursor at a suitable place in the drawing area above the stair outline and left click.
-
The ideCAD will create a new node at the point you clicked.
The Delete Primary Node command is used to delete the nodes created with the Add Primary Node command on the stair.
-
Click the Delete Primary Node icon from the Stair Deformation toolbar .
-
Move the mouse cursor over one of the nodes on the stair.
-
The ideCAD will delete the node you clicked on.
If the stair is deformed using the previously deleted node, when the node is erased, the deformed point will automatically return to its original position.
To restore the stair you changed using Stair Deformation:
-
Click the Cancel Stair Deformation icon from the Stair Deformations toolbar .
-
Click the stair you want to restore with the left mouse button.
-
Stair deformations will be canceled, the stair will return to its previous state.
|
Usage step |
|---|
|
Marking the nodes where the stair will be deformed 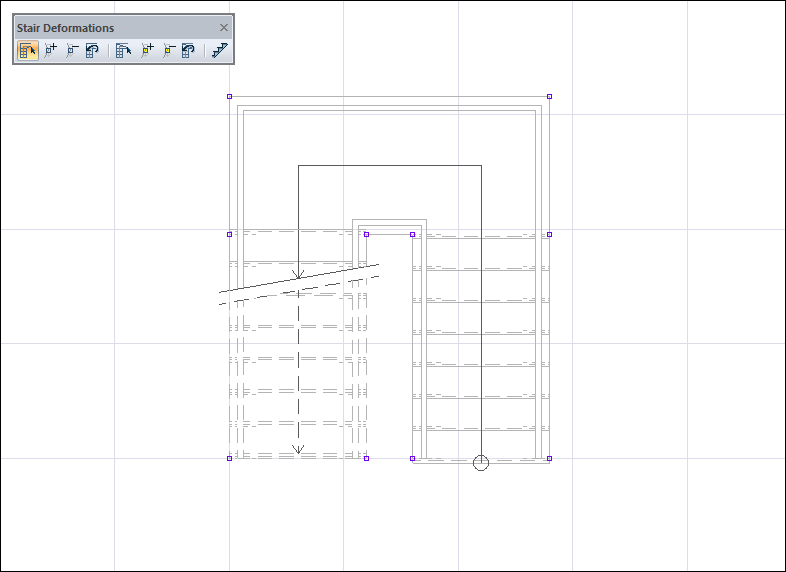
|
|
Clicking and moving on a node with the left mouse button 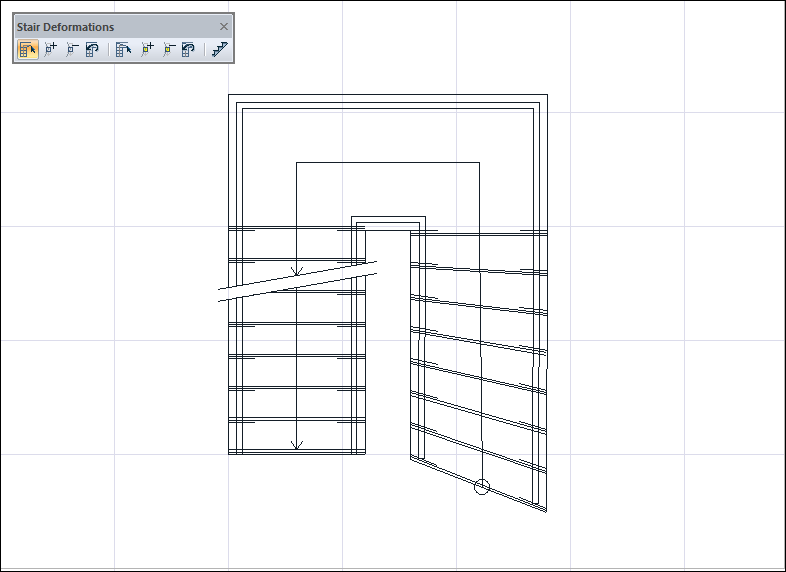
|
|
Moving the mouse to the desired node and placing it by clicking the left button 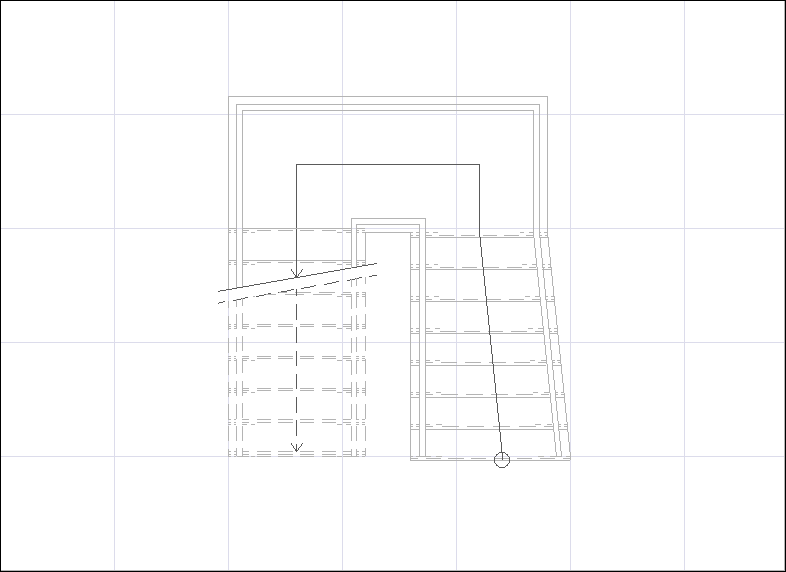
|
|
Adding a new node by moving the mouse over the stair edge 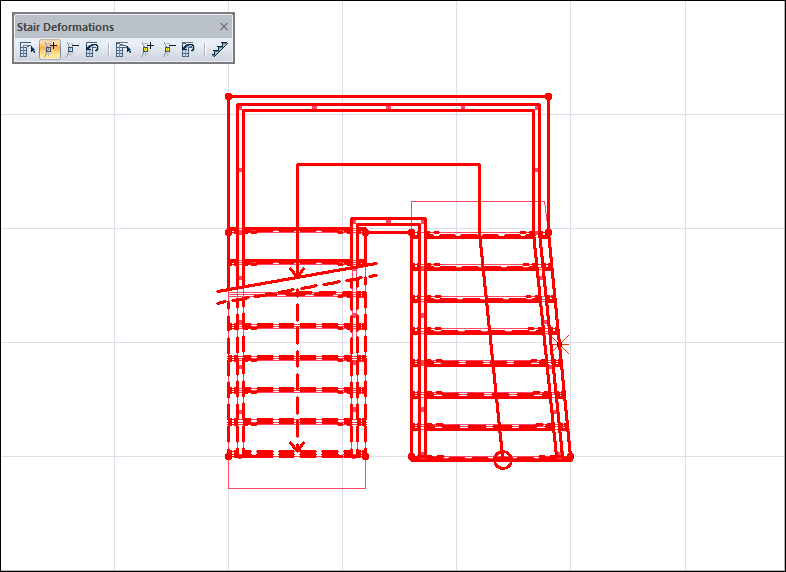
|
|
Node formation 
|
|
Moving the mouse over the desired node to be deleted 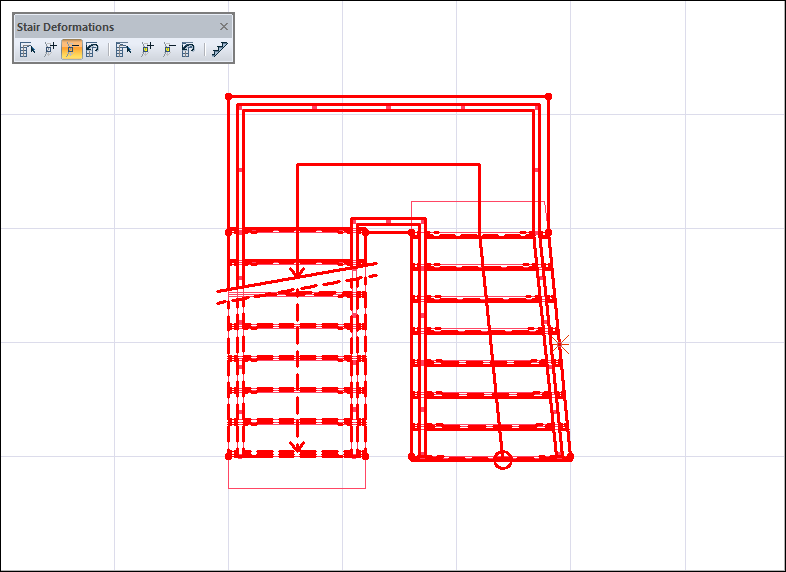
|
|
Delete a node by clicking the left mouse button 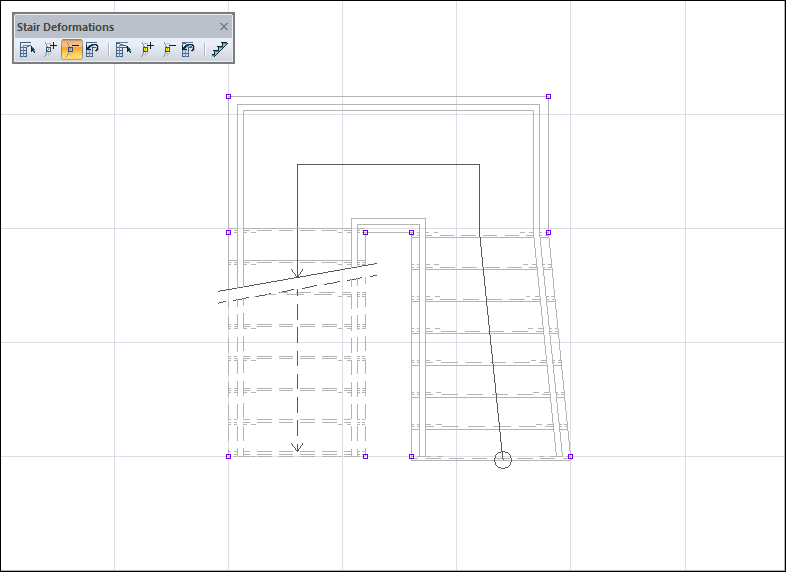
|
|
Selecting the stair whose deformation will be canceled 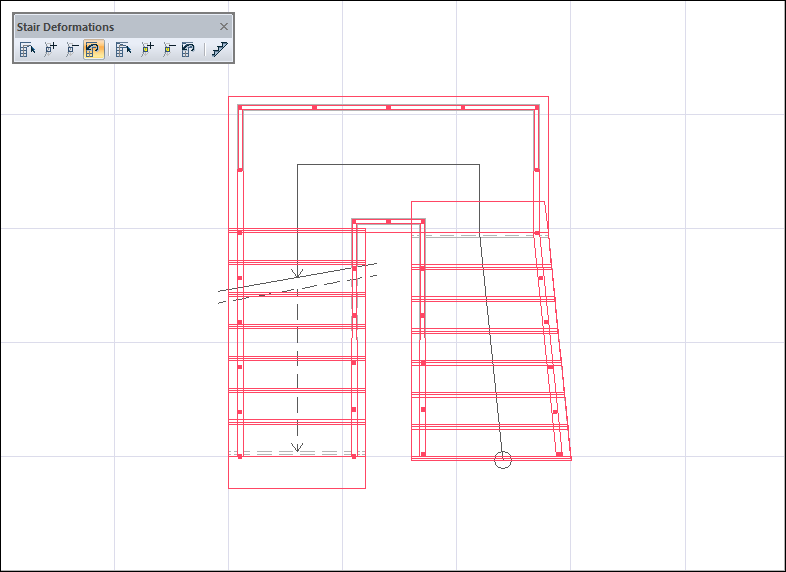
|
|
Stair whose deformation is canceled 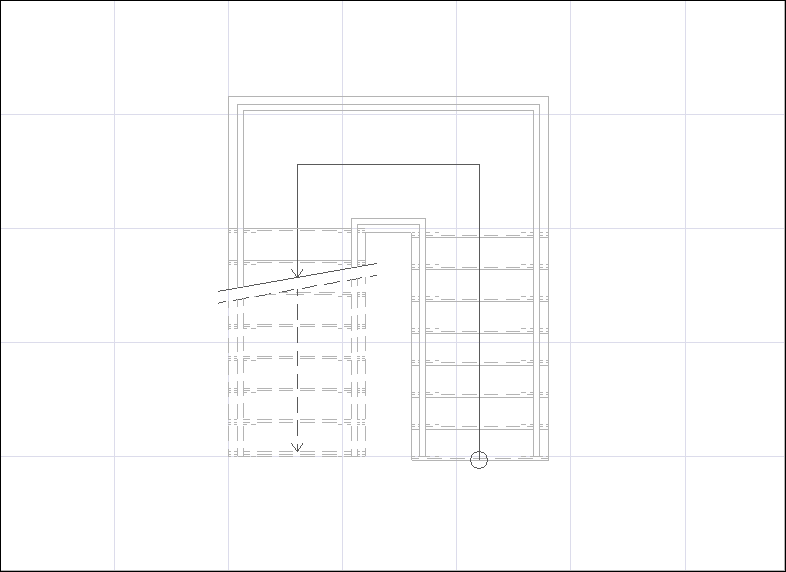
|
Next Topic