
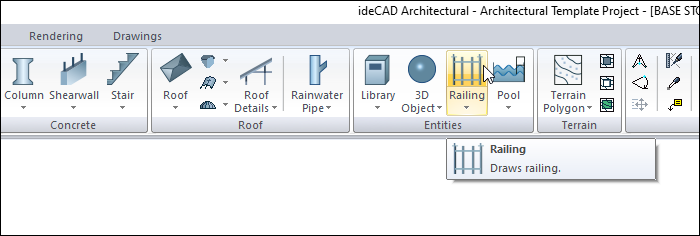
With the railing command, the railings in the architectural project designs are created.
Location of Railing Command
You can access it under the ribbon menu Home tab, Entities title.
Usage Steps
To create a railing;
-
Click on the Railing icon.
-
The railing toolbar will appear on the screen, however, another auxiliary toolbar called Path Segments will be opened.
-
There are icons in the Path Segments toolbar that allow you to draw the railing line in a straight, circular and curved form.
-
Click the appropriate icon (the default straight line icon is selected).
-
Determine the 1st point of the railing in the drawing area by clicking with the left mouse button.
-
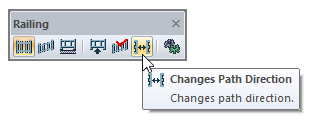
At this stage, if you click the Changes Path Direction command on the railing toolbar or press the spacebar on the keyboard, you will get the mirror of the railing element with respect to its axis.
-
In the drawing area, specify the 2nd point of the railing with the left mouse button.
-
Likewise, you can give the 3rd and 4th points. In this case, you will keep the railing in constant form.
-
When you terminate the command by pressing the right mouse button, a railing will be formed.
|
Usage step |
|---|
|
Before creating railing 
|
|
Creating the first point of the railing 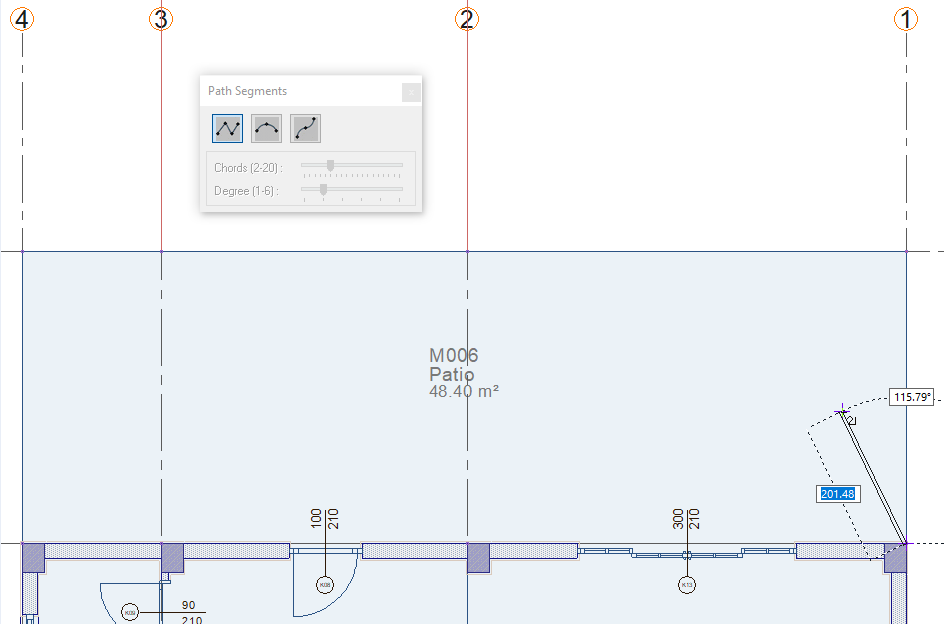
|
|
Creating the second point of the railing 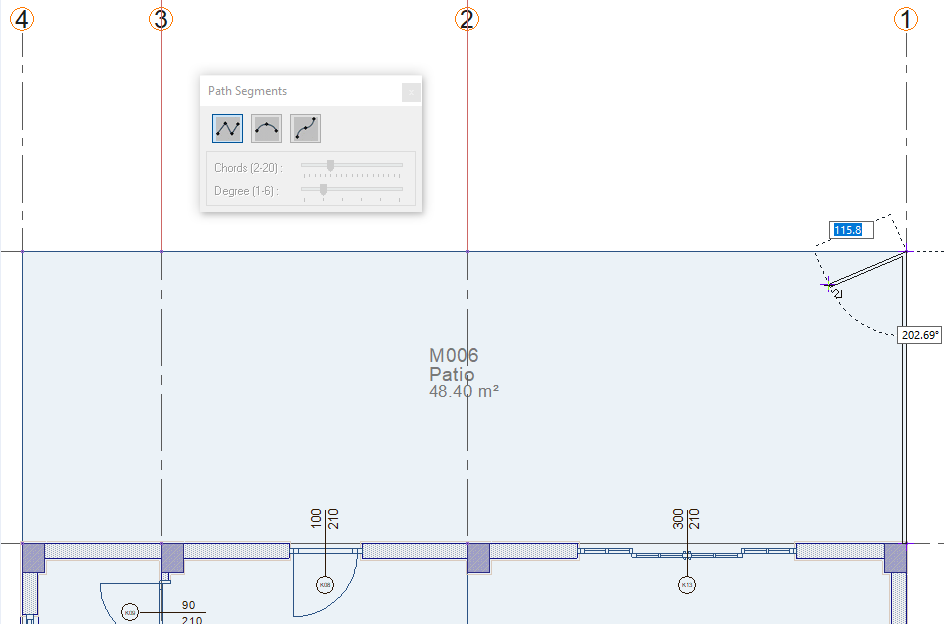
|
|
Creating the third point of the railing 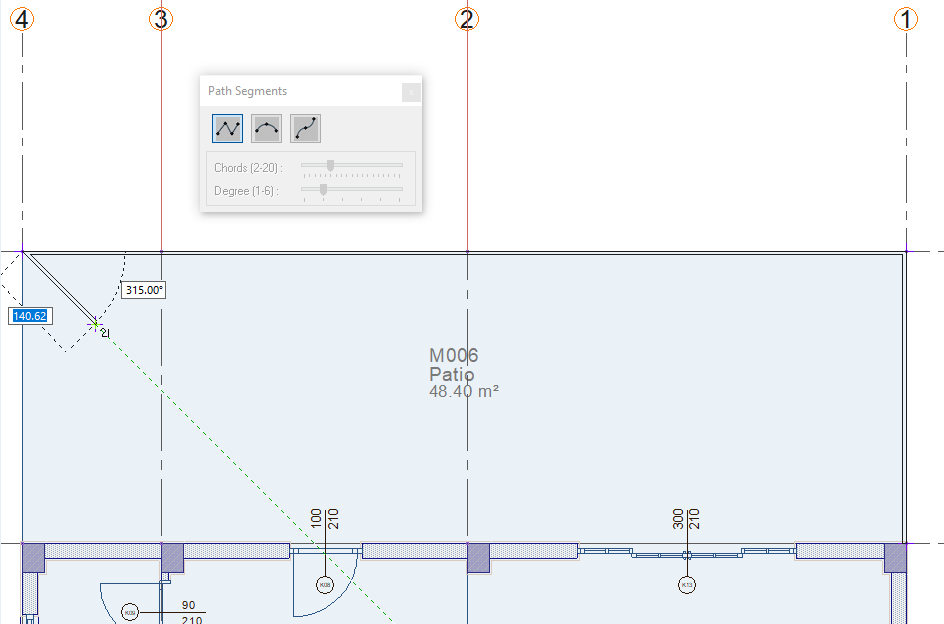
|
|
Creating the fourth point of the railing 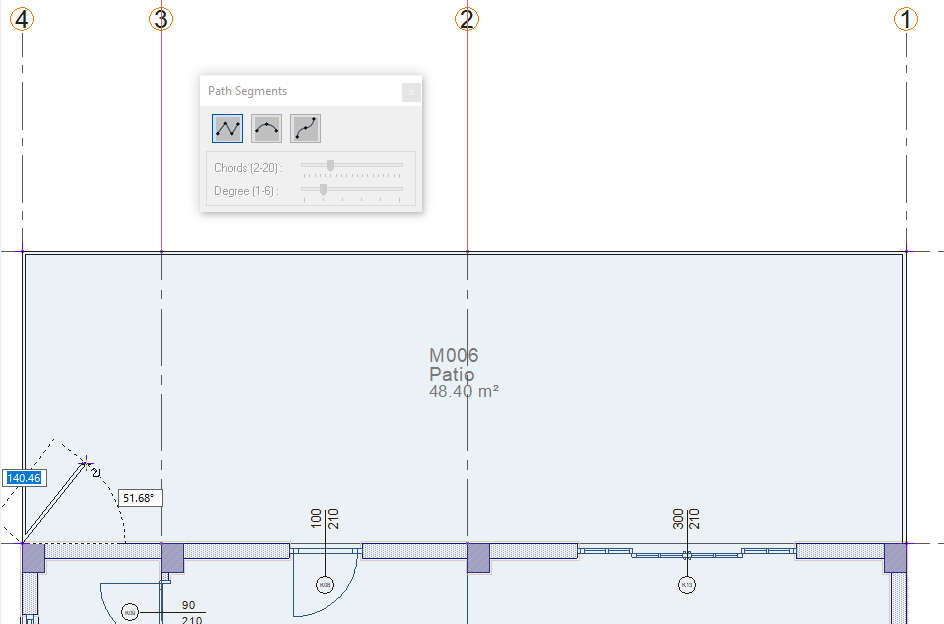
|
|
Completing the railing by clicking the right mouse button 
|
Next Topic