
The work planes dialog is accessed with the configure work planes command. In the work planes dialog, existing work planes in the project are listed, the work plane selected from the list can be edited, and a new work plane can be added to the project.
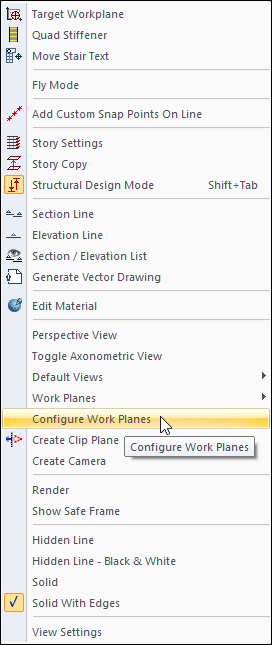
Location of the Configure Work Planes Command
You can access the Configure Work Planes command from the menu that opens when you right-click the mouse in the perspective window.
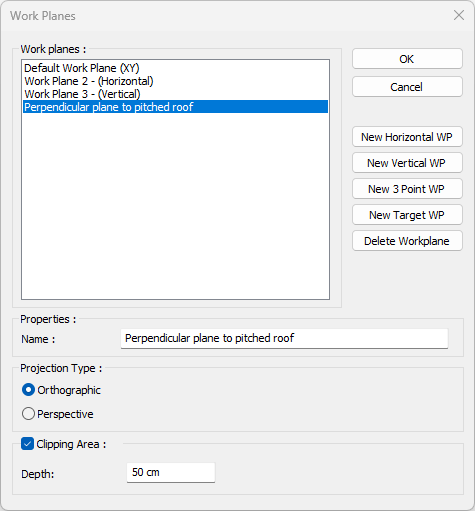
Work Planes Dialog
|
Specifications |
|---|
|
Work planes list 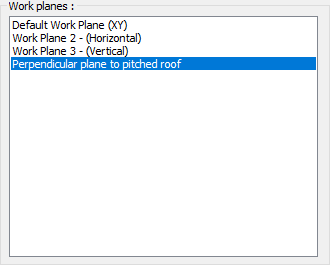
The work planes included in the project are listed. |
|
Name The name of the selected work plane appears in the list. The name of the work plane is changed from this line |
|
Projection type 
Select one of the orthographic or perspective options for the projection type of the work plane selected in the list. |
|
Clipping Area / Depth 
If the projection type is selected as orthographic on the selected work plane in the list, the clipping area option becomes active.
|
|
New horizontal WP A new horizontal work plane is created. |
|
New vertical WP A new vertical work plane is created. |
|
New 3 point WP A new 3 point work plane is created. |
|
New target WP A new target plane is created. |
|
Delete workplane The selected work plane from the list is deleted. |
Next Topic