Create a Project
In this section, within the scope of building information modeling, you can open a new project and add a new floor.
To open a new project;
Click on the new project icon.
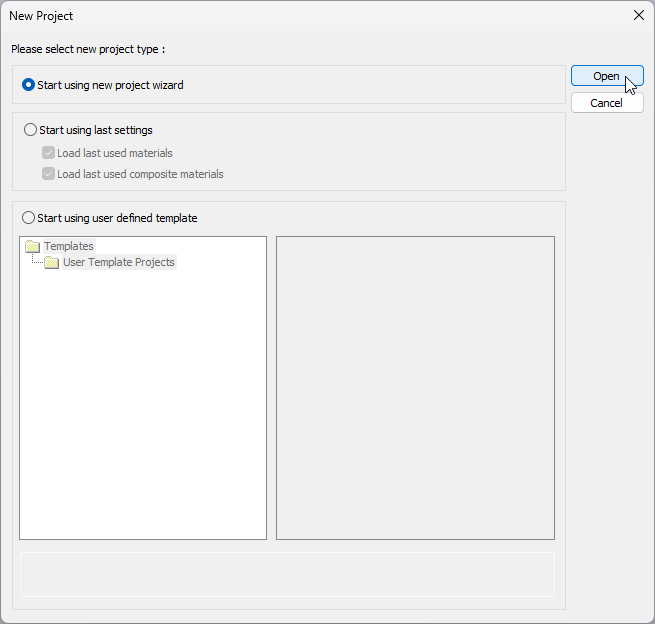
In the new project dialog that opens, select start using new project wizard and click the open button.

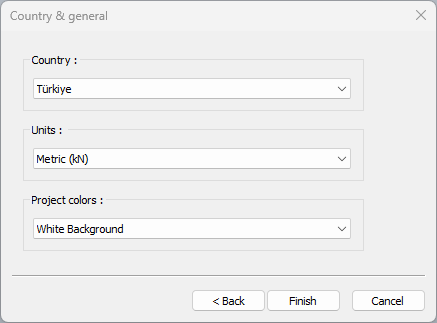
The Country & General dialog will open. Select the Türkiye for the country, metric for the unit, and white background for the project colors.

Click the Finish button.
A new project file will be opened.
In the project you have just opened, the base story will be defined. To add the 1st story to the project;
Click on the Home menu Story Settings icon.
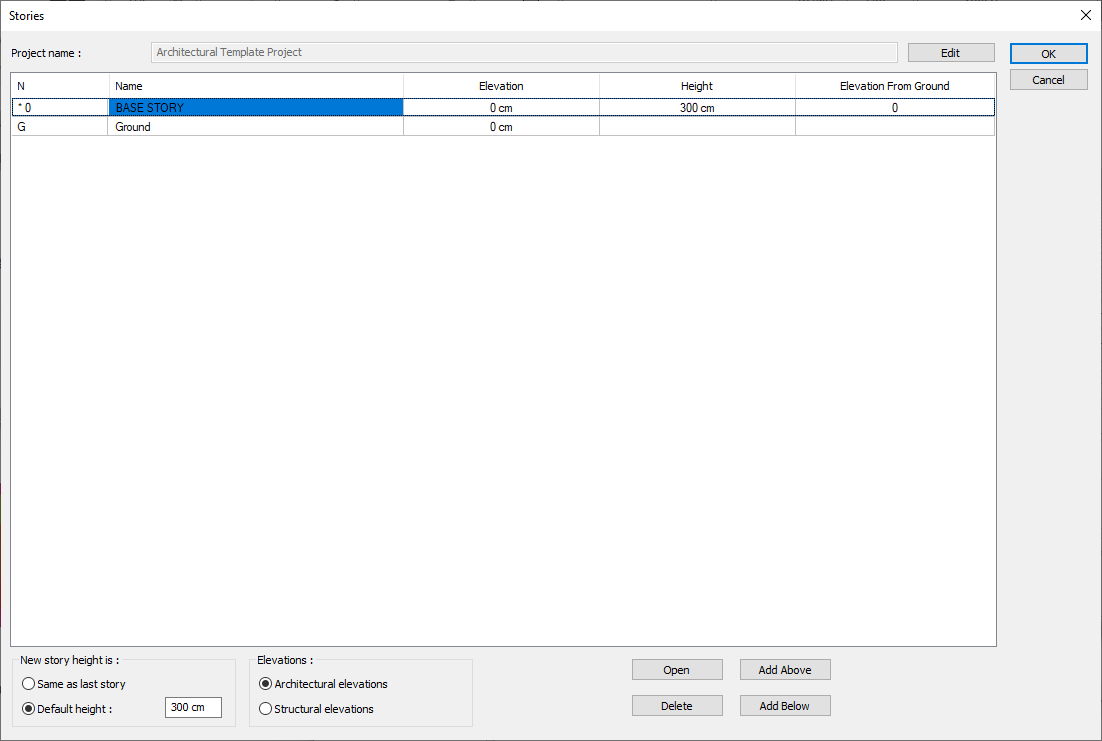
The Stories dialog will open.

Change it if the default height is not 300 cm.
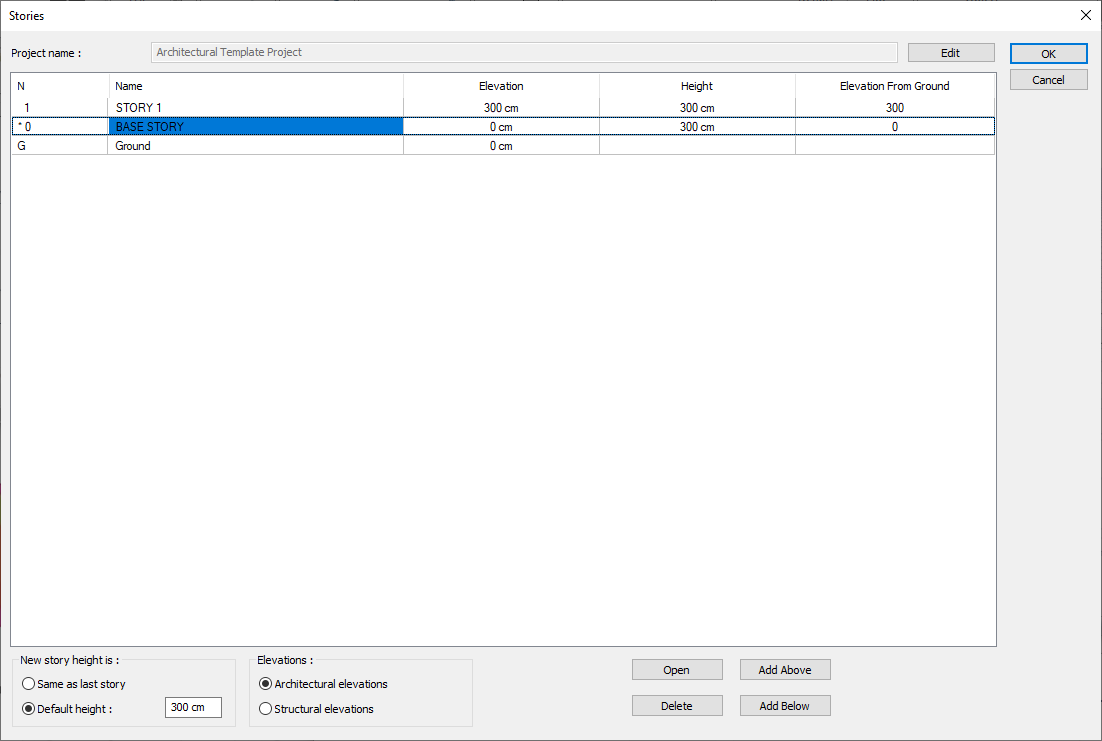
Click the add above button.
The first story with a height of 300 cm will be defined.

When you click the OK button, the story definition process will be completed.
Follow the steps of the video below.
Next Tutorial
