
Create the swimming pool in this section.
|
Previous steps have been followed in the project file named Create the Swimming Pool. You can download the file and follow the steps given in this title on the project. |
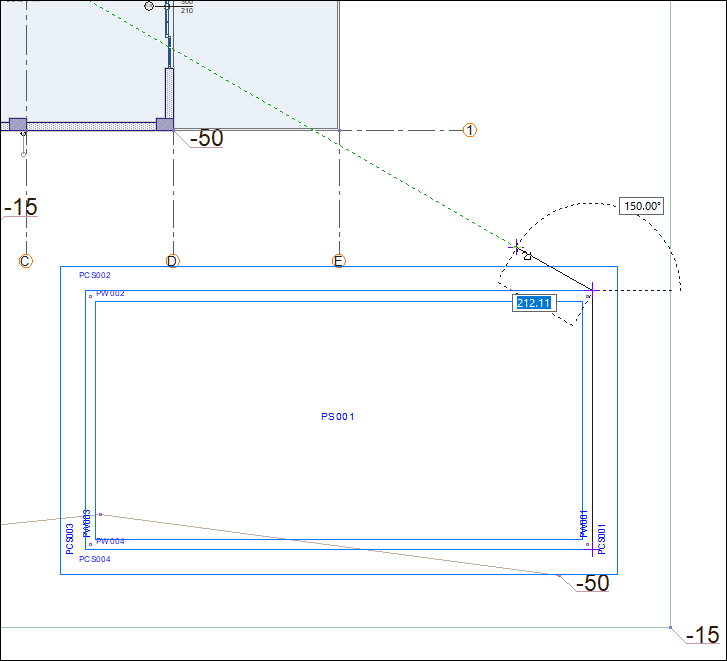
Make the borders of the swimming pool in a multiples line.
-
Enter the multiple line command from the drawings menu.
-
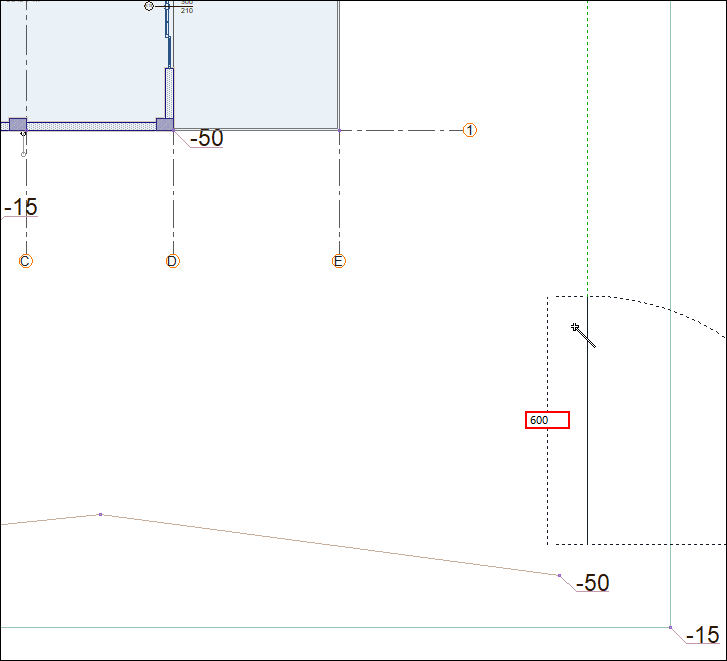
Click on a point near the lower right corner of the terrain. Press the Shift key to get a steep edge.
-
Enter the value 600 on the keyboard and press enter.
-
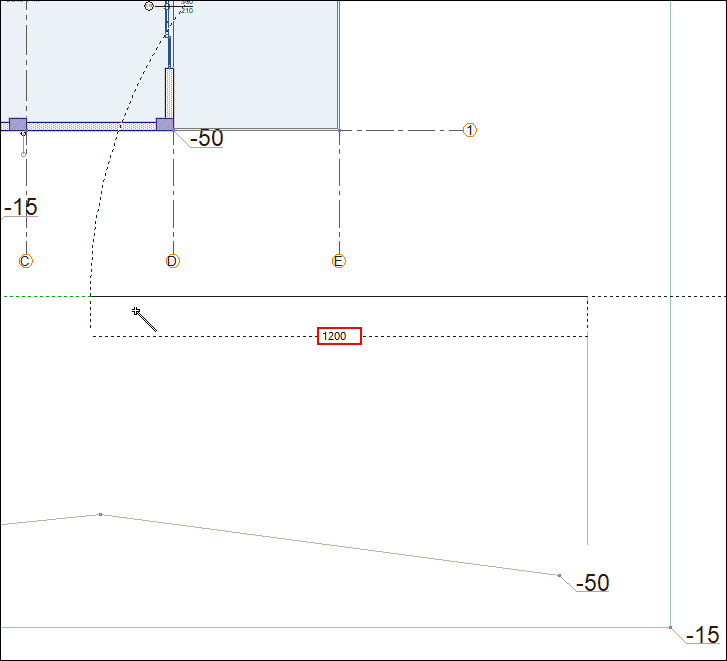
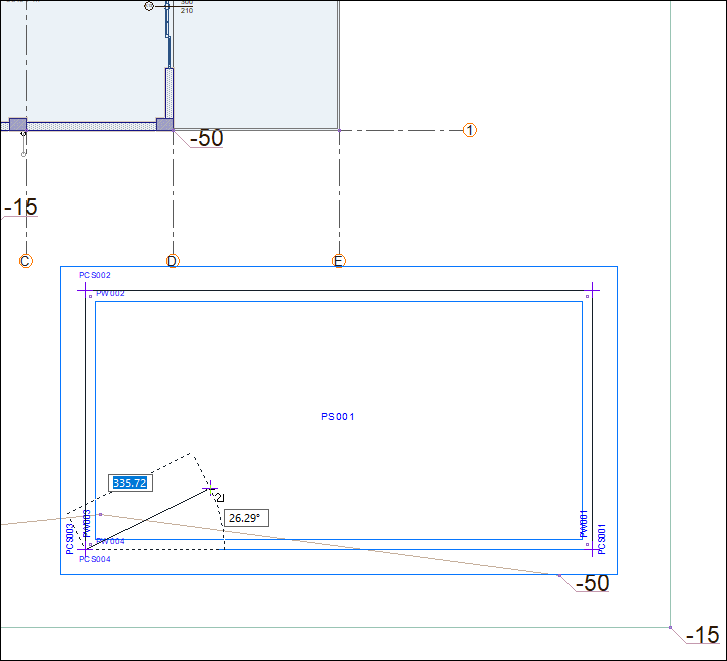
Press the Shift key to get a straight edge. Enter the value 1200 and press enter.
-
Press the Shift key to get a steep edge. Enter the value 600 and press enter.

-
Complete your border by clicking the first point you created again. Press the Esc key on the keyboard and exit the command.
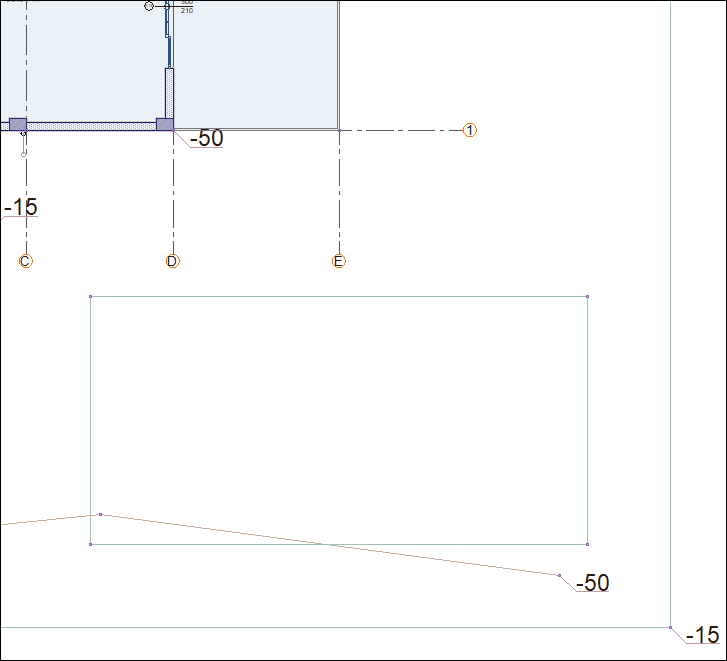
-
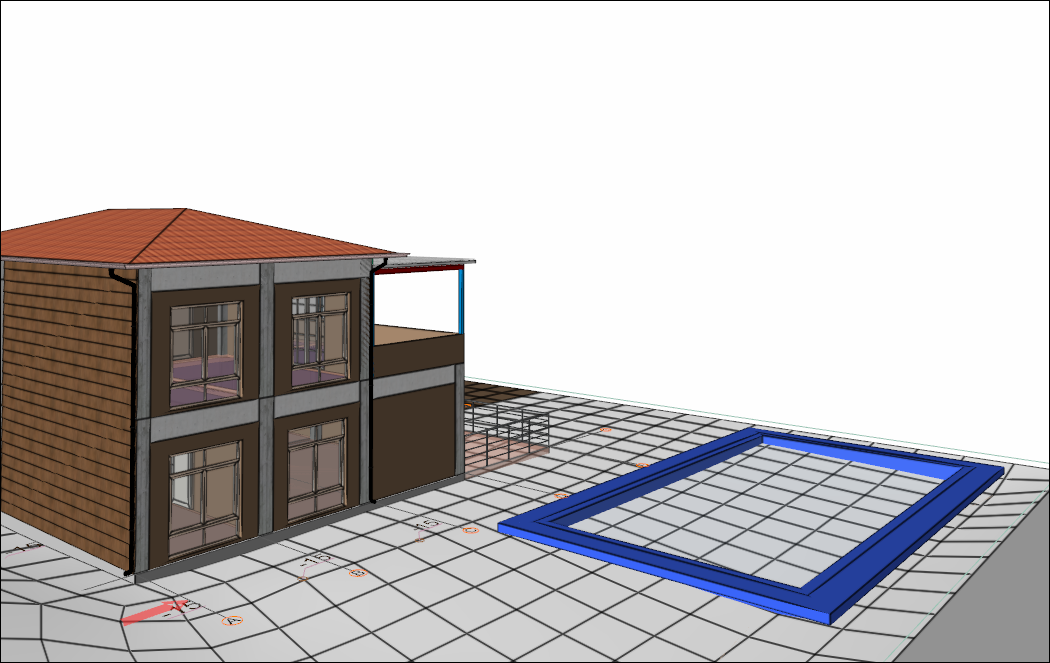
Click the pool command.
-
Choose your borders. Click the right mouse button to complete the selection process.
-
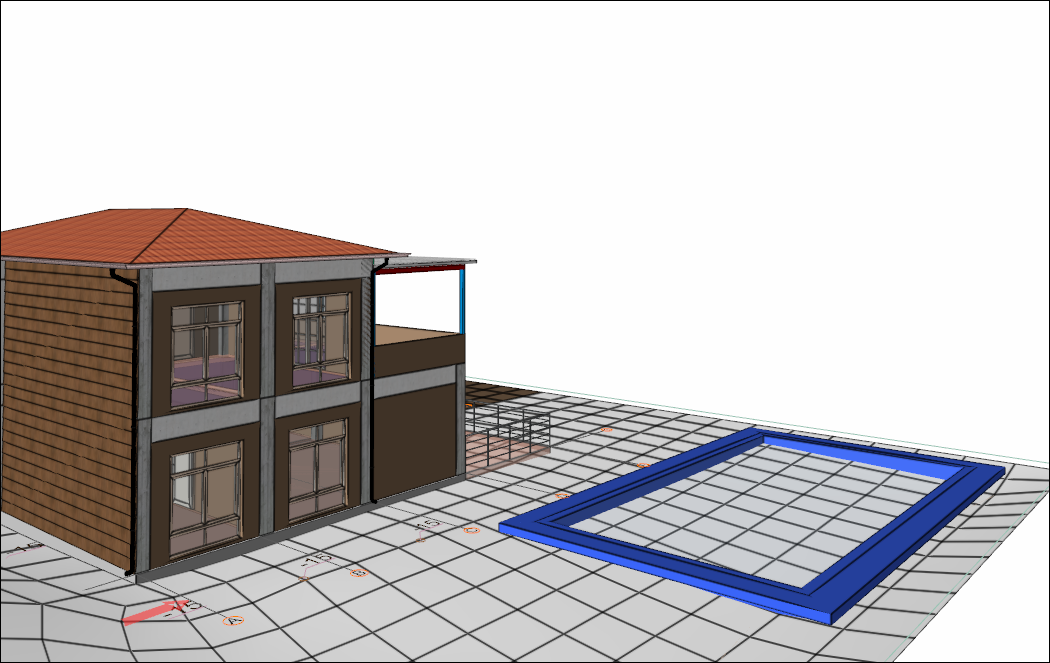
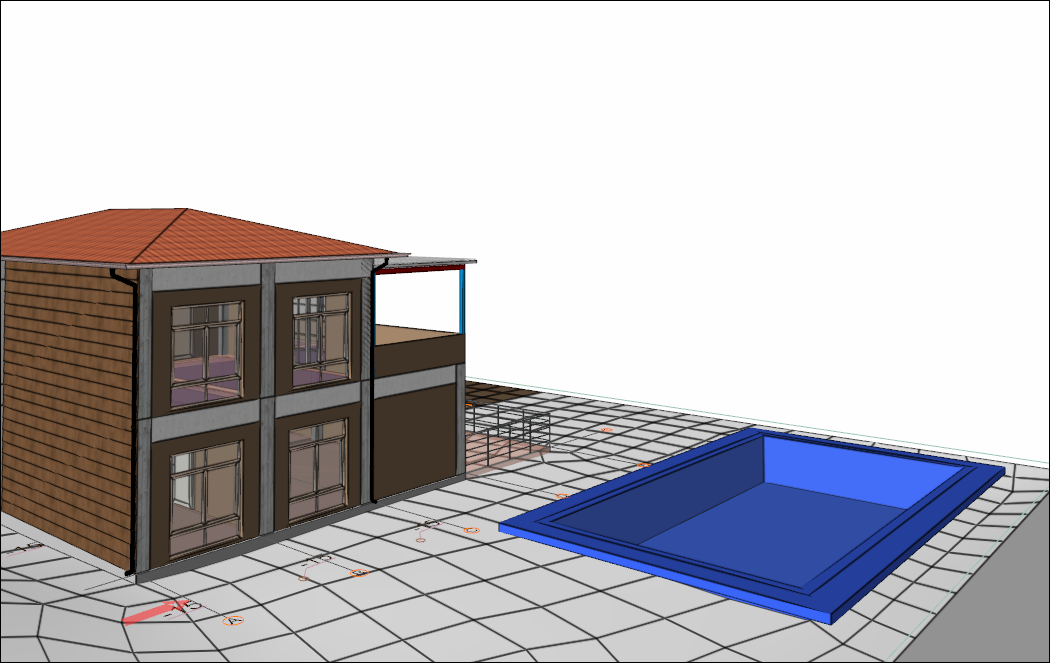
The pool will be formed.
Give depth to the terrain.
-
Double click on the terrain in the perspective. The terrain settings dialog will open.
-
Check the soil base option. Click the OK button to close the dialog.
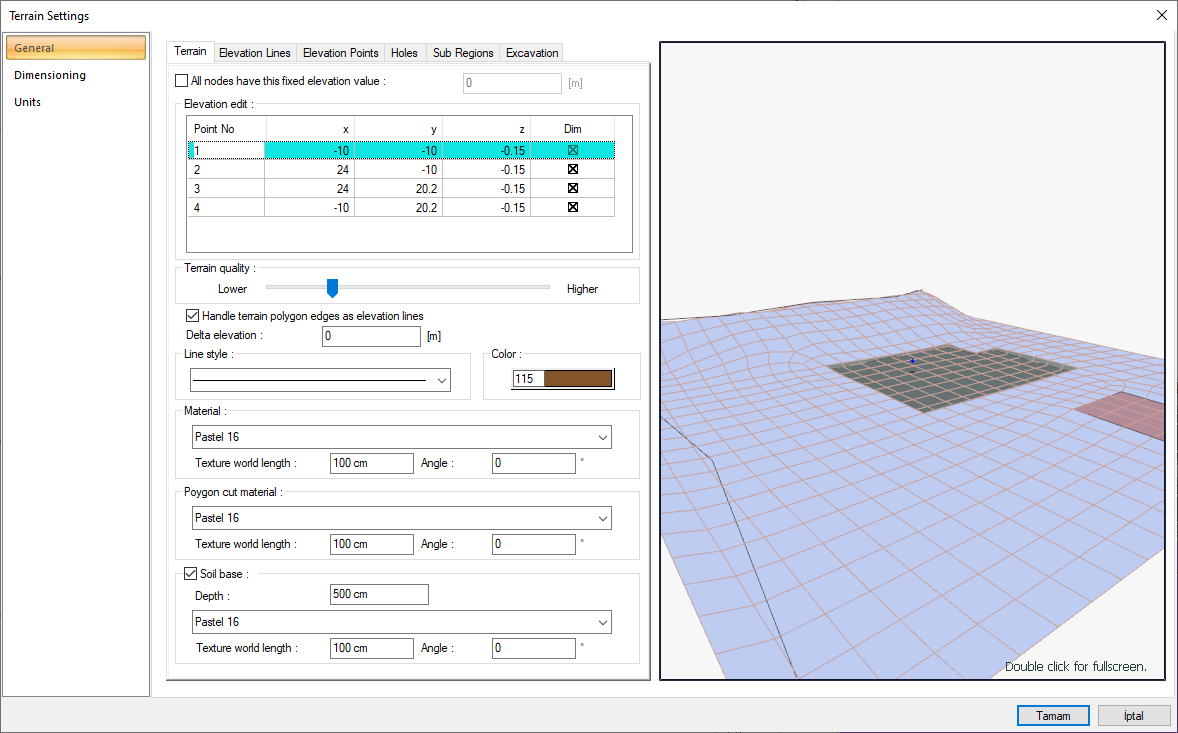
-
The terrain will have a depth of 500 cm.
Make hole in the terrain for the pool.
-
Click the hole command.
-
In the terrain toolbar, enter -150 cm in the elevation box.
-
Click on the corner of the lower right pool wall and then the corner of the upper right pool wall.
-
Click on the corner of the upper left pool wall, then the corner of the lower left pool wall.
-
Click again on the corner of the lower right pool wall. Your terrain will also open up hole.
Follow the steps of the video below.
Next Tutorial