
The Railing over Objects command, which is used to draw the railing by taking the slope of the object defined on it , is applied to define a railing on objects such as stairs, spaces, curved walls. It automatically takes the elevation of the object defined on the railing and adapts to the elevation of the relevant object.
Location of Railing Over Objects
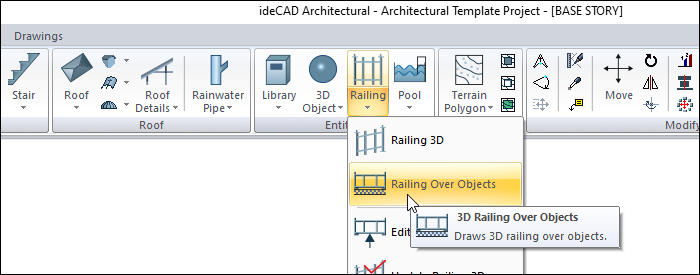
You can access it under the Ribbon menu Home tab, Entities title.
Usage Steps
-
Define a stair.
-
Click the Railing Over Object icon in the ribbon menu .
-
The railing toolbar will appear on the screen, however, another auxiliary toolbar called Path Segments will be opened.
-
There are icons in the Path Segments toolbar that allow you to draw the railing line in a straight, circular and curved form.
-
Click the appropriate icon (the default straight line icon is selected).
-
Move the cursor to the first flight of the stair and click a point.
-
The select entity dialog will open. Select the object you want to place from the list and click the OK button.
-
At this stage, if you press the spacebar on the keyboard, you will get the mirror of the railing with respect to its axis.
-
Continue defining the next points on the other flights of the stair. Make an entity selection at each new point.
-
When you end the command by pressing the right mouse button, the railing will be formed on the stairs in accordance with the stairs.
|
Usage step |
|---|
|
Before creating a railing over objects 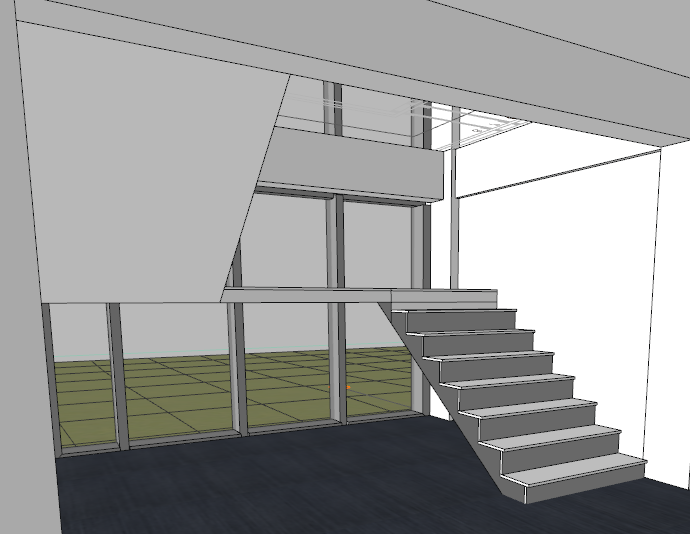
|
|
Clicking on the first step for the first point of the railing 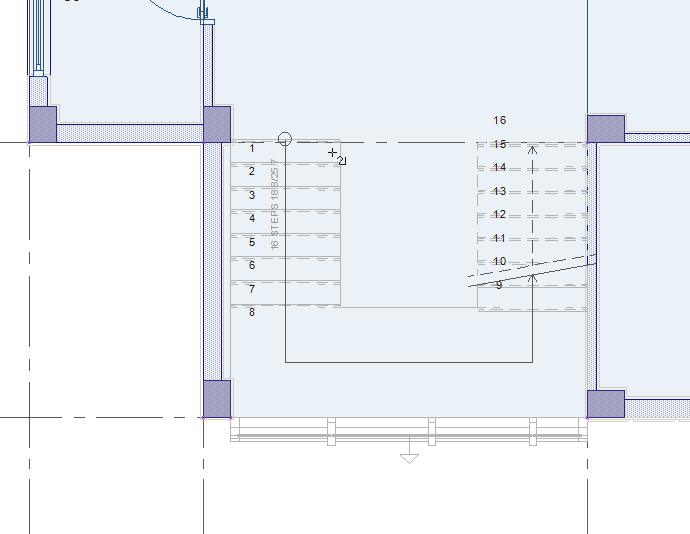
|
|
Choosing the object to place the railing 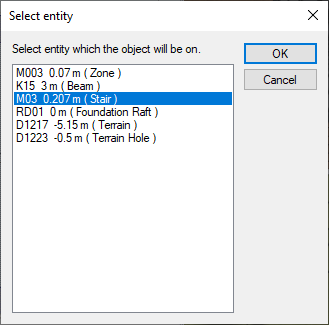
|
|
Clicking on the second step 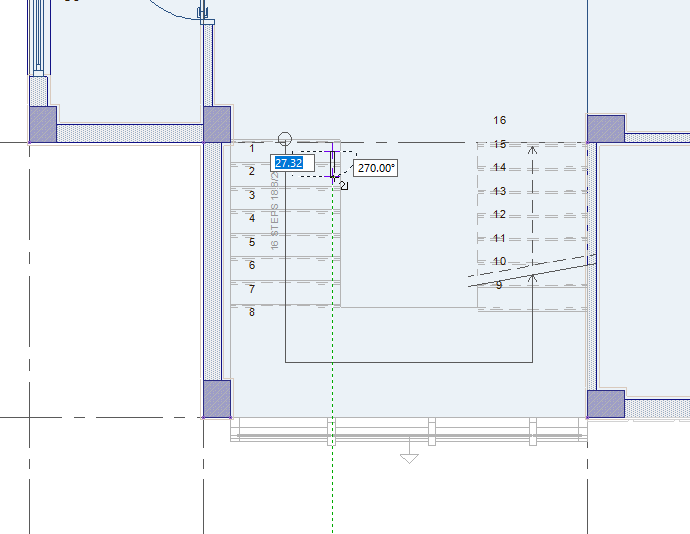
|
|
Clicking on all steps for the first stair flight 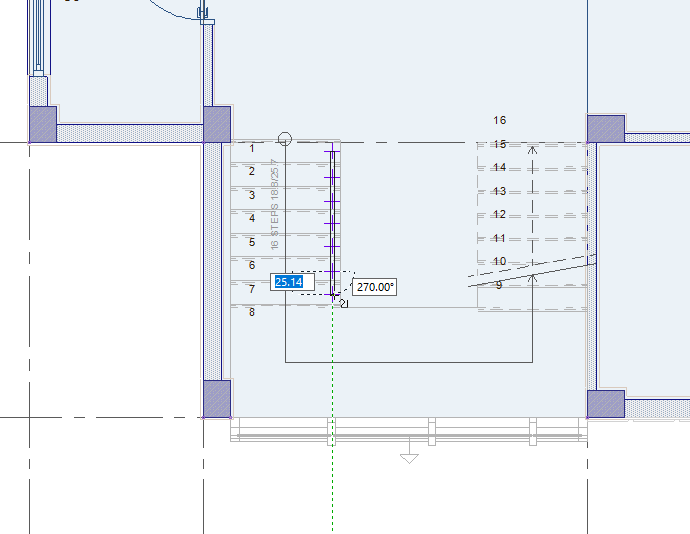
|
|
Clicking on the inner corners of the landing 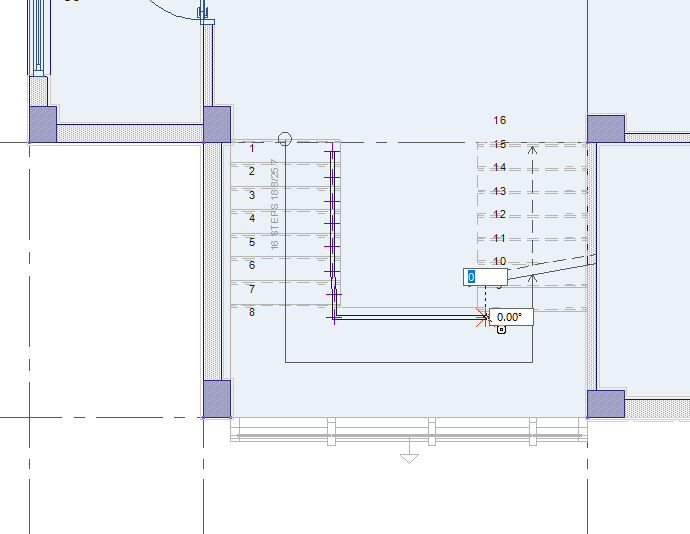
|
|
Clicking all steps for the second stair flight 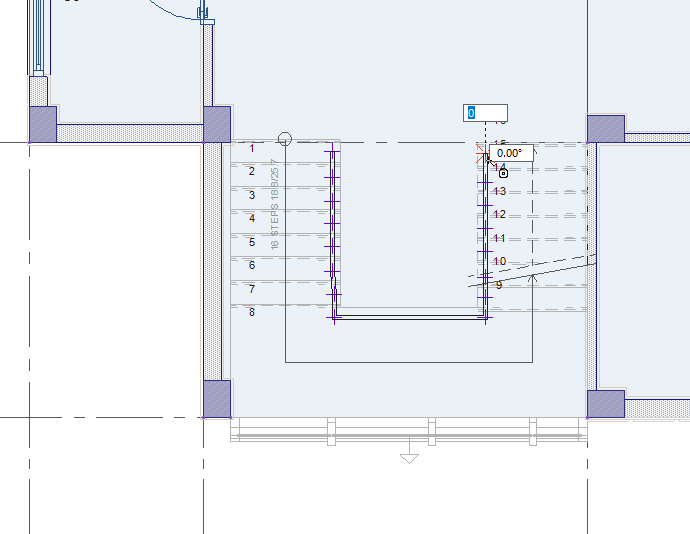
|
|
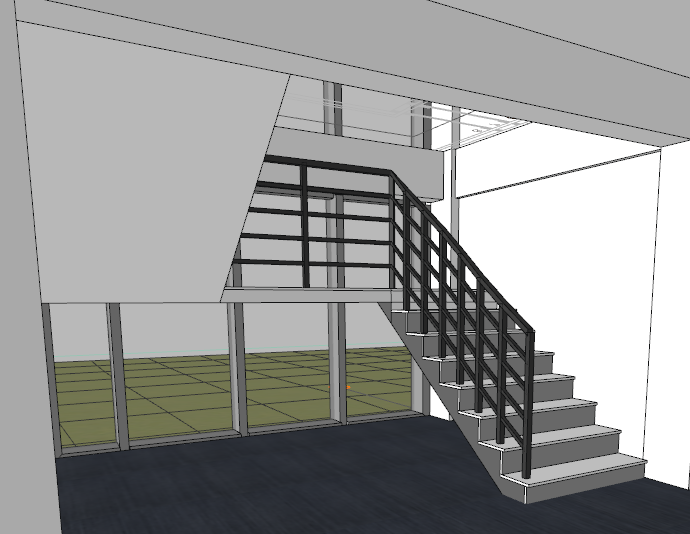
Completing the railing by clicking the right mouse button 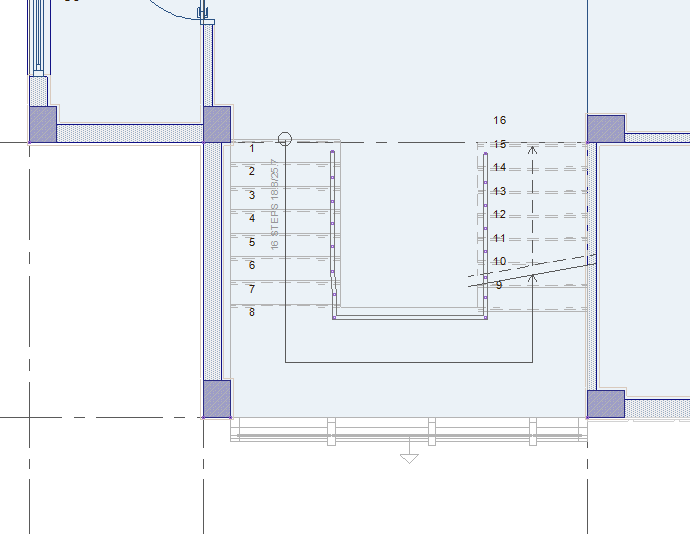
|
|
Next Topic